
This page is best viewed on a computer browser.
Sketches & Iteration
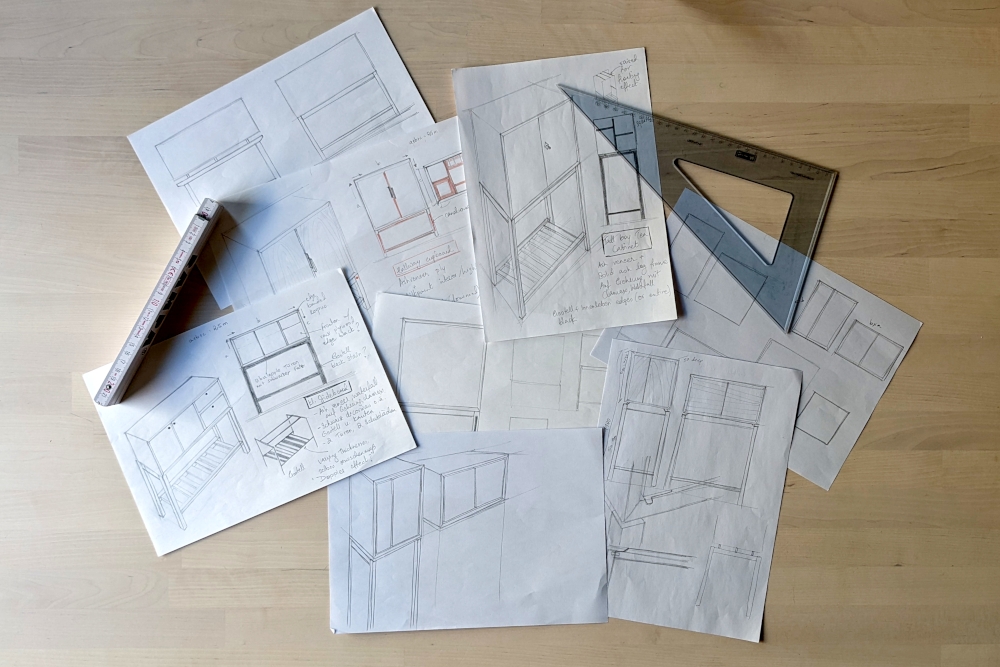
Most of my ideas and concepts usually begin with a simple sketch. If I am excited by it, I explore variations in proportions, size and composition. I include details and find the best way to join two or more materials. I flesh out the joinery and the sizes of cross sections of various elements like legs or aprons.
I can play with adding colour, or using multiple types of wood in one piece. I sketch out ideas for hardware that I would like to use or the placement of handles and hinges. I also analyse all the use cases and see if the piece is functional.
CAD Drawing & 3D Model
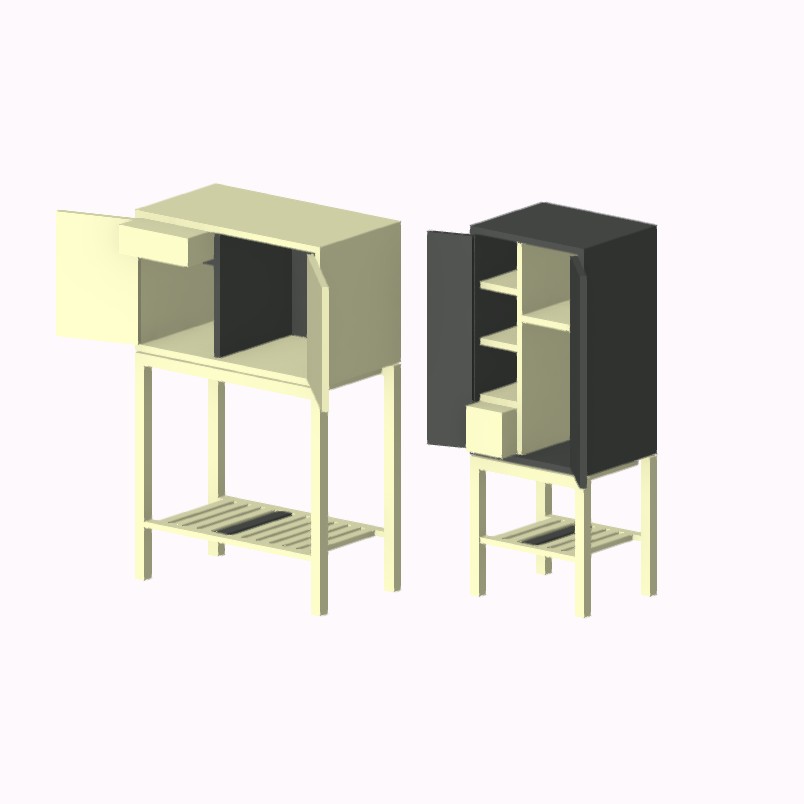
Once I am happy with how the piece is going to look and what details to add, I make a CAD drawing using a computer software. This helps me iron out the proportions, the functioning of moving parts, flesh out details and play with colours and finishes.
In addition I have a working drawing to reference while building the piece and can calculate material needs and costs. When working with a client, the 3D model and drawing make it easier to explain the project, and for the client to imagine the piece.
Hand-Picked Material
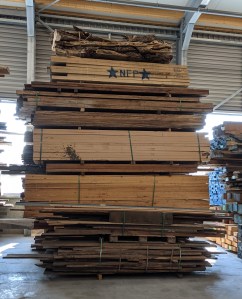
Wood is a natural material and has beautiful nuances and differences to its appearance. No two pieces of wood are the same, and the art of wood selection lies in choosing the perfect raw material to fit your furniture.
The best way is to actually go to the lumber yard and look at what is available. As far as possible, I try to choose material that comes from sustainable and responsible sources.
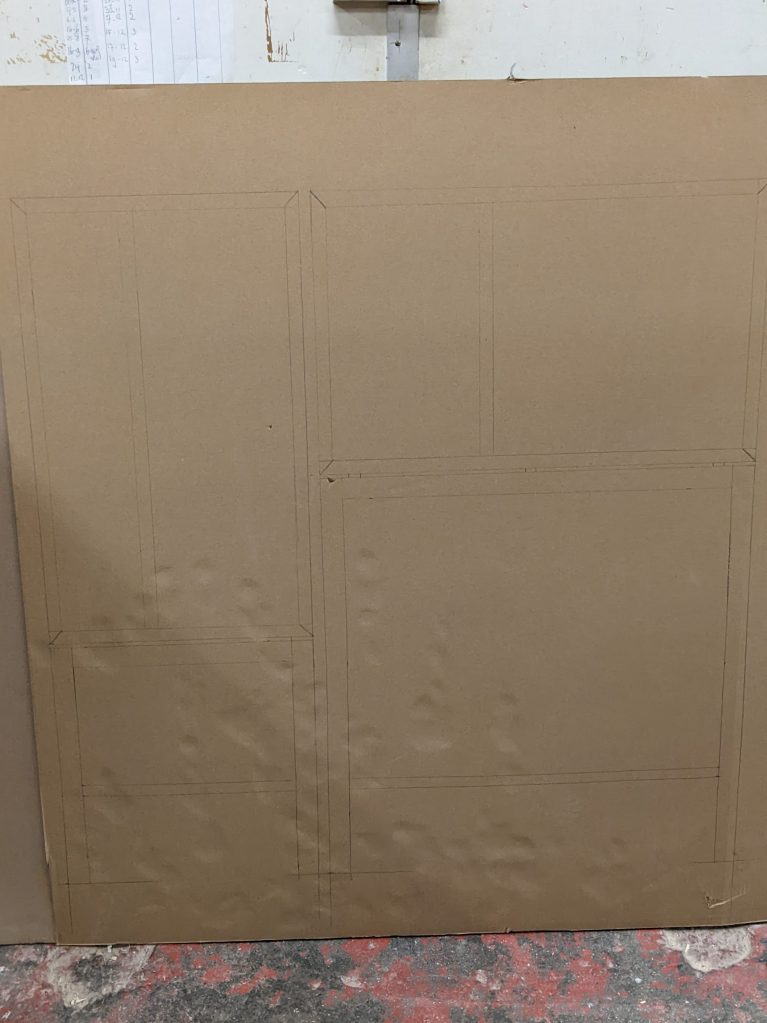
Full Scale Drawing
A full scale drawing always helps to understand proportions and allows tweaking while seeing real life thicknesses of materials and referencing textures.
Here I drew both cabinets side by side on a piece of cardboard. This helped me feel confident about the proportions I had chosen on the drawing software. I could compare how the two cabinets related to each other and whether they work as a set.
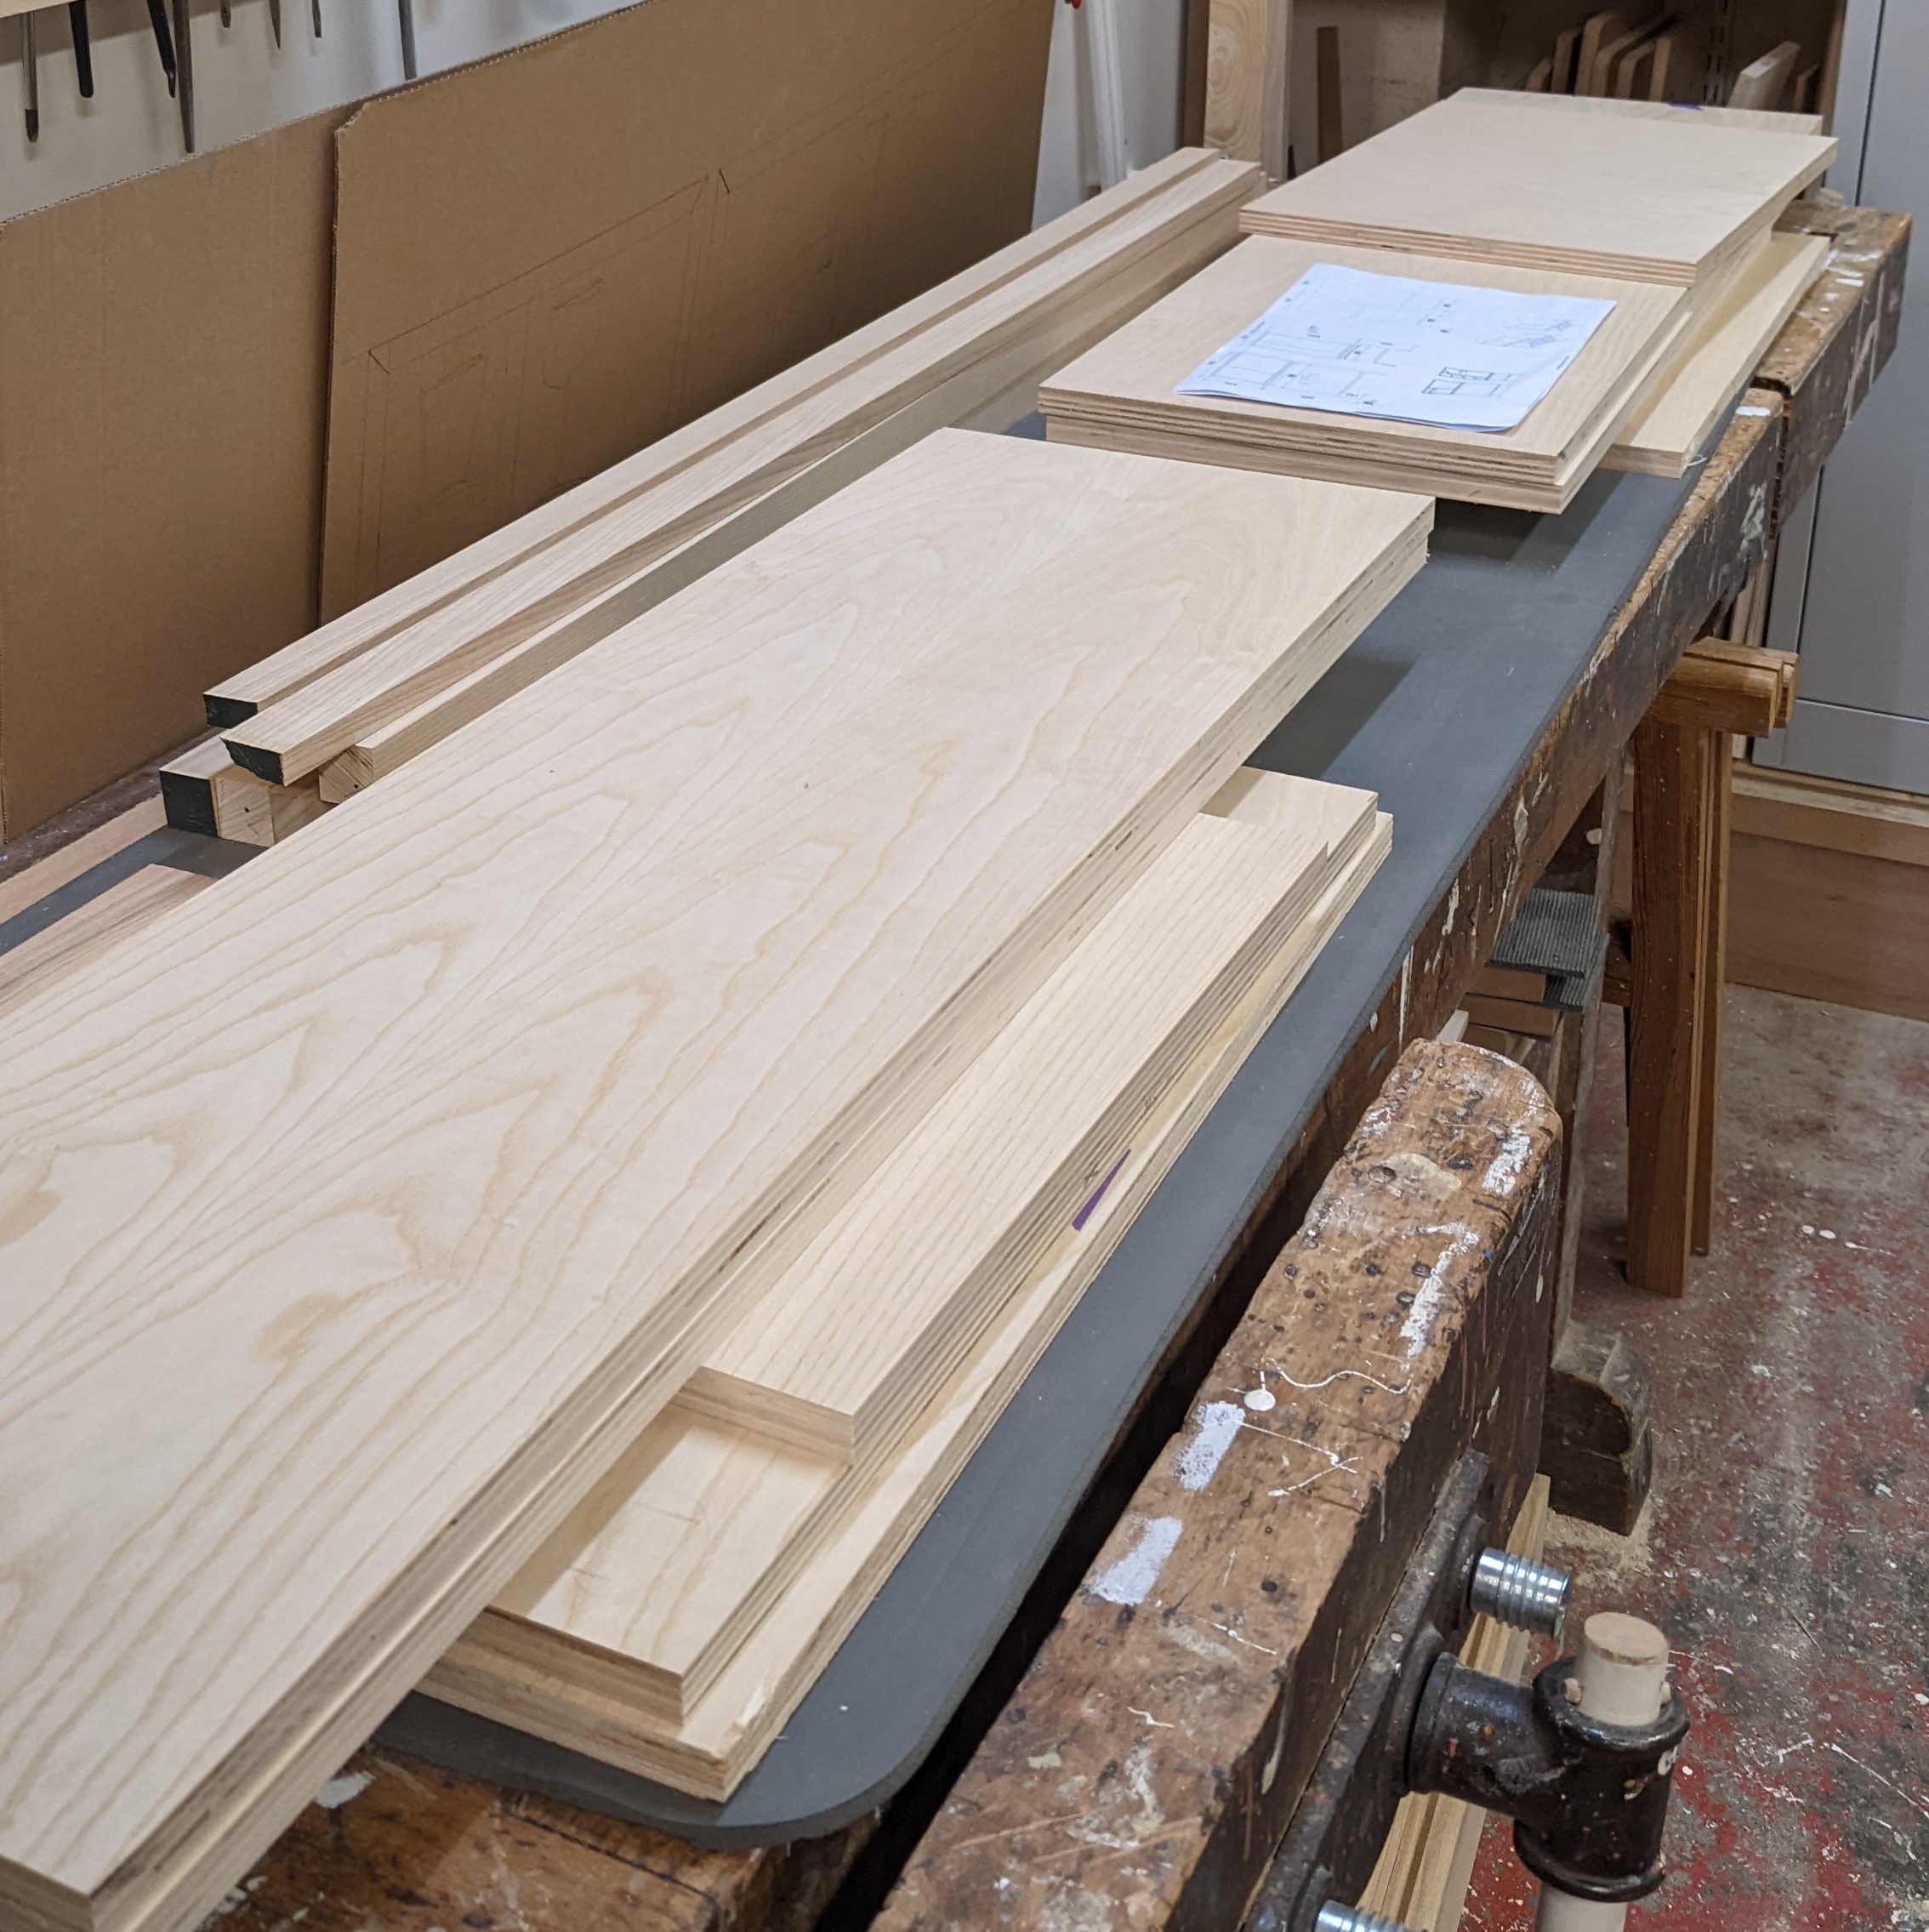
Breaking Down Larger Panels & Logs
Once the raw material that I had selected at the lumber yard was delivered, I had to break down the large sheets and solid wood planks into usable sizes. This is when the cutlist I had prepared in the design phase comes in handy.
At this phase it is crucial to pay attention to the wood grain for both veneered panel as well as solid wood. I cut my panels for the doors and carcass with extreme attention to how the final grain layout would look later. In case of waterfall edges, the cut pieces must be marked to avoid confusion. For the solid wood I used on the legs, I made sure I had the right orientation of rift vs quatersawn so that I had a more delicate grain showing on the outside. Structurally, the grain also plays a huge role while laying out joinery.
I also made solidwood 5mm edge banding that I would use to seal the edges of the plywood.
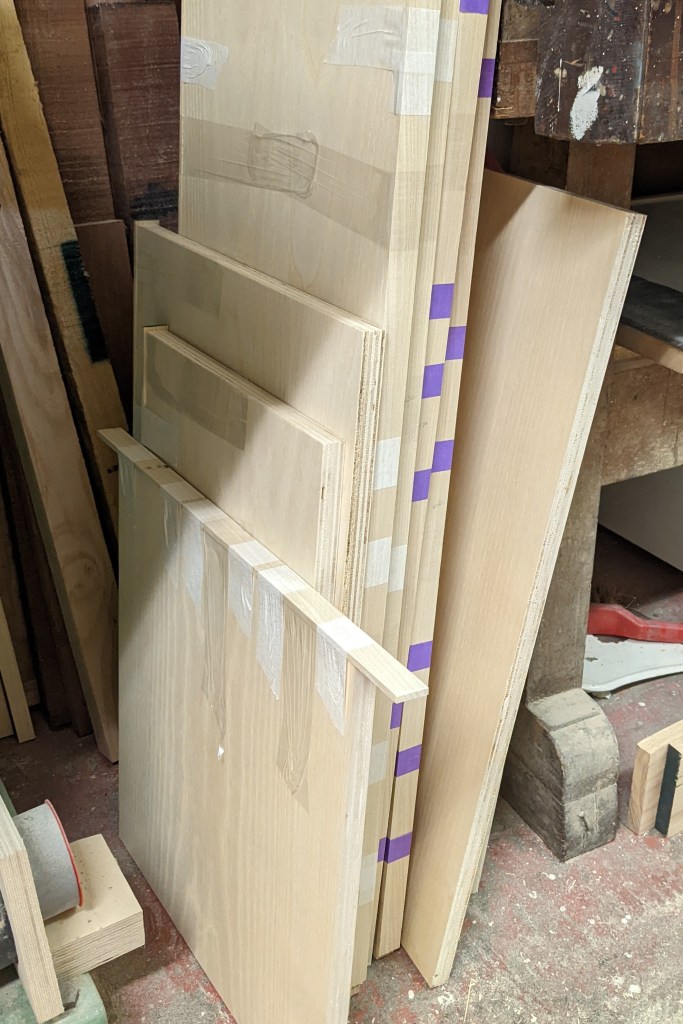
Edgebanding
After the veneered boards were cut to final size, the 5mm thick solid ash edge banding is applied to protect and seal the plywood edges. This is done with wood glue and tape, working fast and pulling the tape extremely tight to avoid unsightly gaps between board and edgeband. The aim is to have a seamless, even board as an end product.
The glue is left to dry for atleast 24 hours before the edgebanding can be trimmed to the thickness of the board. There are multiple ways and methods of doing this, I use a table router with a flush trim bit, and do the last 0,5mm by hand with a card scraper. This gives me more control and I have a perfect finish.
Cutting Mitres & Testing Waterfall Woodgrain
After trimming the edgebanding, it’s time to cut the 45 degree mitred corners of both the cabinets. I had to take care to cut precisely and carefullly to achieve a nice clean edge after gluing up.
Mitred edges are perfect to show off grain, and I made sure to have a continuous ‘Waterfall’ grain around around every corner.
I also marked out and routed the joinery for the central divider at this point, since the machine would not be able to fit into the interior of the cabinet once it was glued together.
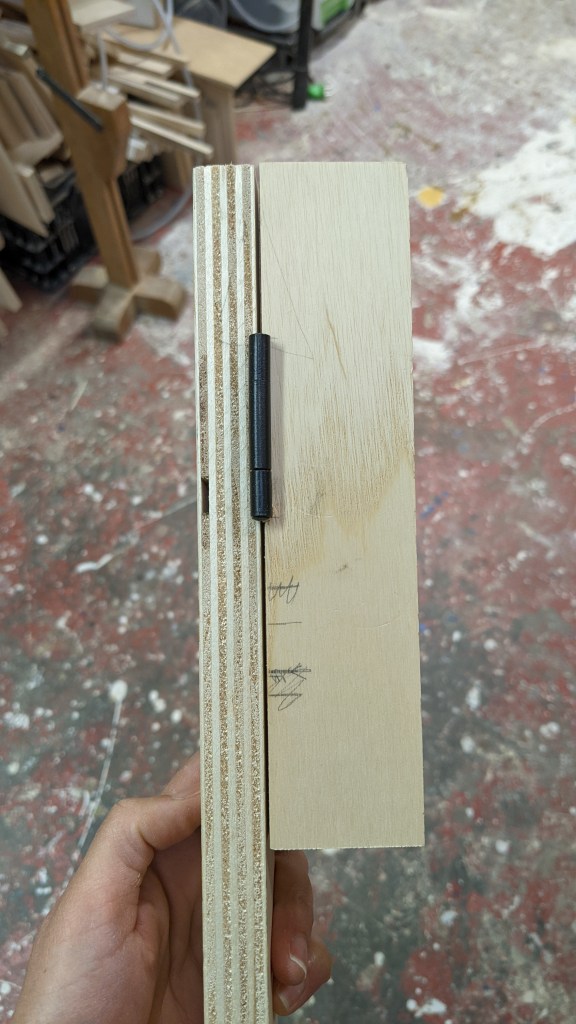
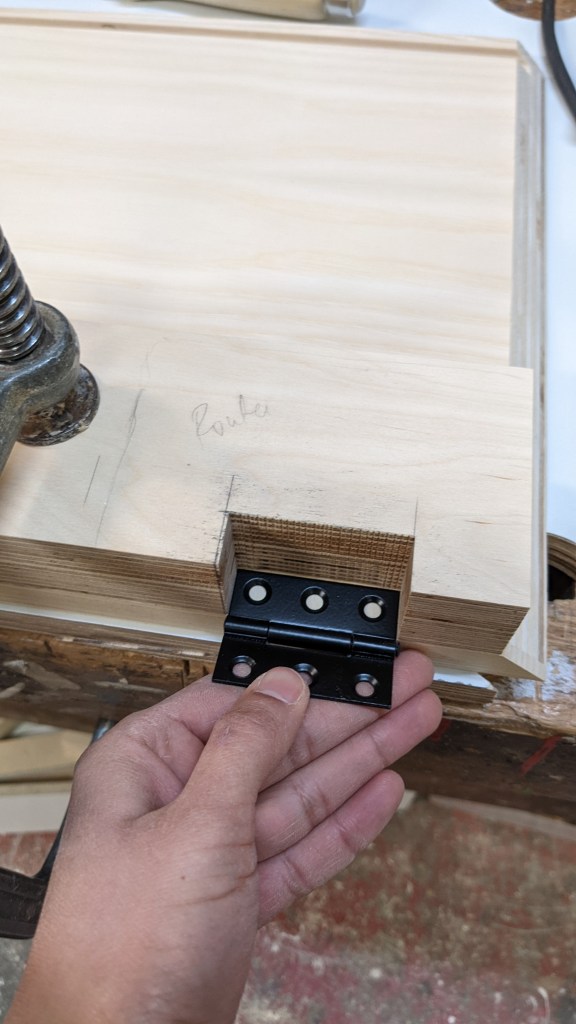
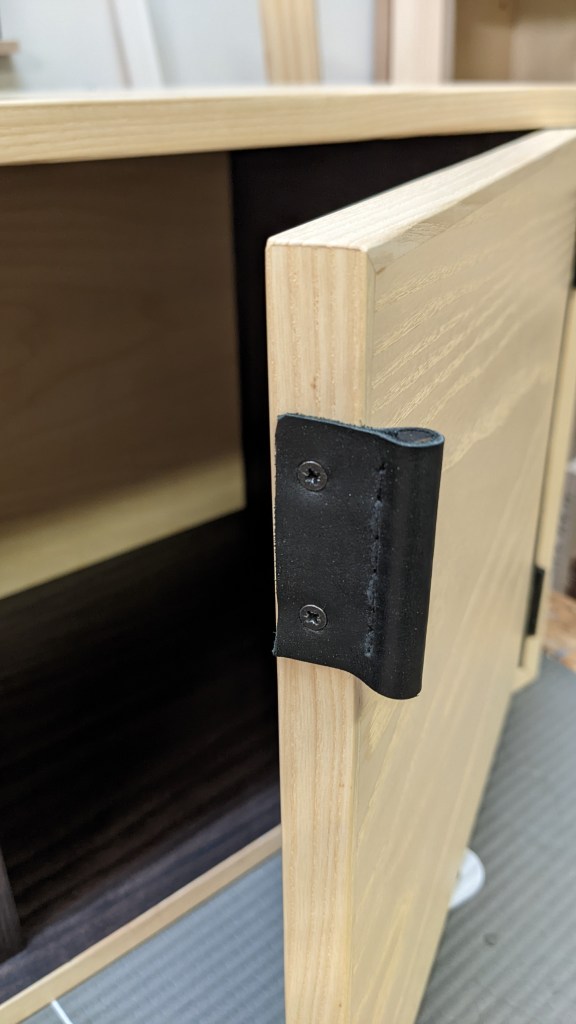
Hinges
I wanted to use simple black butt hinges for the cabinets since they were easy to install and had a very simple look. I liked how the black bar broke the pale yellow of the Ash. I first did a test fit on some spare offcuts to see how they worked and how deep I had to cut into the sides to fit them perfectly.
In order to rout the pockets that would house the hinges, I made myself a plywood jig that I could clamp onto the side and use a router with a copy ring set to the correct depth to rout the pocket.
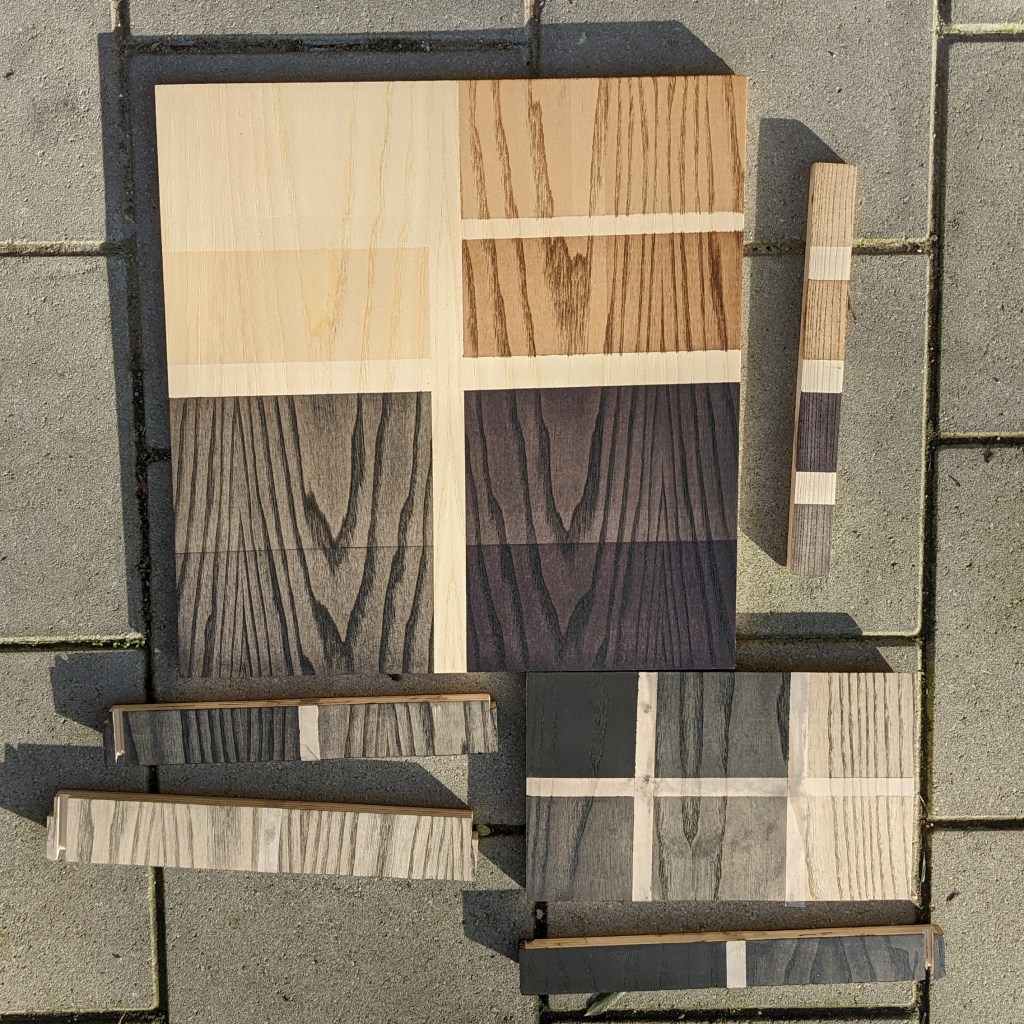
Testing Different Stains
I wanted to experiment with contrasting the pale yellow of the Ash on the outside with a strong black stain on the inside. In order to find the perfect product, I tried out many different samples until I was happy with the result.
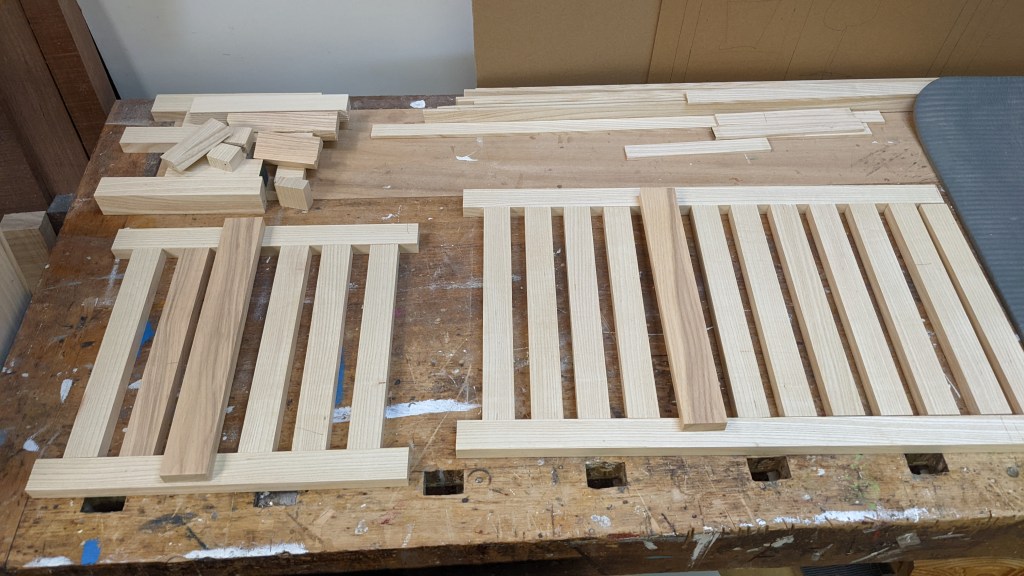
Solid Wood Base
The cabinets stand on a base made from square sections of solid Ash wood. They also have a small slatted tray at the bottom to keep various items like magazines or books, or simply just cushions.
I cut the pieces to length and marked the places where I would cut the joinery. I cut all the joinery making sure to check for correct grain orientation. For the tray I prefinished the slats before gluing it up. As for the legs, I first glued up the entire frame and then applied the oil. This has mainly to do with accessibility of smaller parts and making sure the joinery and finishing are neat and clean.
As part of the design principle of contrast and asymmetry one of the slats is wider, and would also be stained black to emphasize this irregularity.
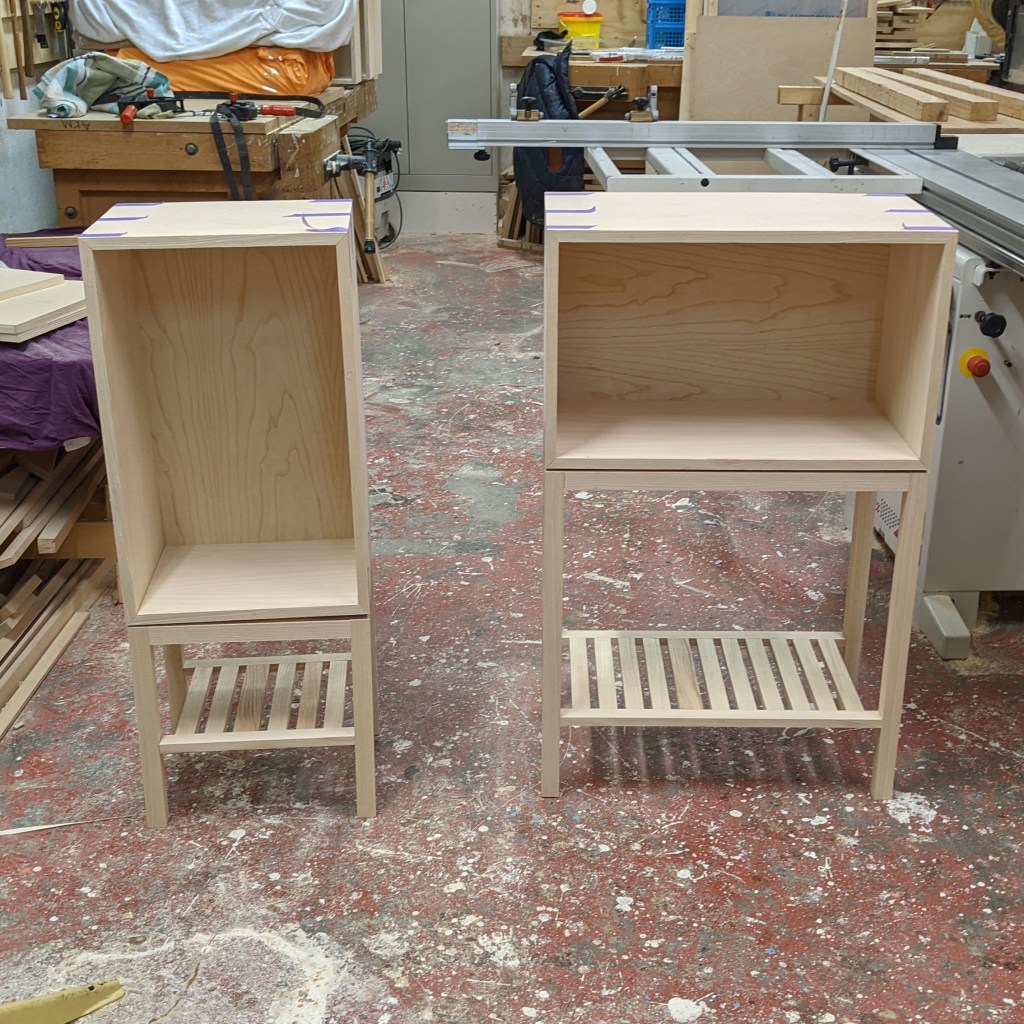
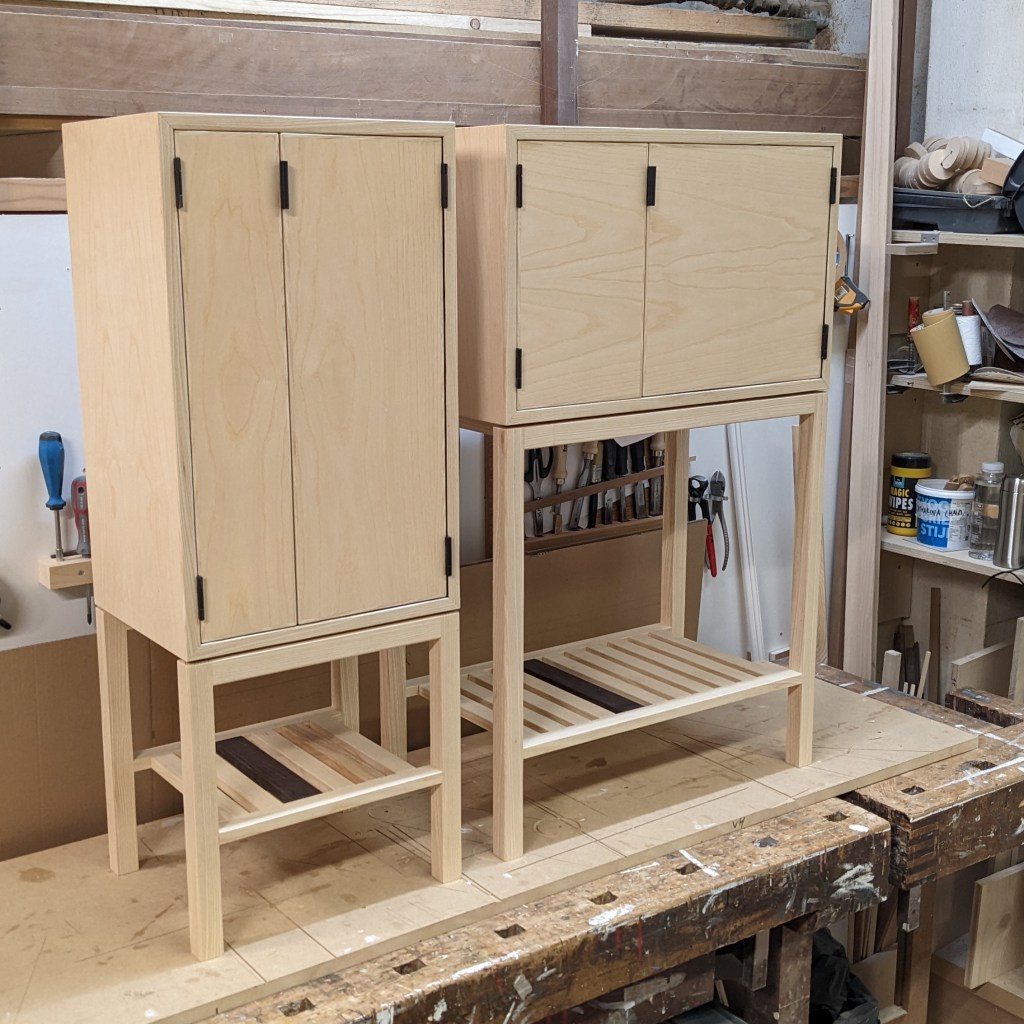
Dry Fitting
At this stage I temporarily put the entire piece together (called a dry fit, due to lack of glue used) to make sure everything fit, and also to get a better picture of what the final cabinet would look like.
There is always a possibility to change a detail at this stage, or correct a mistake. Trying to do so after finishing is extremely difficulty, not to mention the lost time of having finished something that doesn’t fit together, or that you are not happy with.
I also wanted to test fit the cabinet to make sure that I liked the idea of having a black interior and light exterior. After this I could dismantle everything and move on to the first round of finishing.
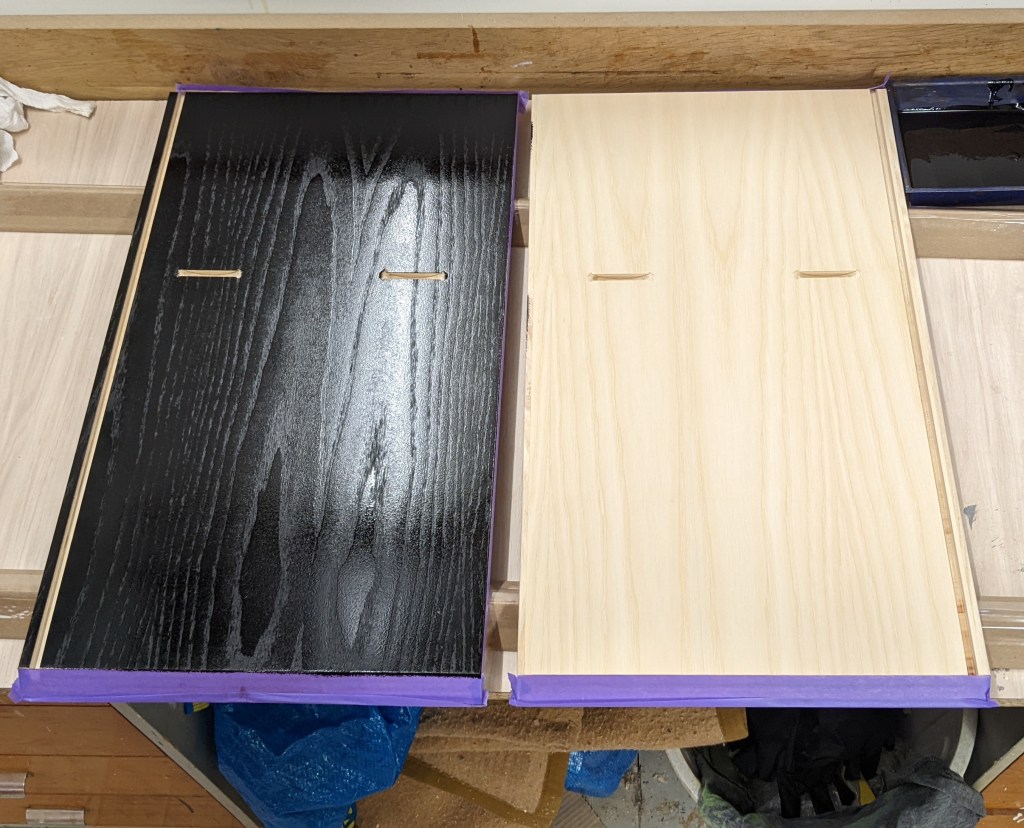
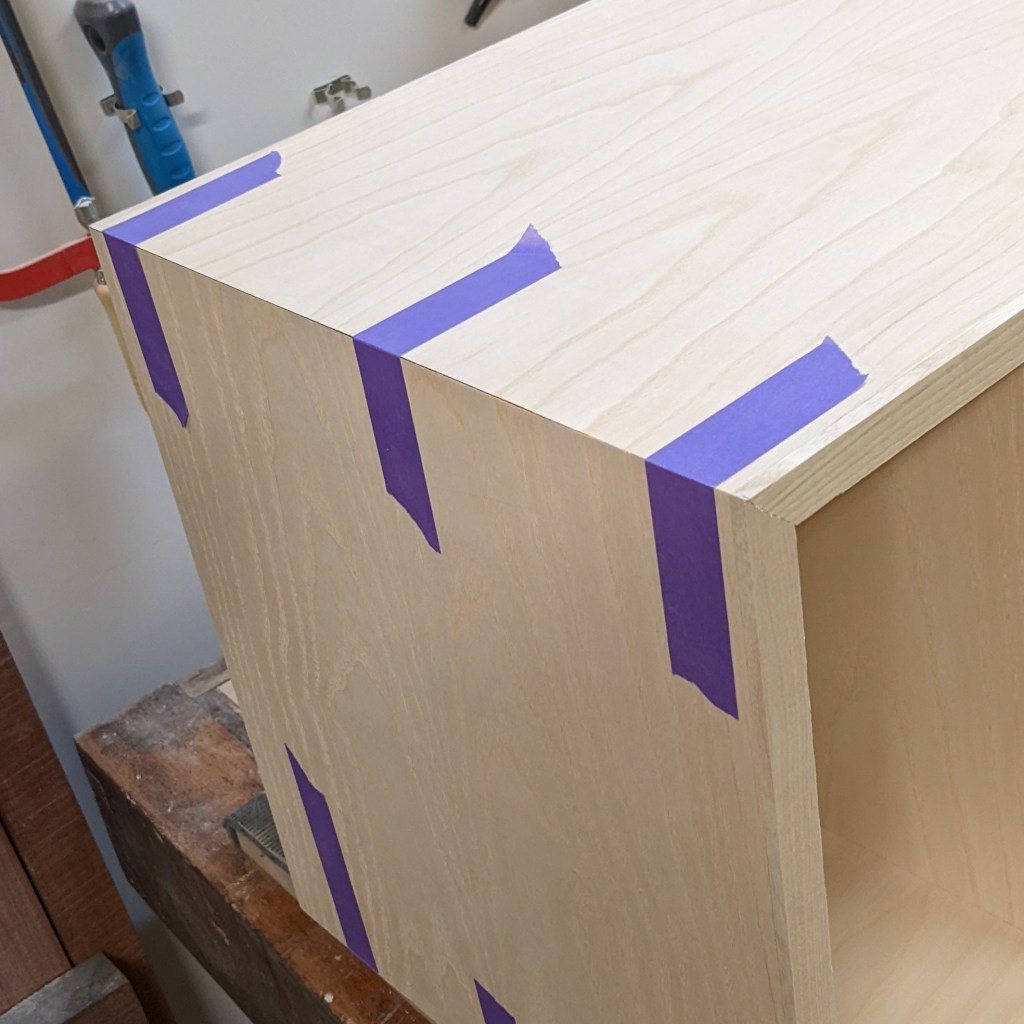
Staining & Finishing the Insides
I could then finally sand and prepare all the necessary material for the first round of staining and finishing. This included the inside of the cabinets and the slatted tray at the bottom of the leg frame. The rest would be sanded and finished in a later stage.
In order to avoid getting black stain on the outside of the cabinet, I had to protect it by sticking paper on it with tape. This is again a time consuming process, but definitely extremely important to be able to finish the insides in a timely manner. Edges that will later receive glue have to be covered with tape as well, as seen here the mitre edges.
The surfaces were stained twice and oiled once, or oiled twice if they were to stay the natural Ash colour.
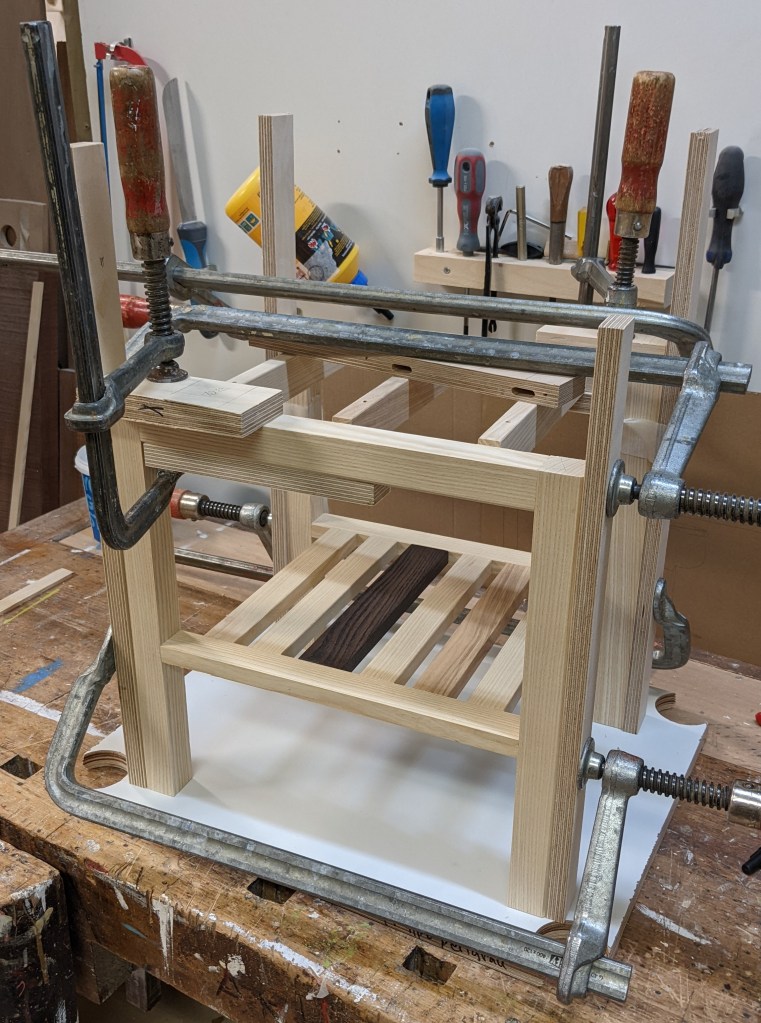
Gluing Up
Once the oil has dried and hardened on the various components, they can be glued up in their final assemblies. In some cases, it takes place in multiple steps like with the base of the cabinet. Here I first glued up the tray at the bottom and the cross ties that support the cabinet. As a second step I connected these two parts by gluing the 4 legs to them.
Care has to be taken to glue up in the correct order and orientation and cauls are used to protect the furniture from pressure marks from the clamps. Cauls also evenly distribute the pressure from the clamps. Corners are checked to see if the structure is at 90 degrees, and any excess glue squeeze out is cleaned up.
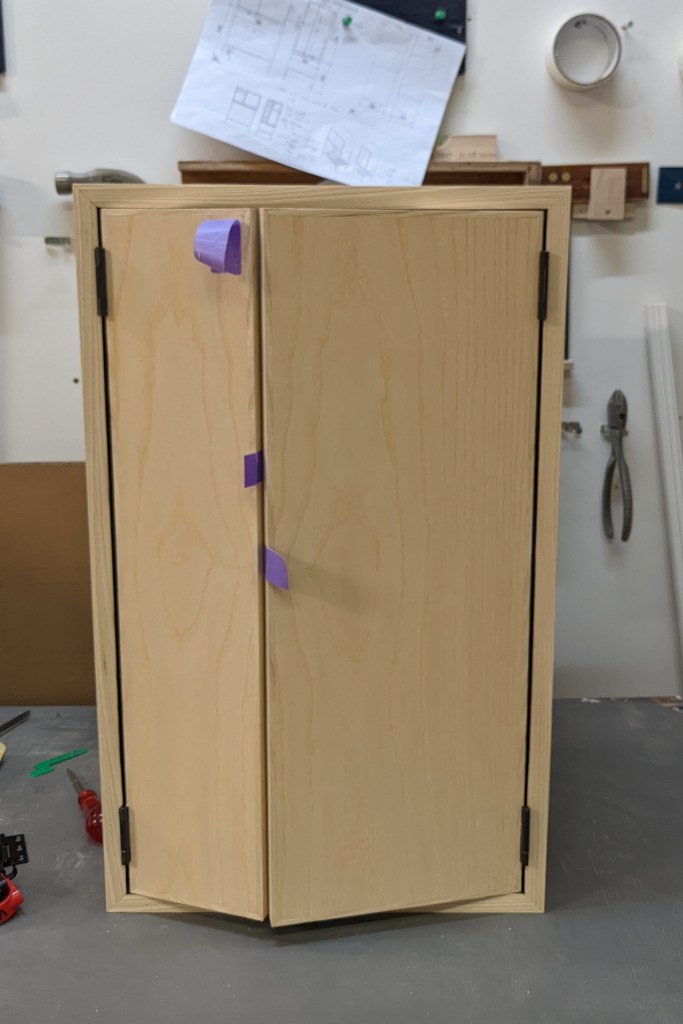
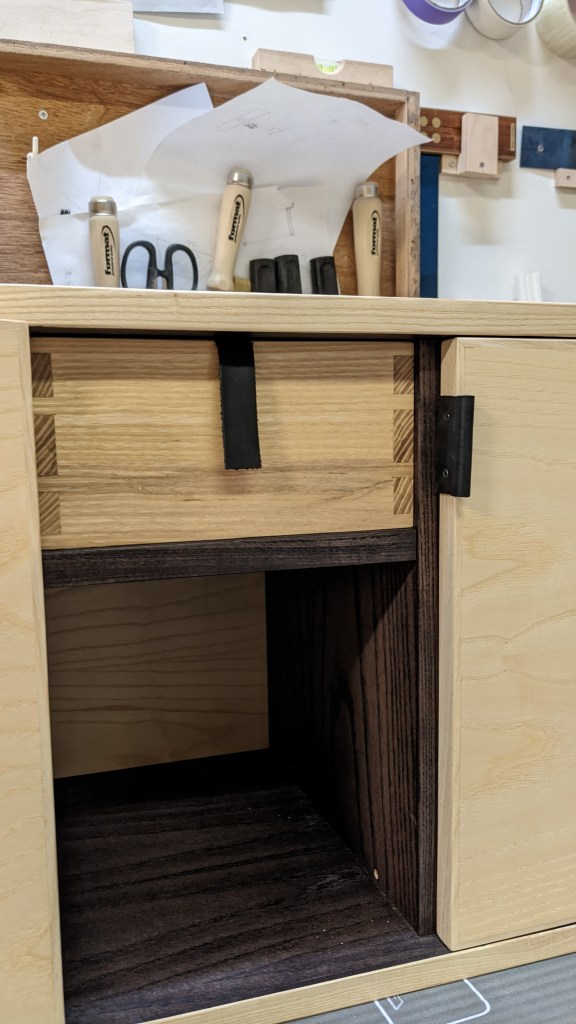
Fitting Doors & Shelves
Once the carcass of the cabinets was ready, the glue having dried for atleast 24 hours, I could start fitting the doors.
The hinge pockets on the doors had been routed along with the pockets on the sides of the cabinet. I could now fit hinges to both cabinet and door and then work on removing material on the doors until they fit perfectly.
Fitting the doors essentially entails making sure the doors have an even reveal (gap) on all sides, towards the carcass as well as towards each other. And ensuring that they open and closed well. In my case, this was a 3mm gap, which I checked with a 3mm spacer.
This is quite a time consuming task, and requires a lot of back and forth until the desired result is achieved.
Once the doors were running smoothly, I cut the shelves that go into the cabinet to size and fitted them as well.
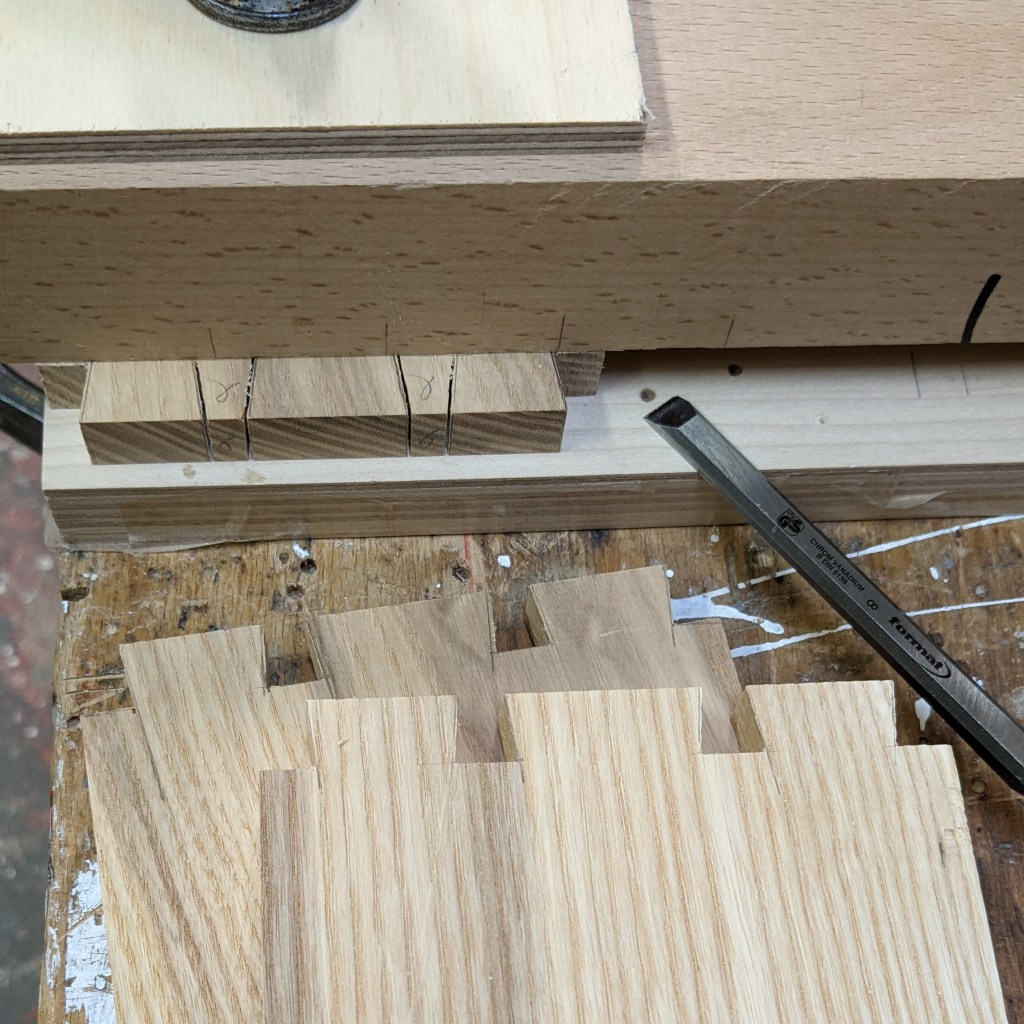
Handcut Dovetail Drawers
The last feature of the Ash cabinets was one handcut dovetailed drawer for each cabinet. For this I measured the exact dimensions of the available space and prepared my 12mm solid Ash stock.
The dovetails are scribed onto the sides of the drawers, first sawn by hand, and then the material is removed with a sharp chisel. These dovetails are then referenced onto the corresponding front and back of the drawer and then cut out as well.
The entire box is then carefully fitted together, removing material wherever needed. Dovetails are a very strong method of making a corner joint, and no hardware is needed. A slot or rebate is made at the bottom to fit a base into the drawer.
Once the individual pieces are sanded and oiled, the drawers can be glued together with the help of clamps. Again, care must be taken that all corners are perfectly square.
Leather Handles
For this project, I wanted to make handles for the drawer and doors myself. I wanted to experiment using a new material and decided to use black leather.
To keep the minimalist harmony of the black hinges, I made the door handle in the same look and size by wrapping the leather around a 6mm wooden dowel. An extra length was then attached to the side of the door. I only made one handle per cabinet.
For the drawers I just made a simple long tug of leather that is attached to the interior of the drawer.
Final Finishing & Assembly
The last step was to disassemble all the doors, handles and shelves, and do one last round of sanding.
I then finished all surfaces with two coats of Osmo Hardwax Oil, making sure to really rub the oil into the surface to get a nice smooth finish.
I then reassembled the cabinets, doors and handles. And finally I could attach the cabinet to the base.
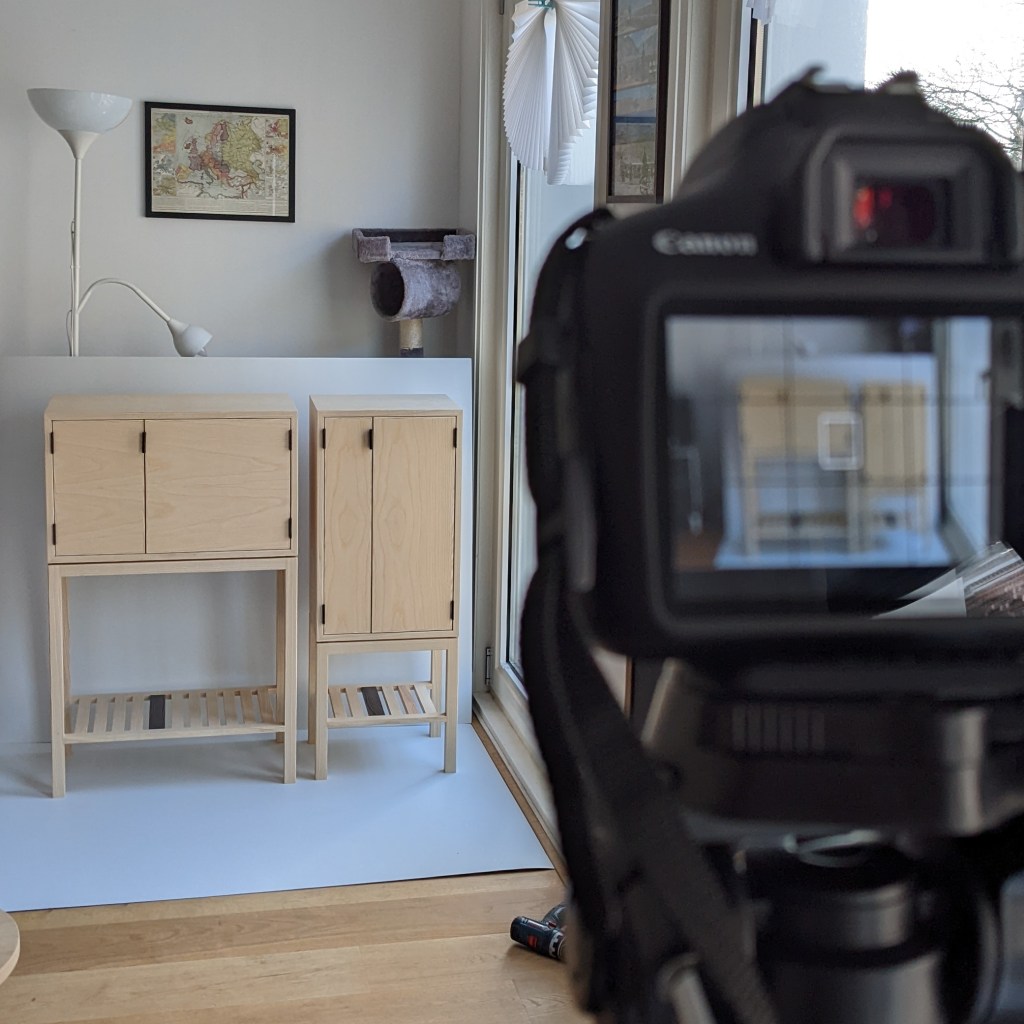
Product photoshoot
I enjoy staging and taking pictures of my products quite a lot. I use a simple set up of a white paper or HPL sheet as a back drop and natural lighting from a window.
I use accessories like books, bowls, cups, glasses or alcohol bottles to add life and colour into the images. These objects also help to illustrate the functionality and size of the piece.
In order to showcase the Ash cabinets, I took lots of pictures of the various details and features, but also of the two cabinets side by side.
You can see final images of the Ashwood Cabinets, view the Portfolio Page
The Ashwood Cabinets are available for sale, for more Info visit my Webshop
Thoughts? Questions? Comments? Get in Touch!
