
How can I order custom furniture?
How much does custom furniture cost?
Where can I find a custom furniture maker near me?
If you have ever asked yourself any of these questions, the following post should help you out.
What is custom furniture?
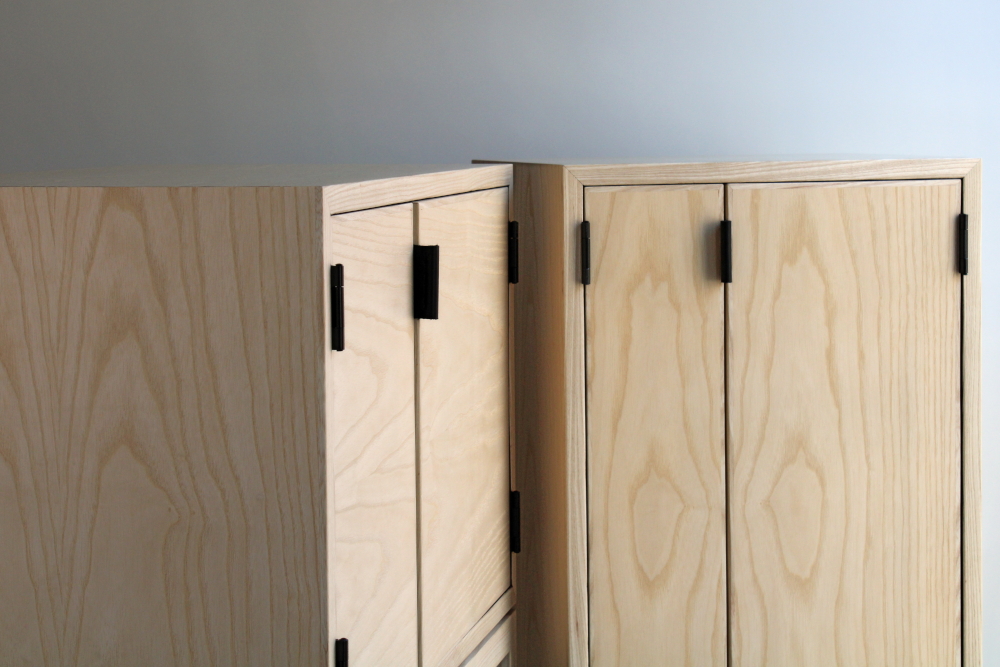
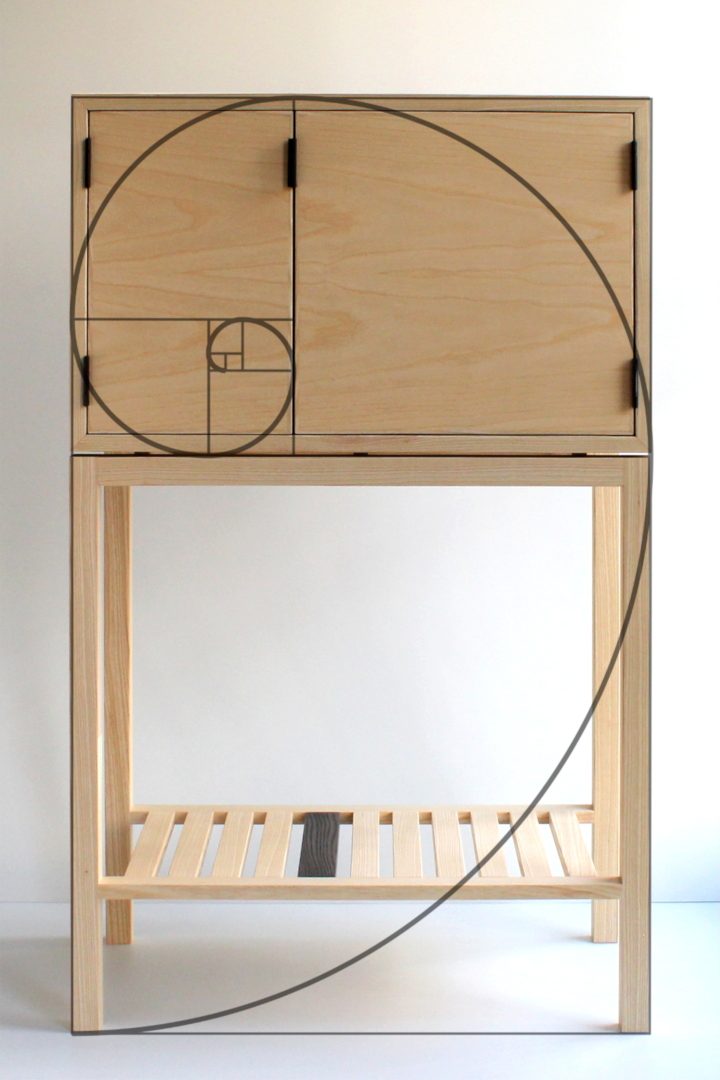
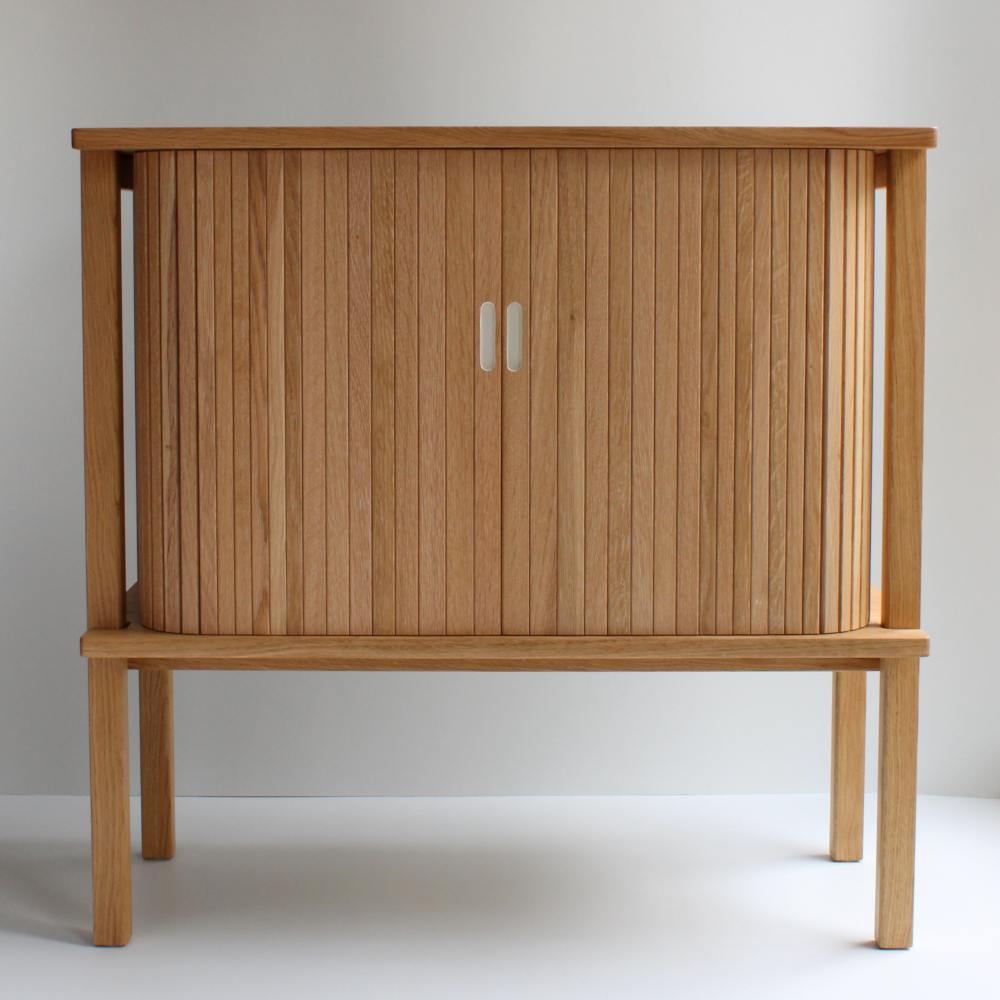
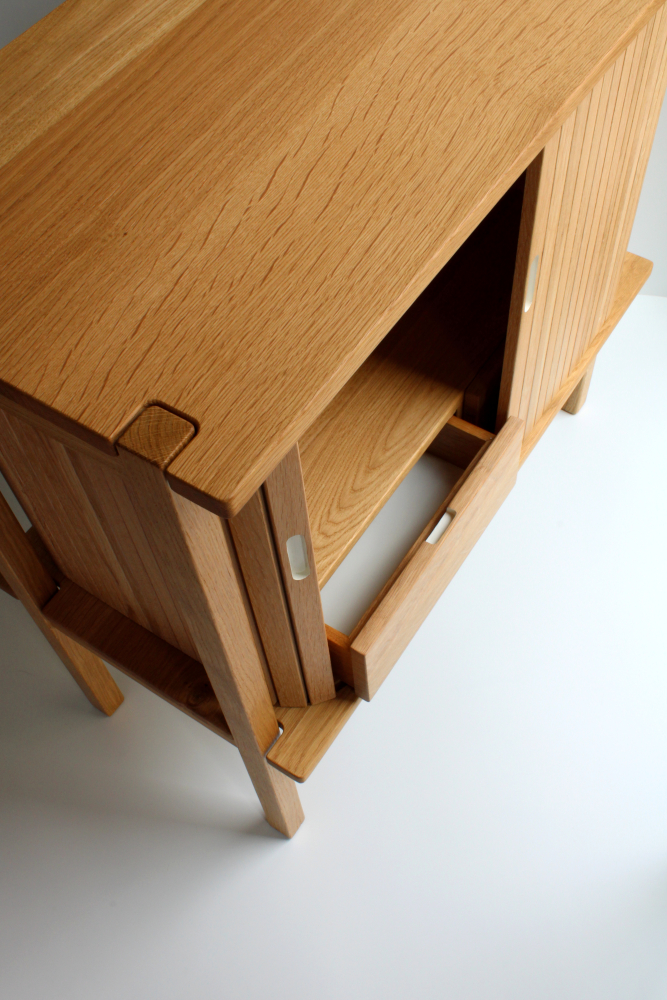
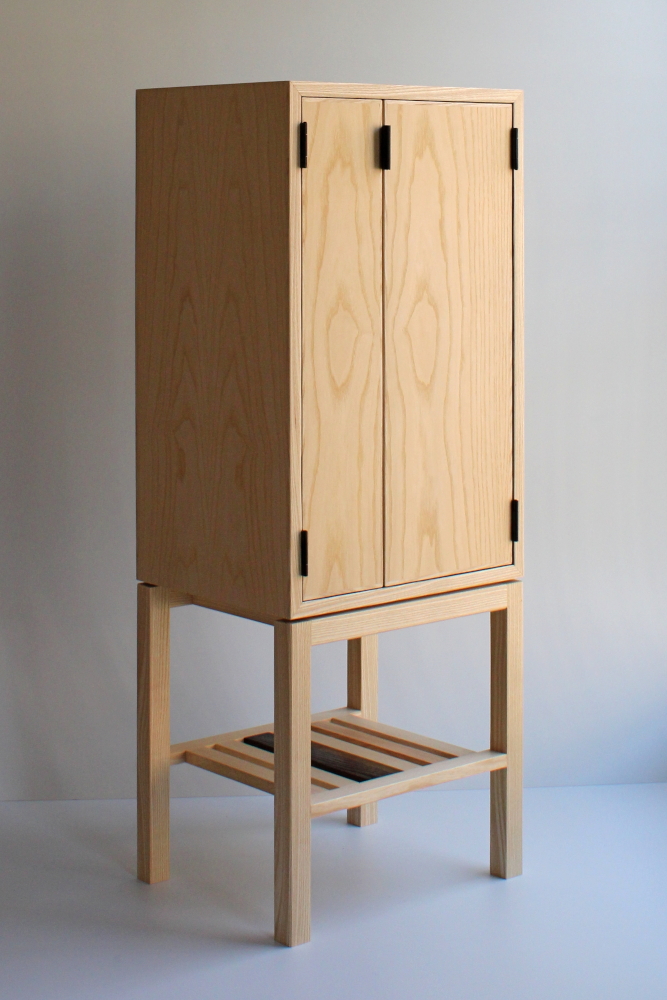
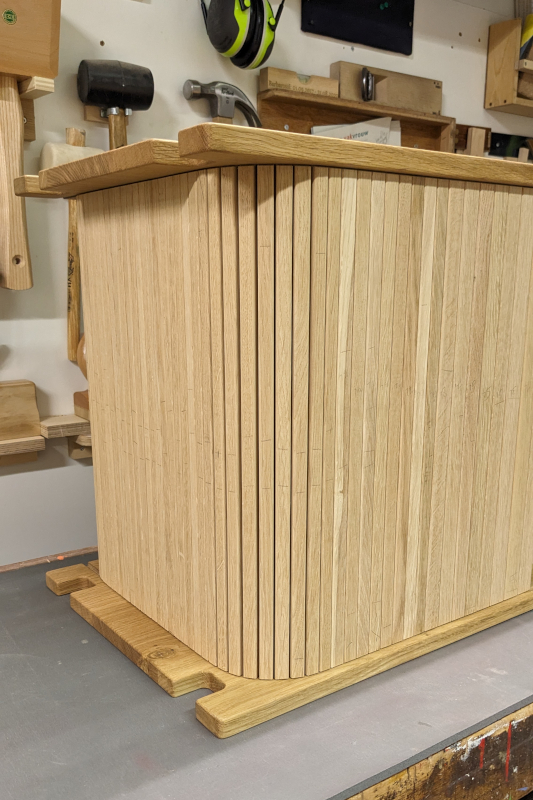
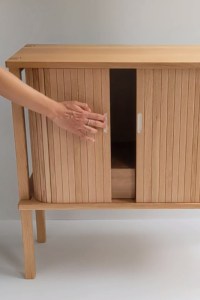
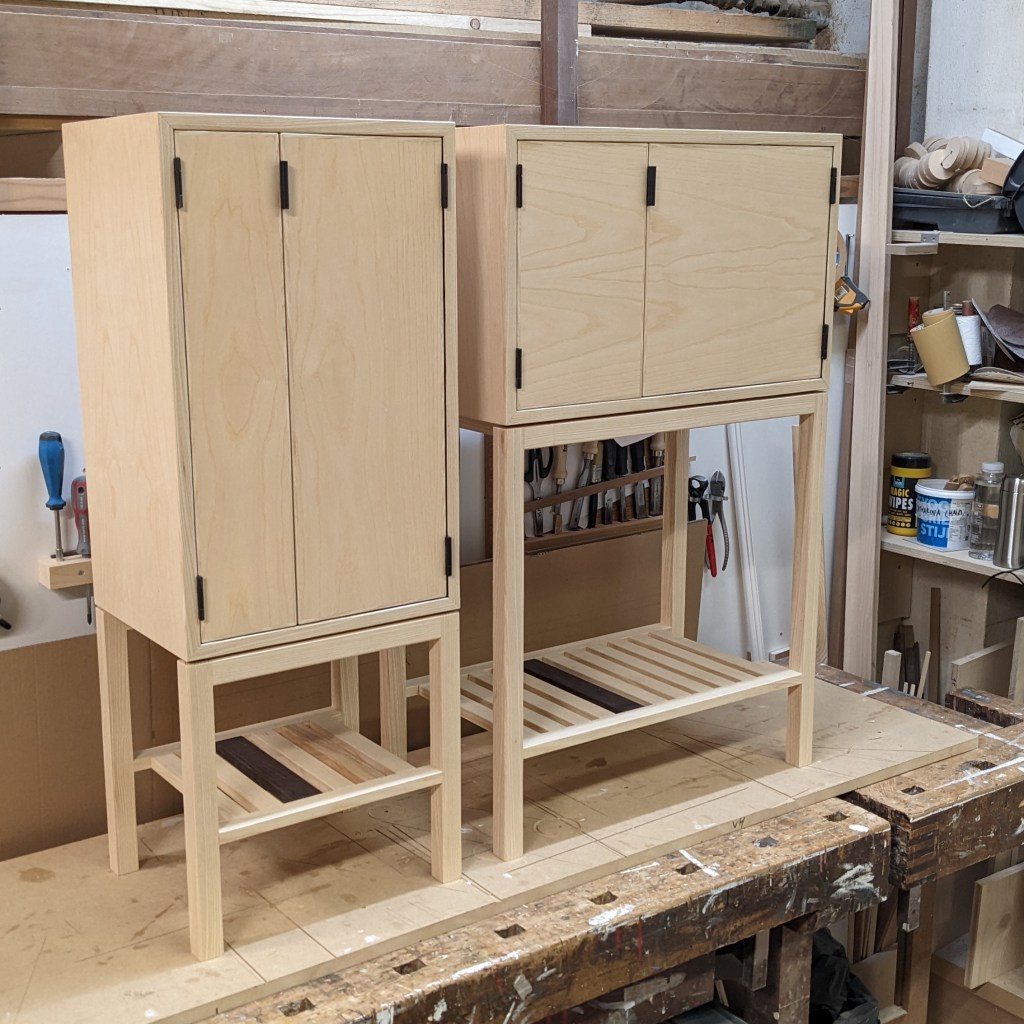
Custom or Bespoke furniture is made-to-order furniture, that meets the exact specifications and wishes of the customer. It truly reflects their style and fits perfectly into their home layout. If you are looking for something special and unique, that was made only for you then custom furniture is the way to go.
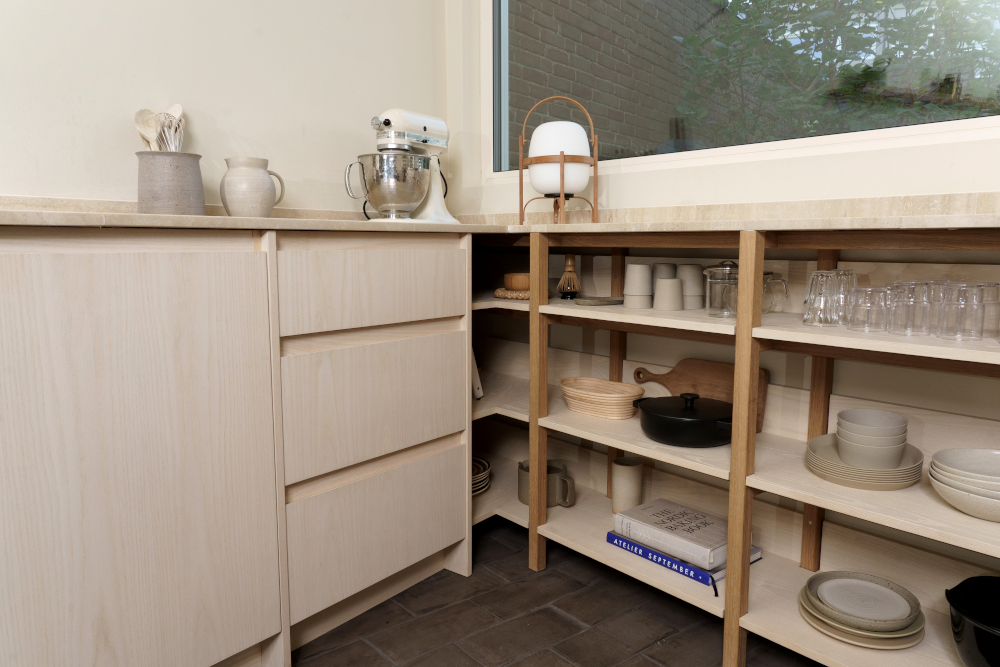
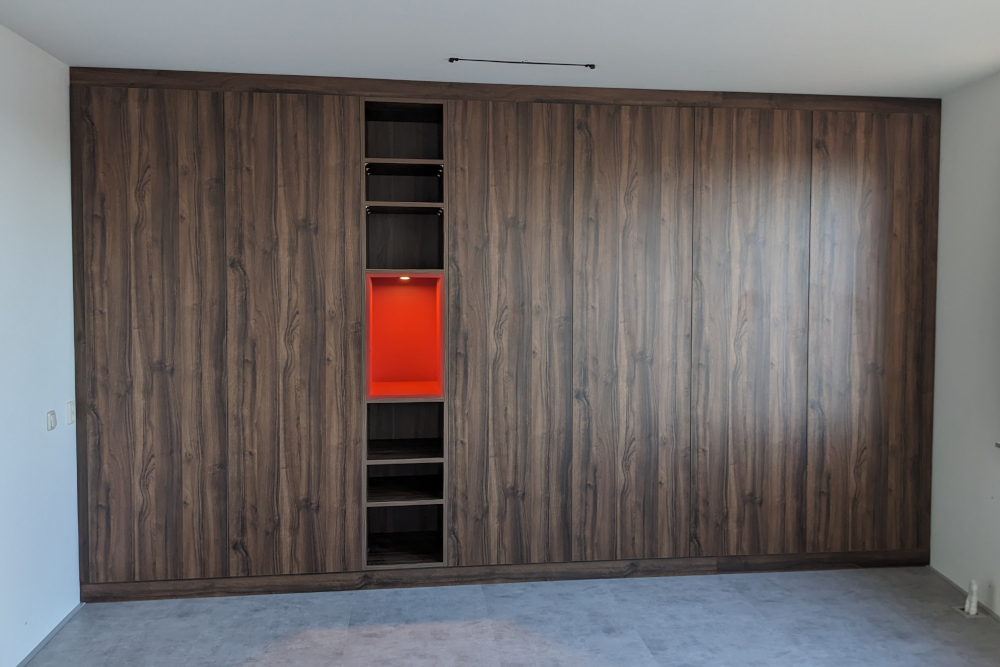
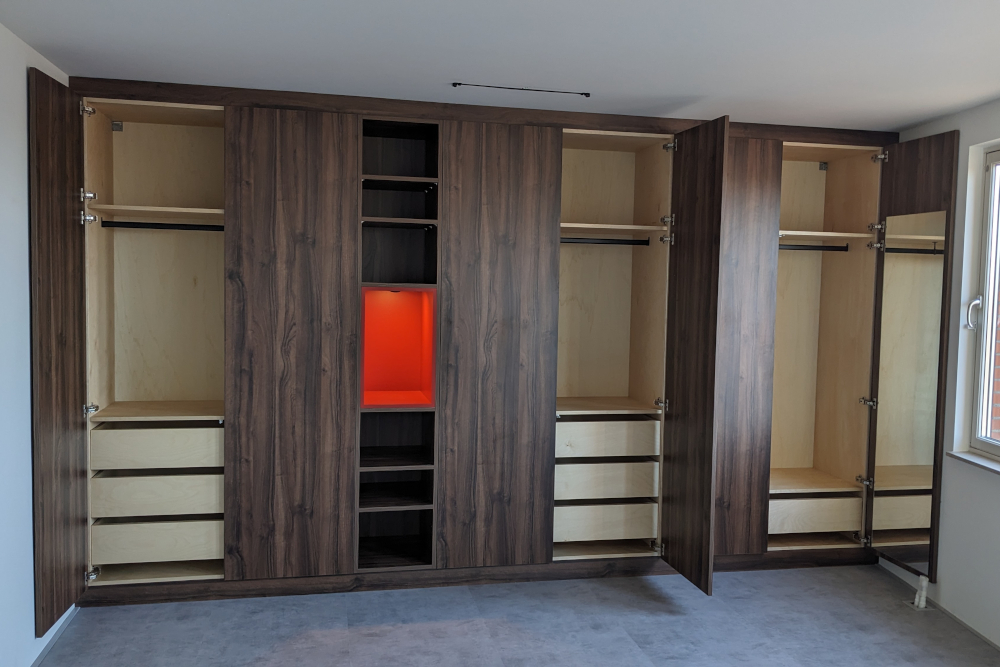
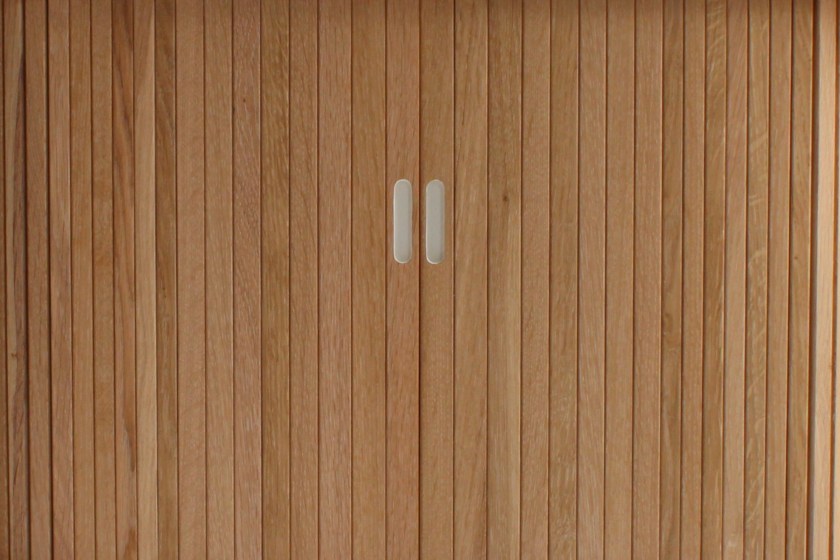
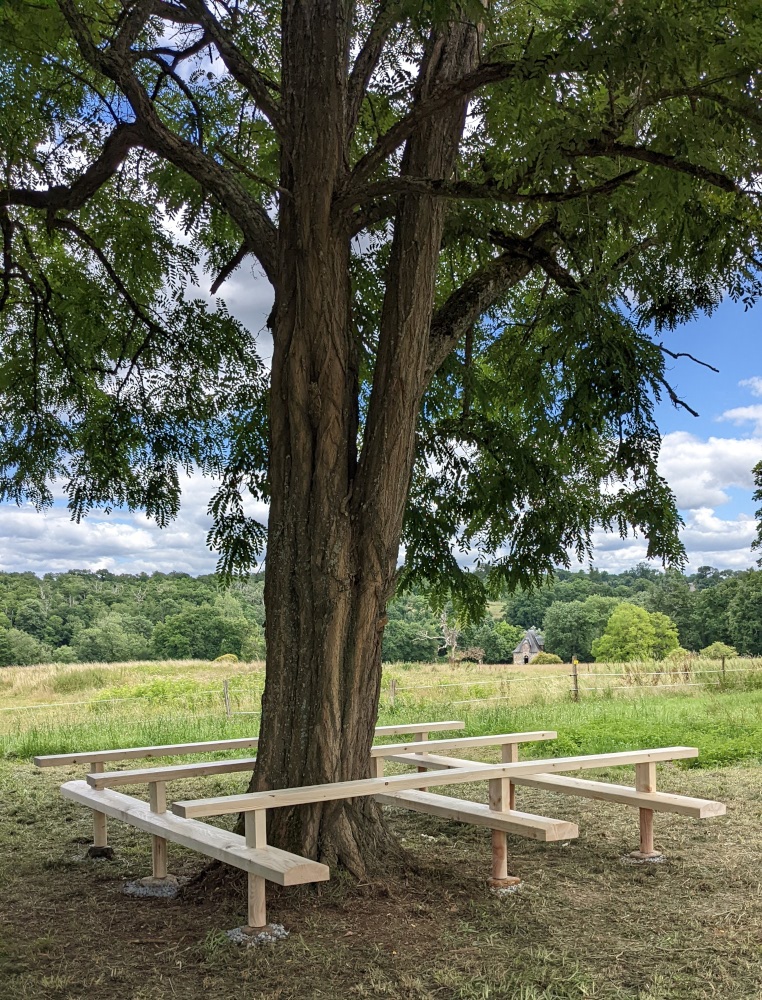
Custom furniture is also a great way to make perfect usage of a space, especially for storage. Odd corners and angles in a room can be used perfectly with something that precisely fits the space. This is especially useful in small and older houses like in Amsterdam.
Checklist before you order custom furniture
Which room / space is it going into?
What are the dimensions supposed to be? Even having a rough idea at this point is a great place to start.
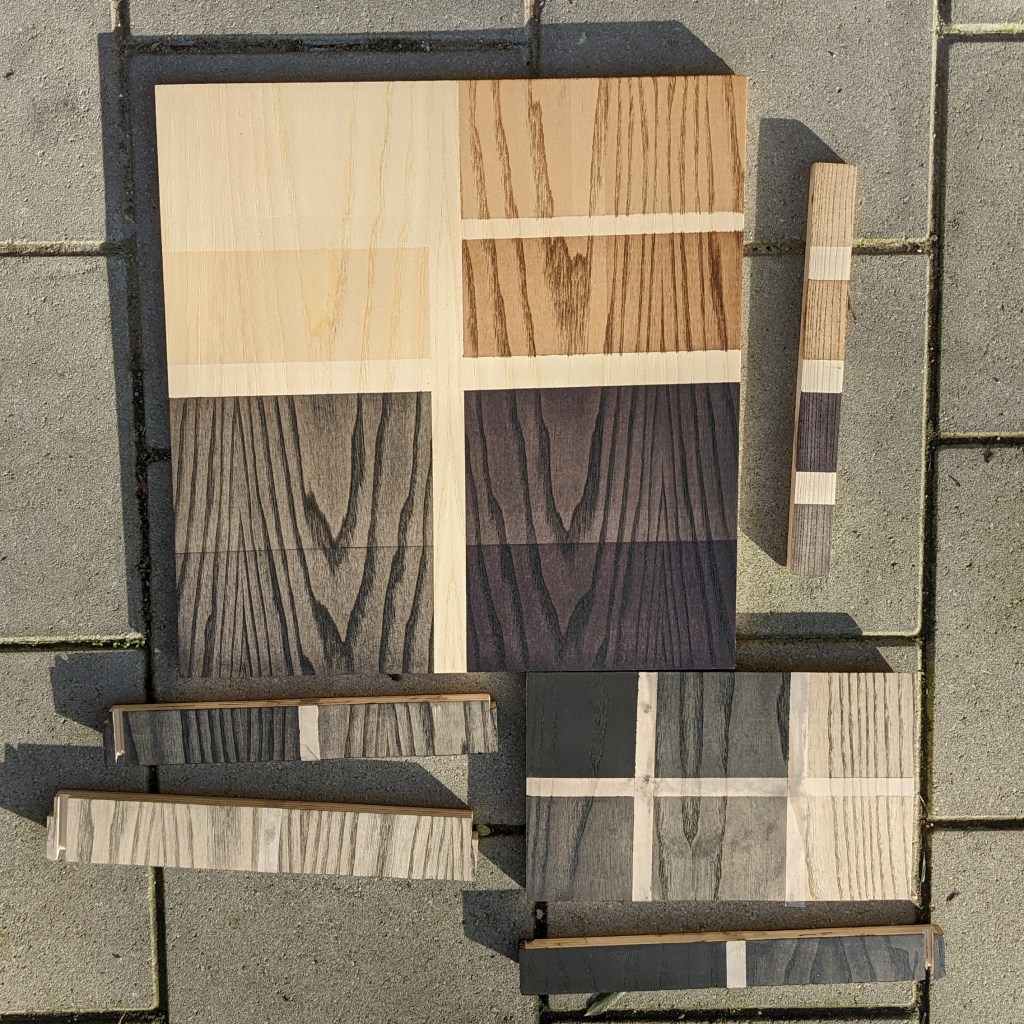
Do you have a preference in terms of material? What colours do you prefer, is there a particular type of wood you would like to use? Even just knowing light or dark wood helps the maker narrow the choices.
Is there a certain aesthetic style or design language you prefer? Maybe you don’t know how to describe it, do you have a picture of something you like? Bring it along to the discussion.
Is there existing furniture in your space that the new one should complement? It could be the way its built, elements like handles, or the wood type. Bring pictures along.
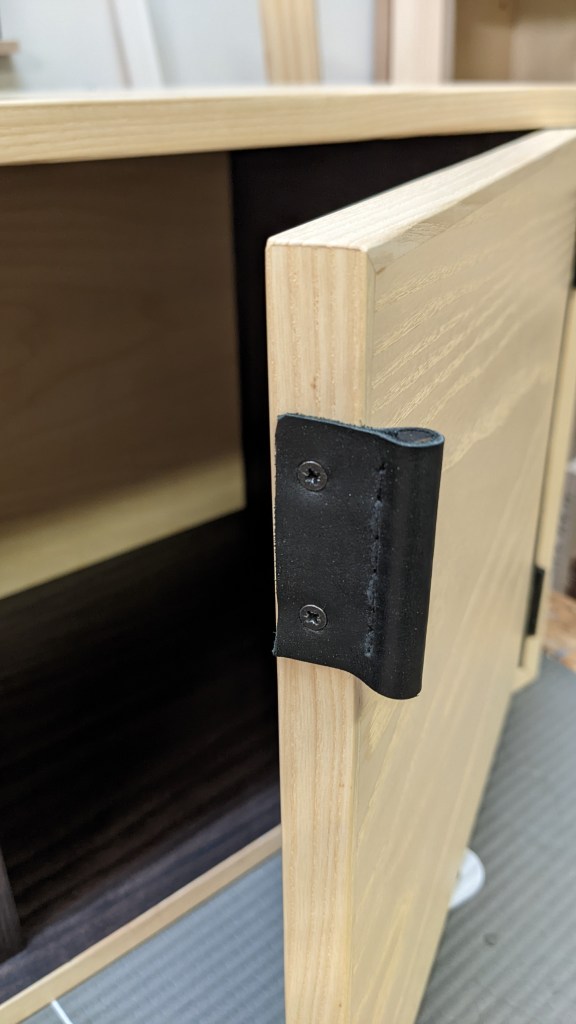
What kind of details are you looking for? If its a cabinet, should it have doors, drawers, or should it be open shelves?
What is the purpose of the furniture? If its a cabinet, what will you be storing in it? Often a maker will be able to help you with the exact layout better if she knows what needs to fit where.
Have you had similar furniture in the past? What did you like or dislike about it? This is a great way to flesh out exactly what the new one should or shouldn’t include.
These are questions, the answers to which you do not necessarily need to know at the beginning of the process, but we will touch upon them throughout the process of designing your furniture. So it’s good to already start thinking about them.
What does Custom Furniture cost?
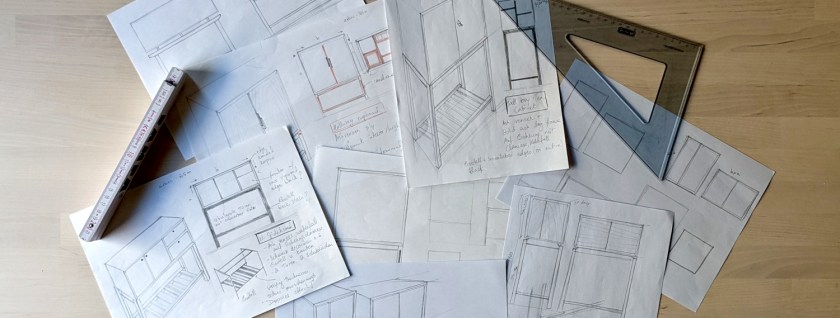
This is a question (usually the first) that I get asked very often. Unfortunately the answer to this question isn’t as straightforward as naming a price. Customised furniture means every project is new and different and there are many aspects to consider while calculating what it will cost.
The design & making cost
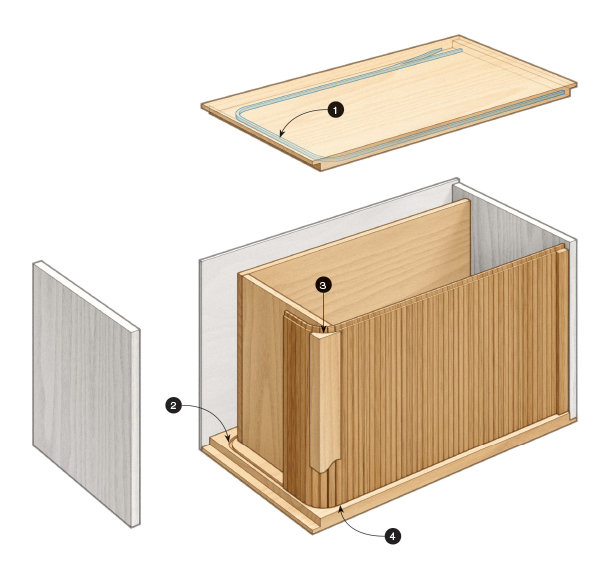
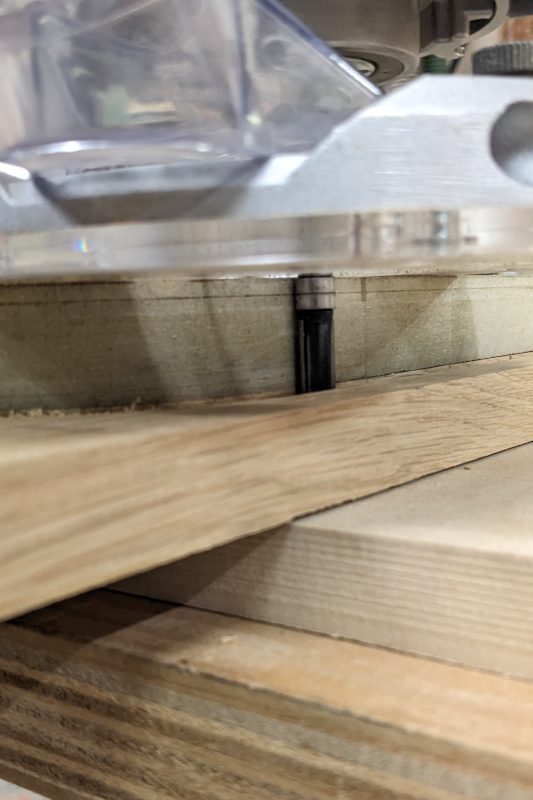
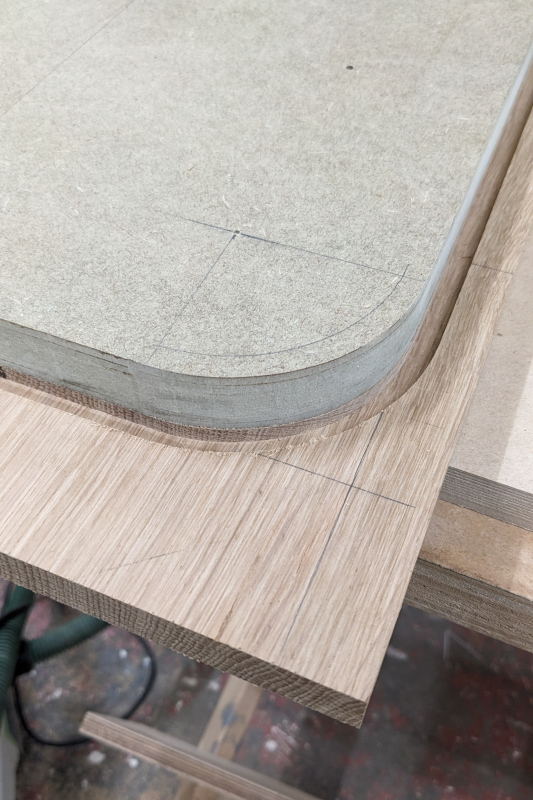
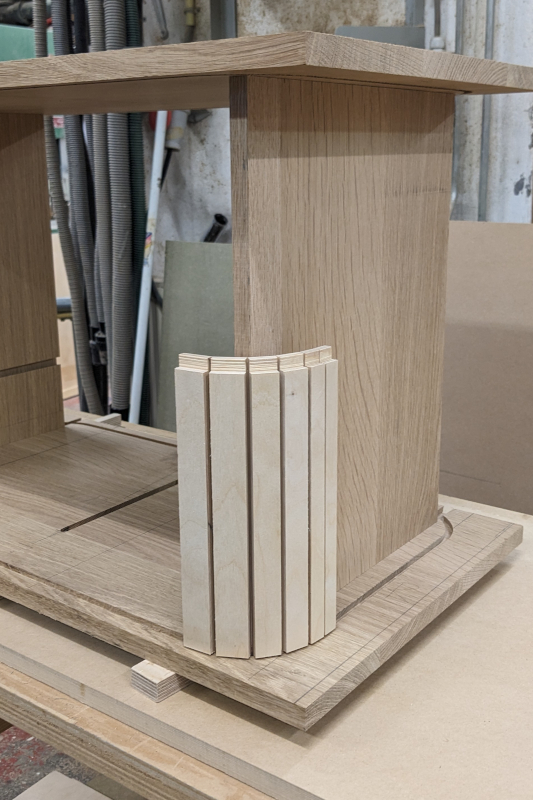
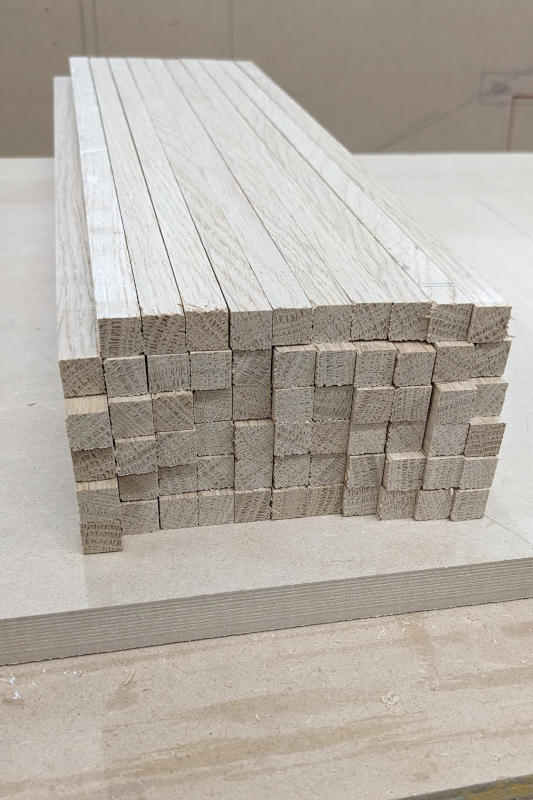
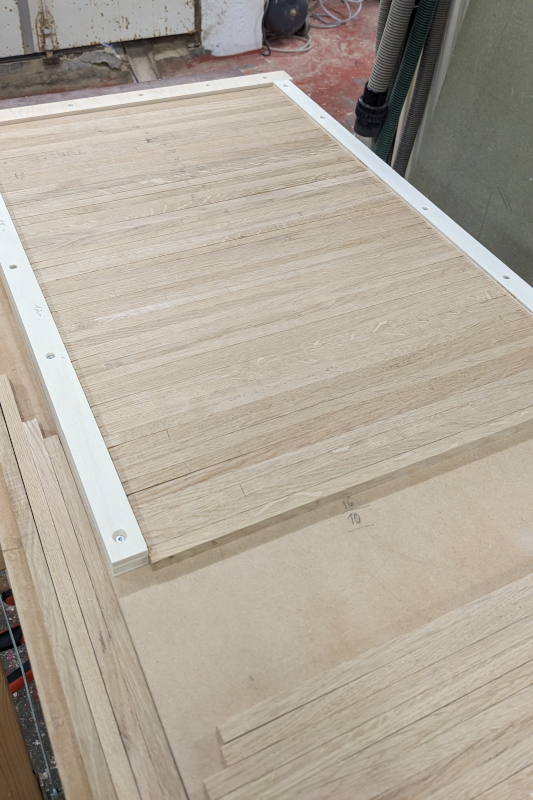
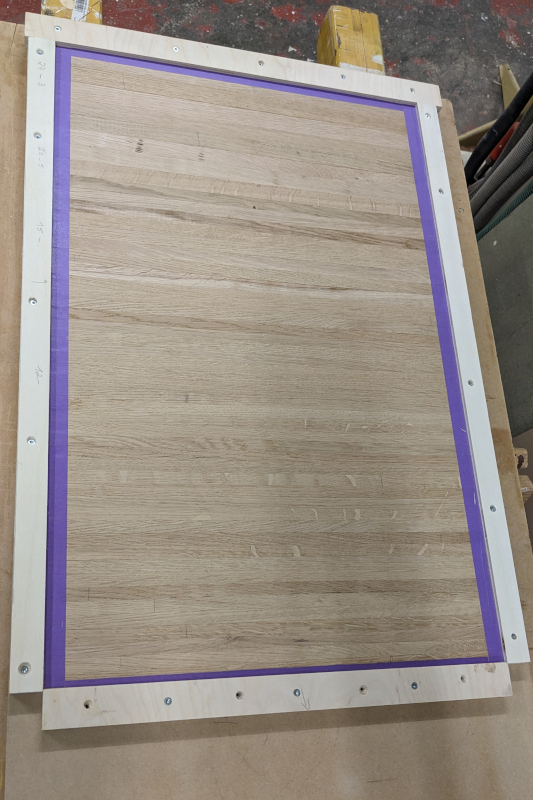
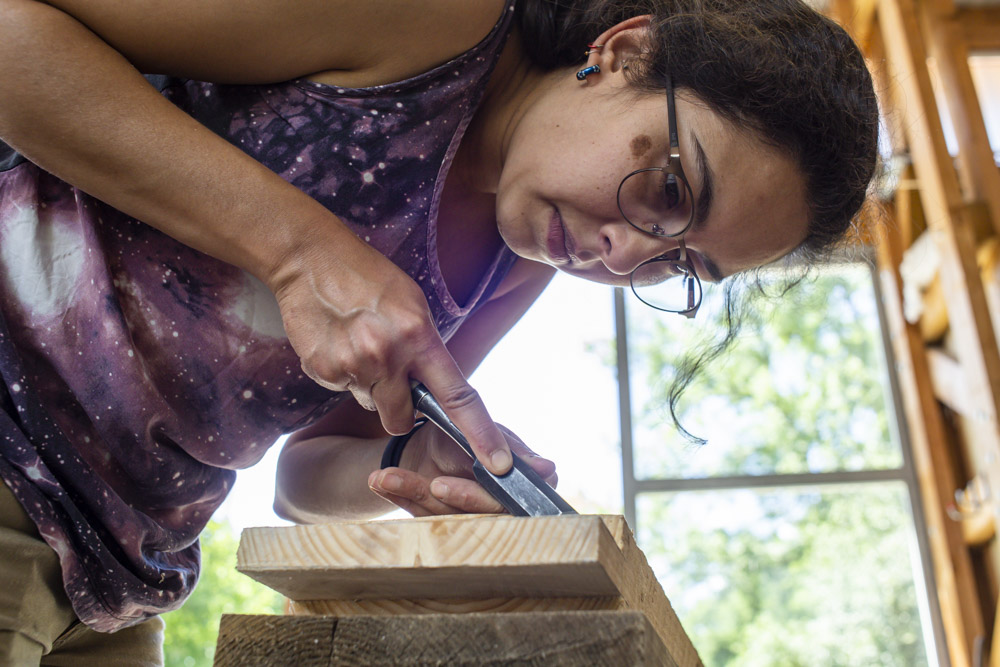
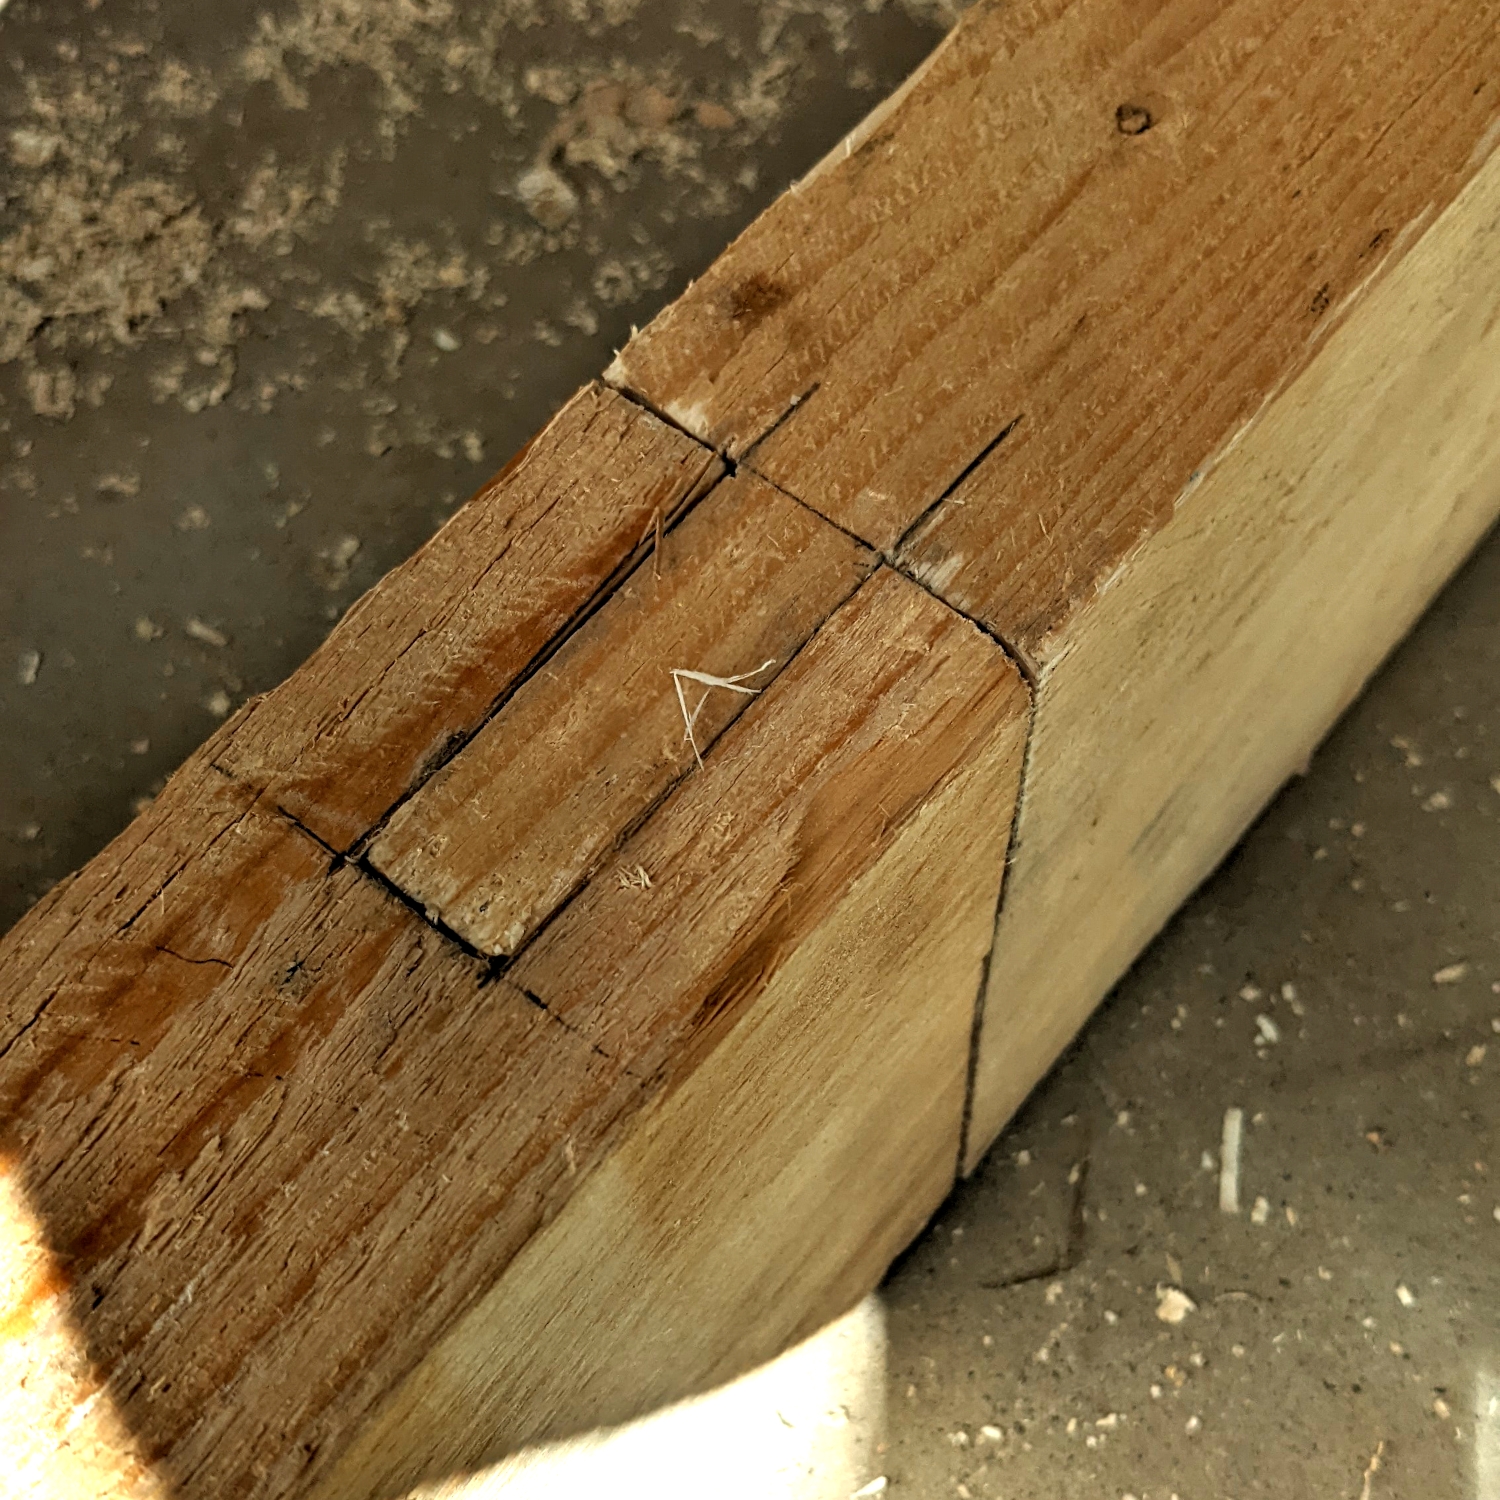
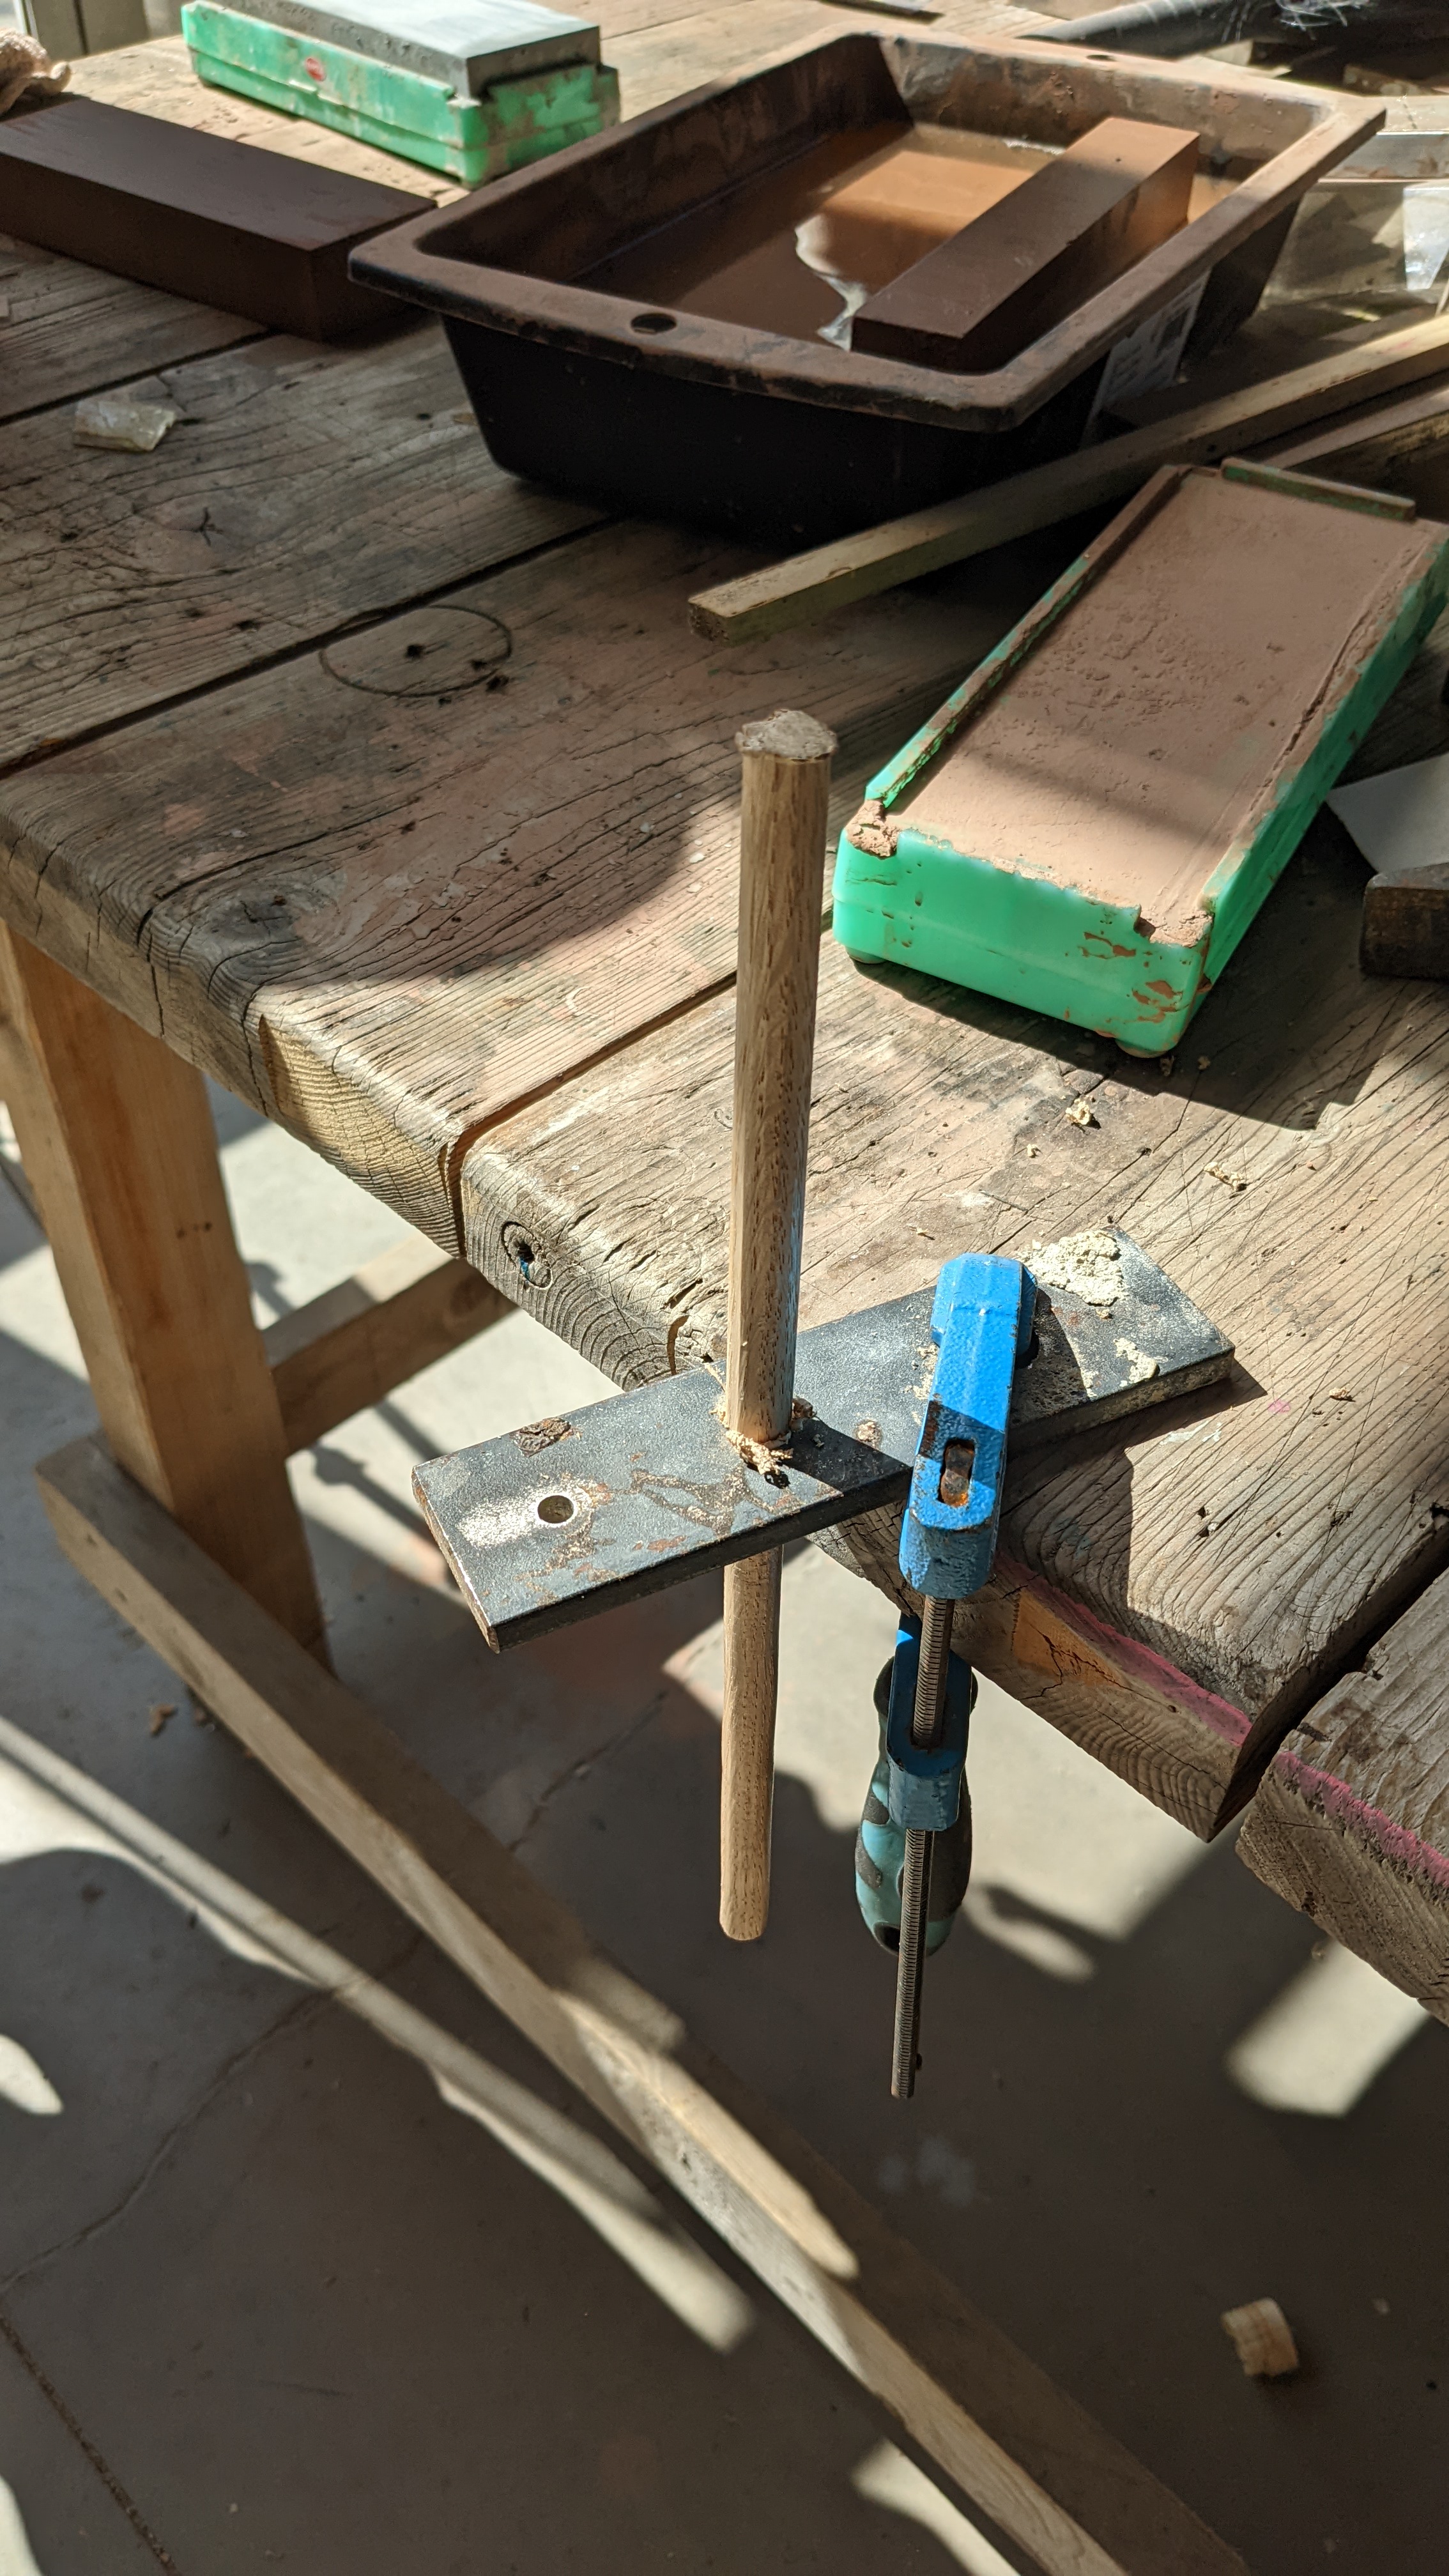
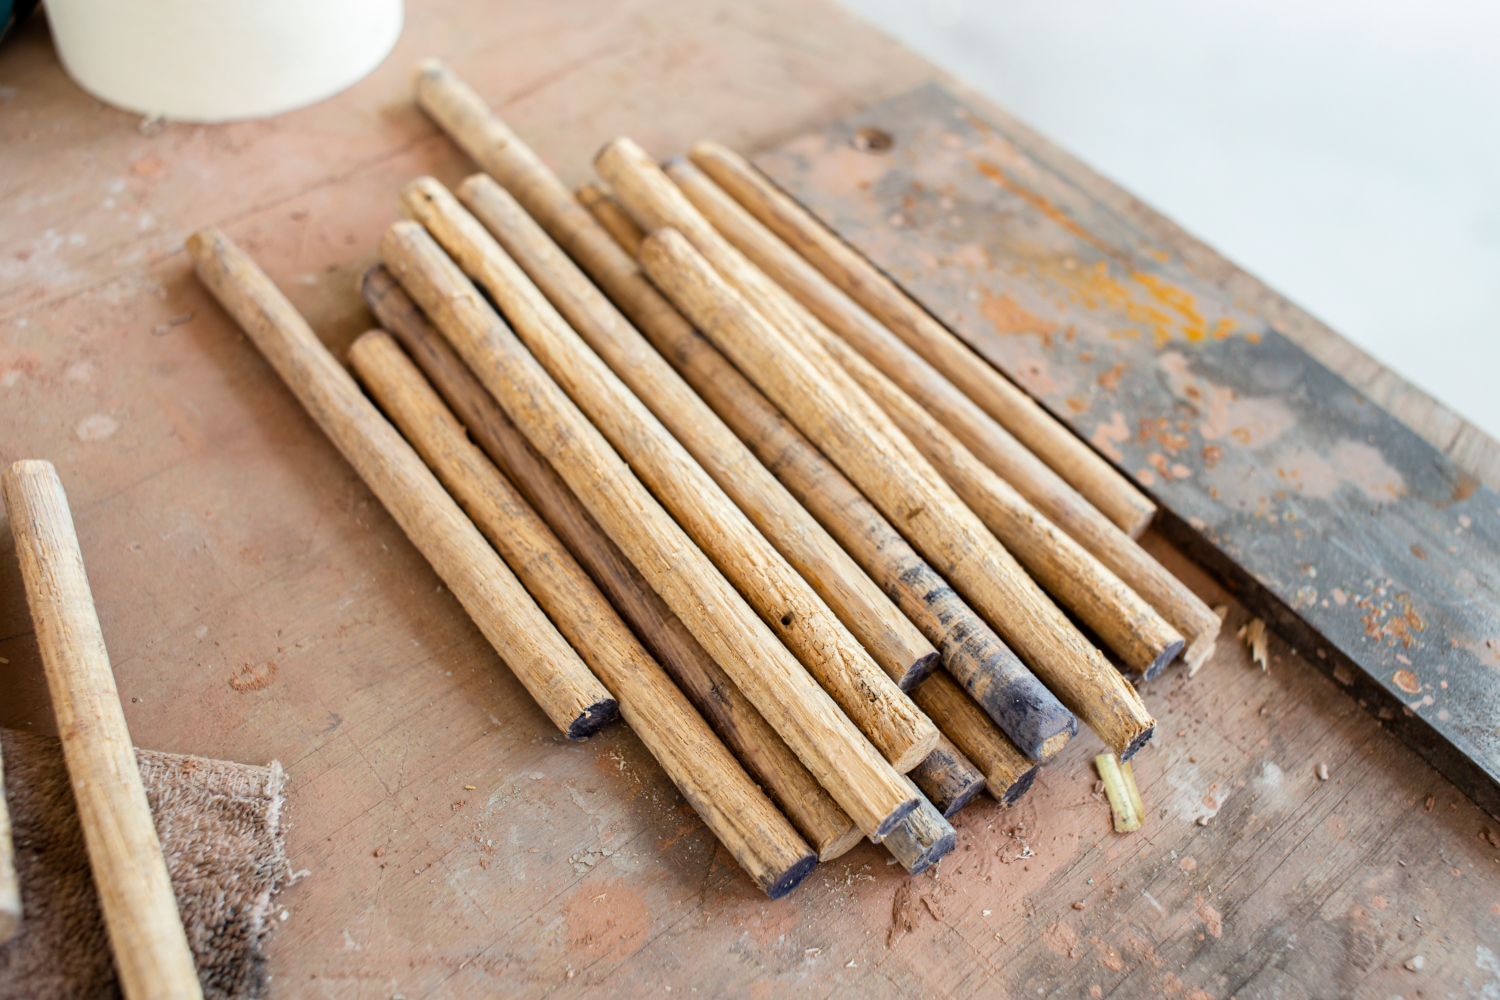
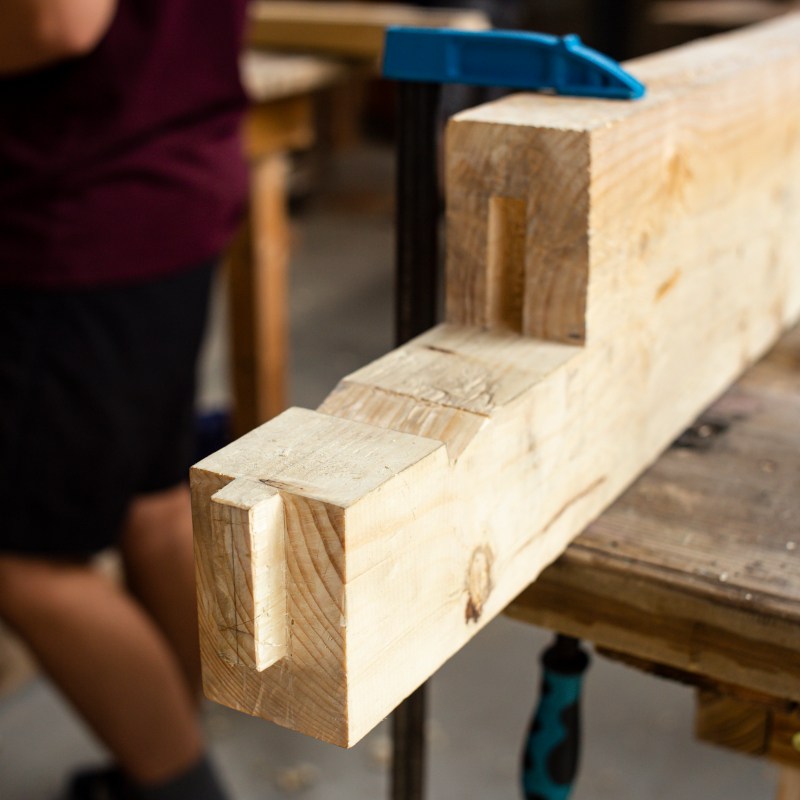
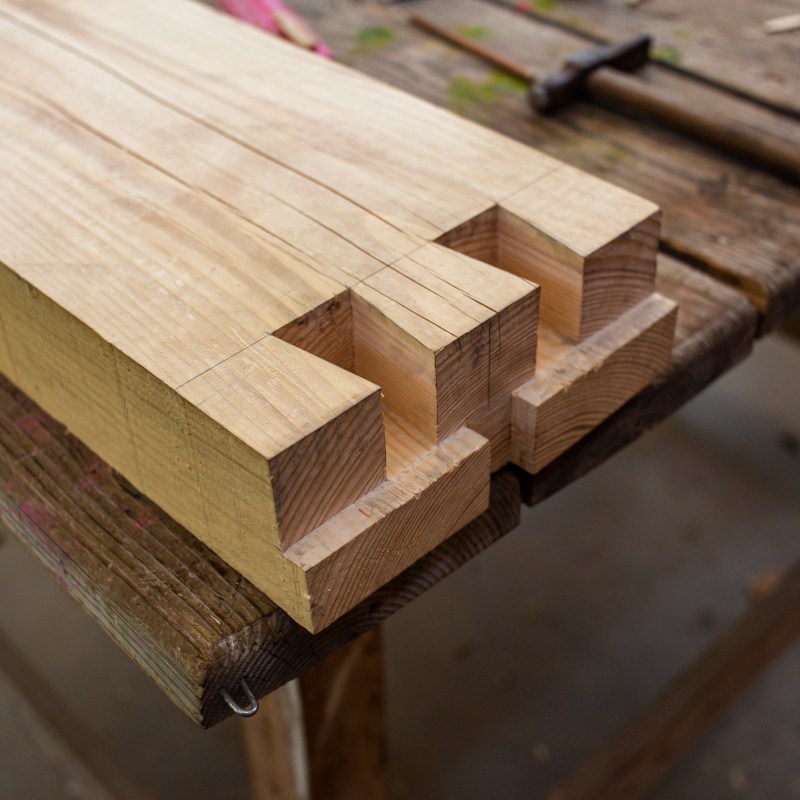
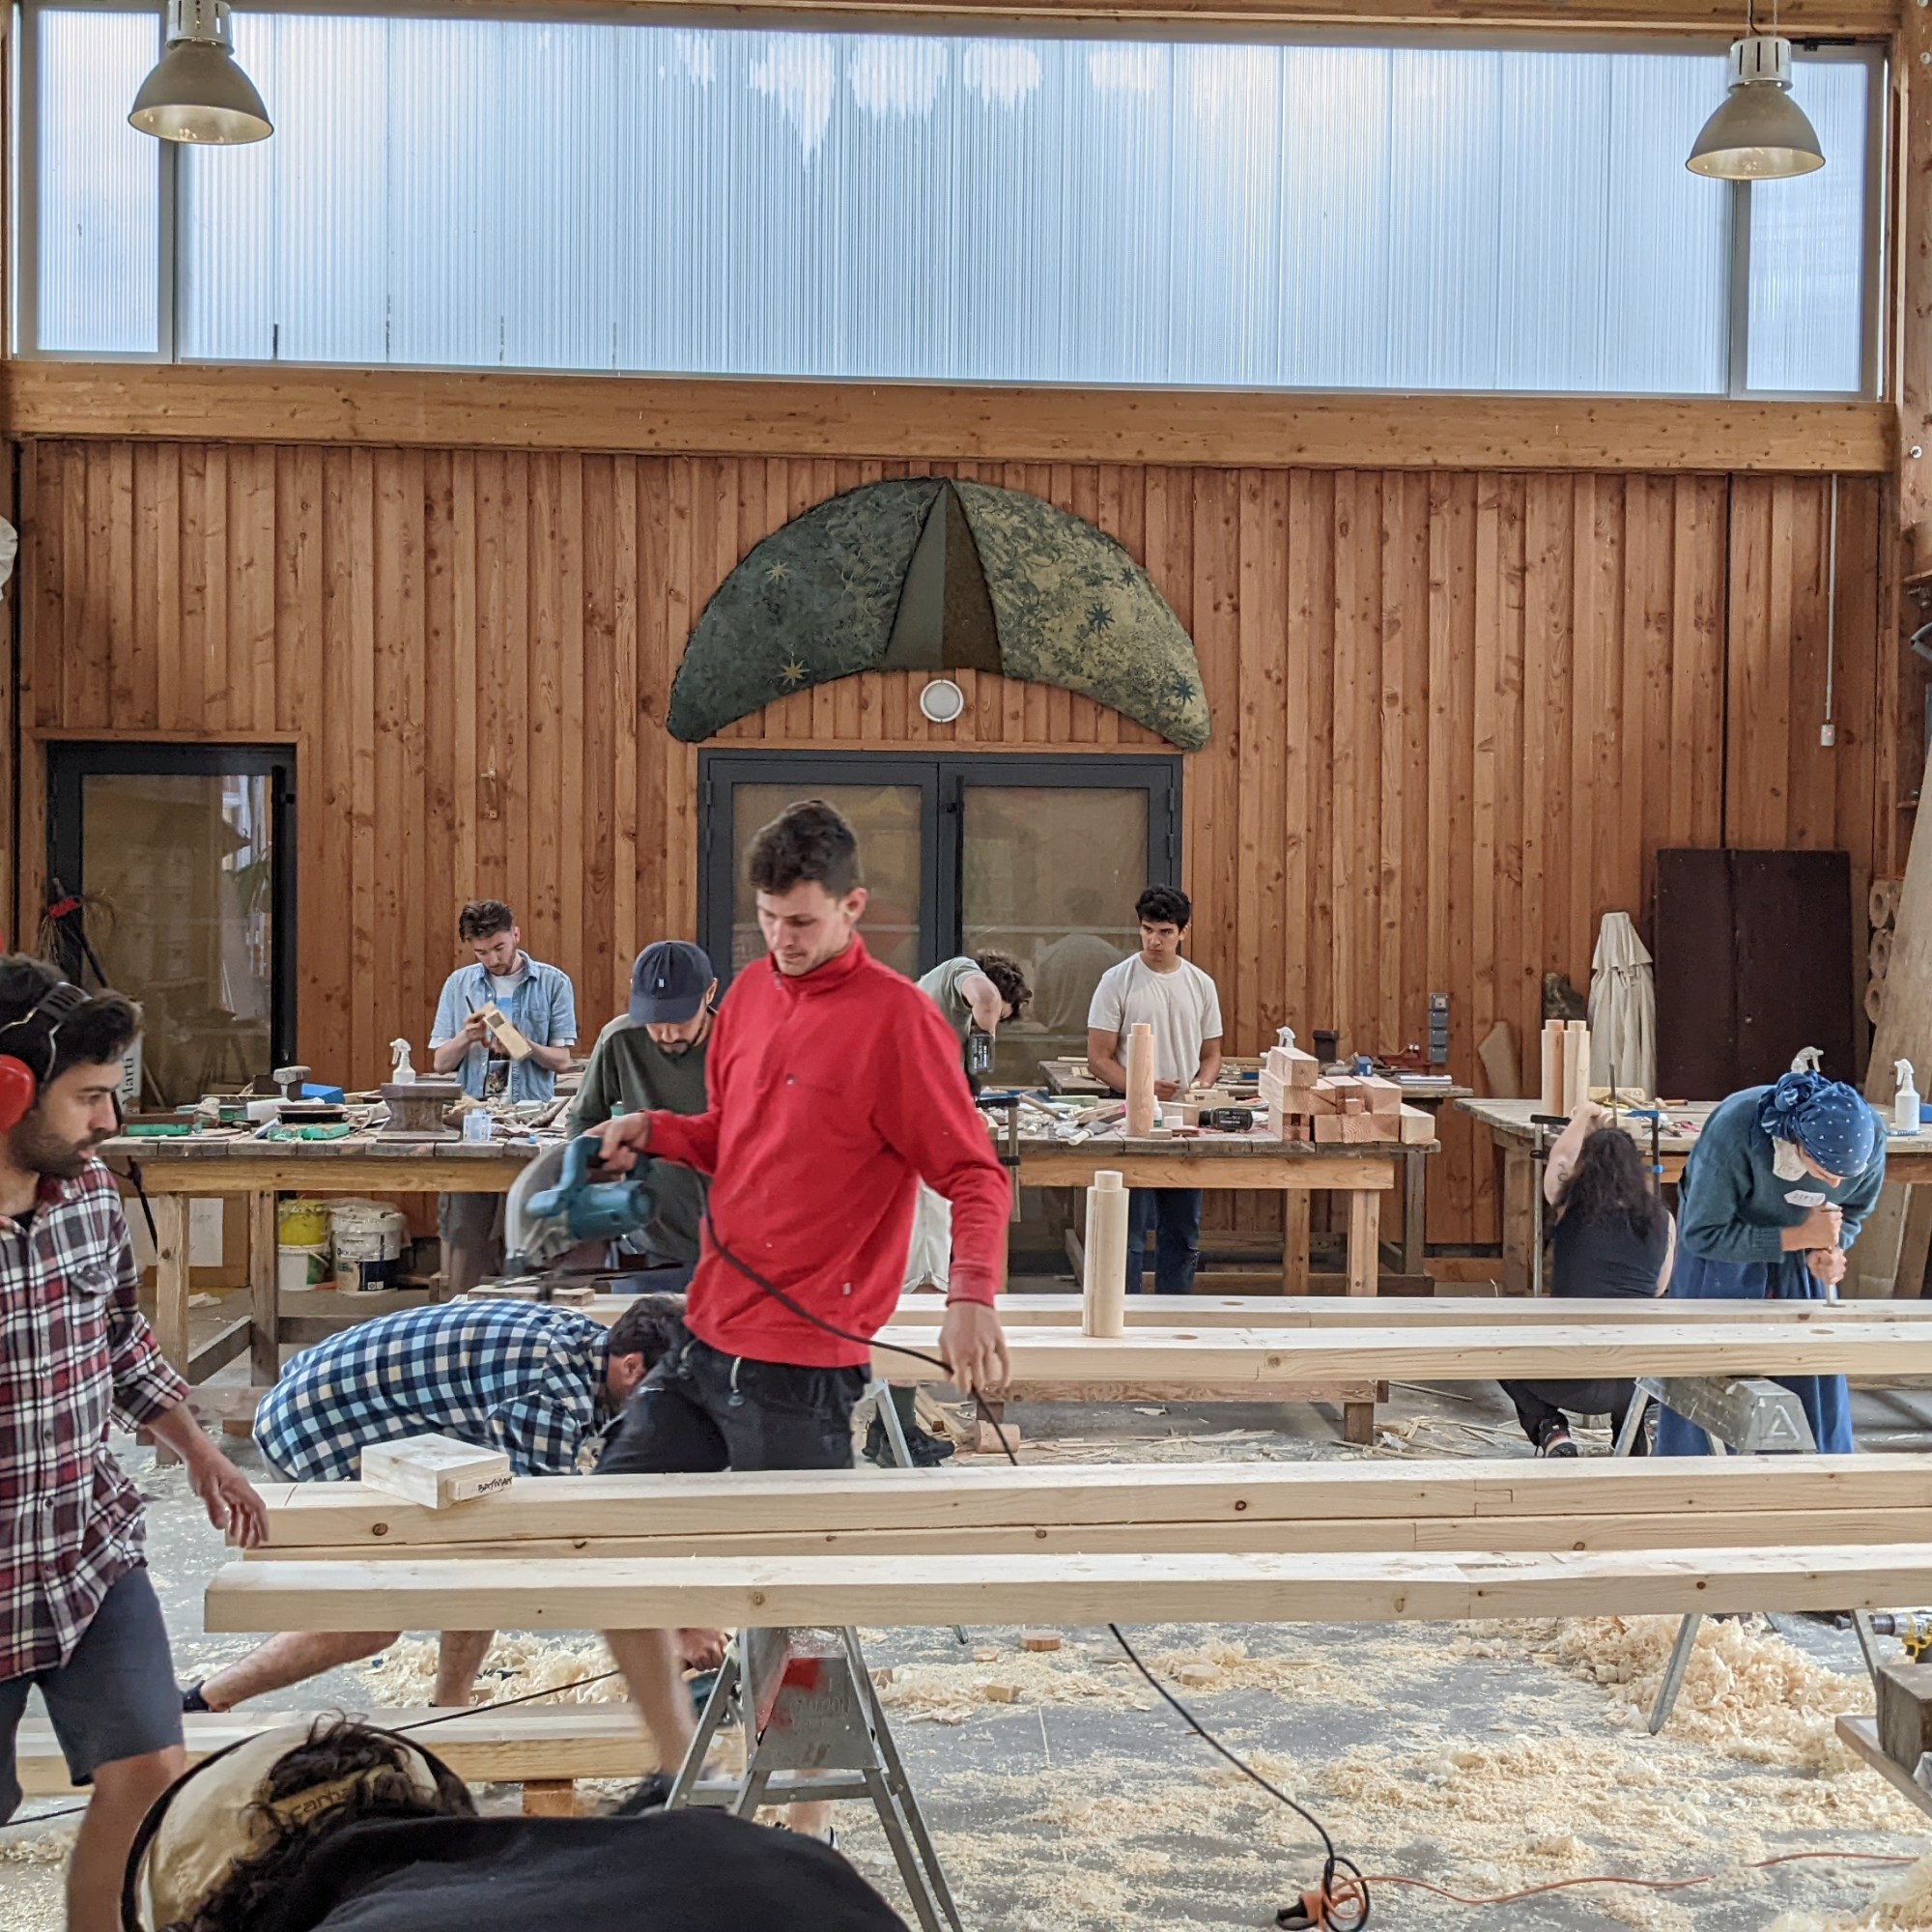
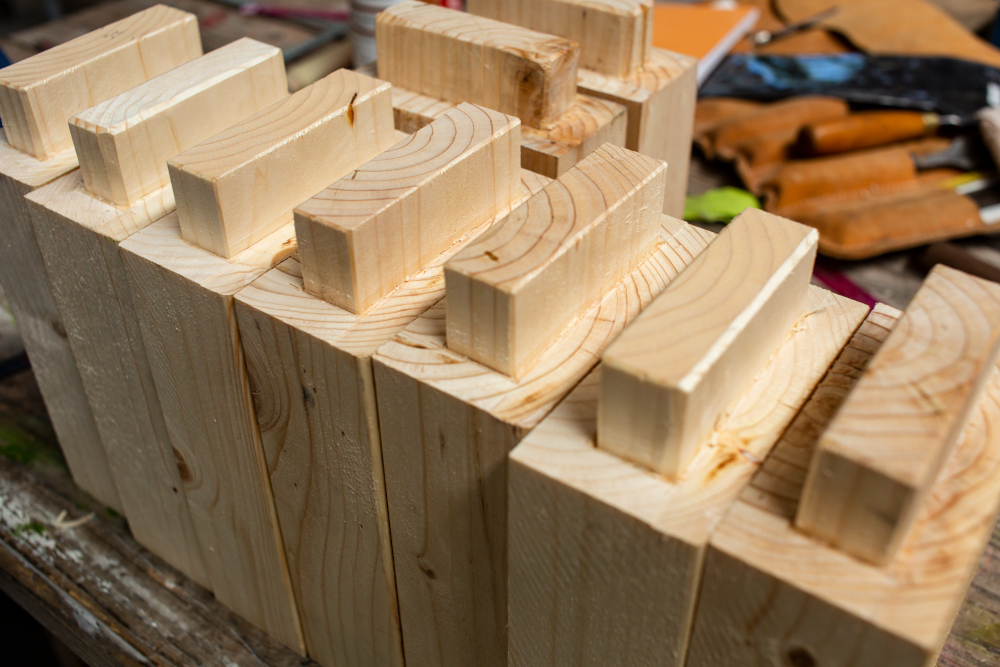
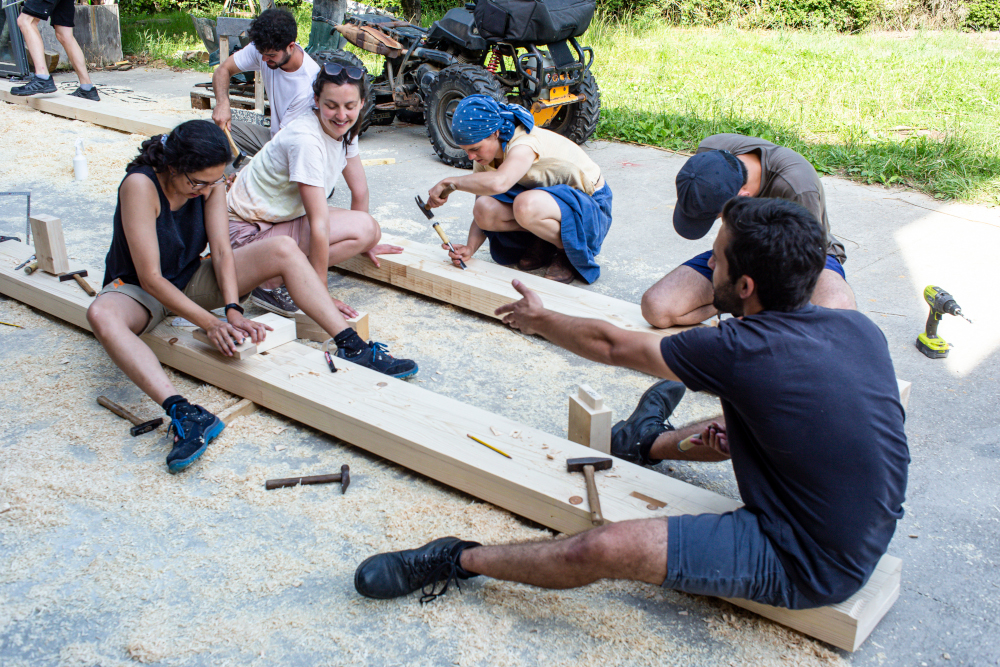
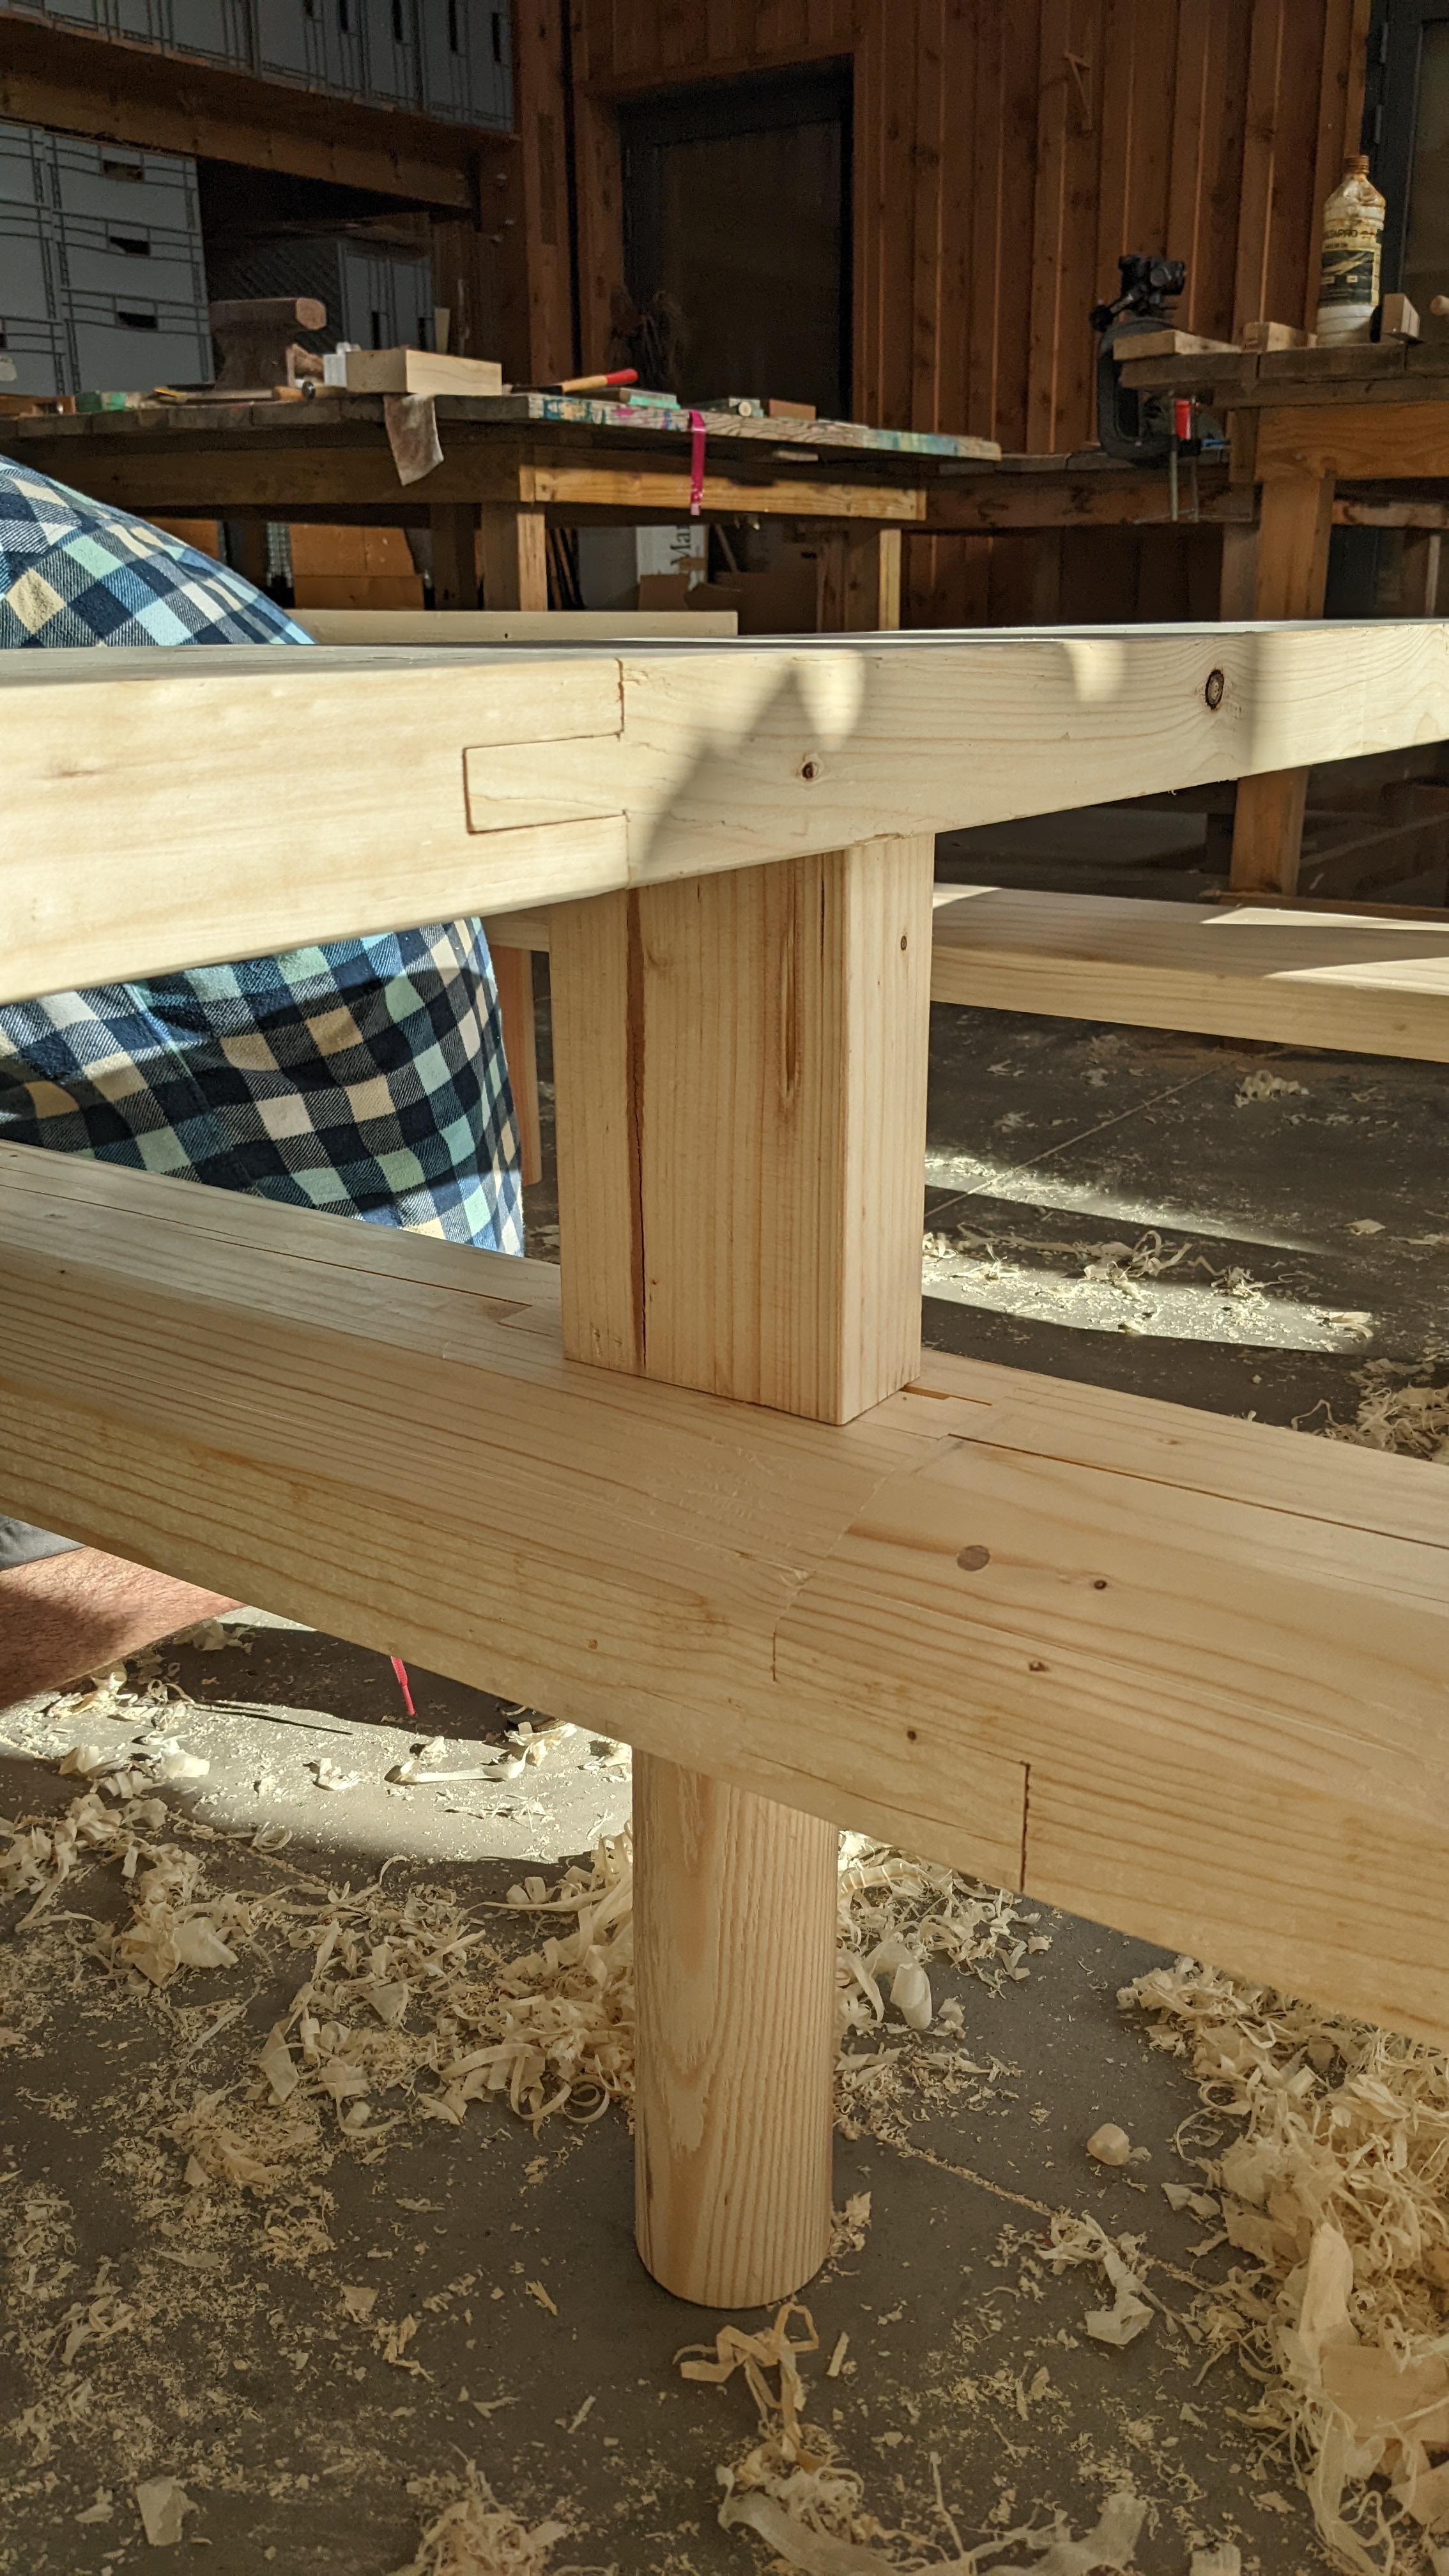
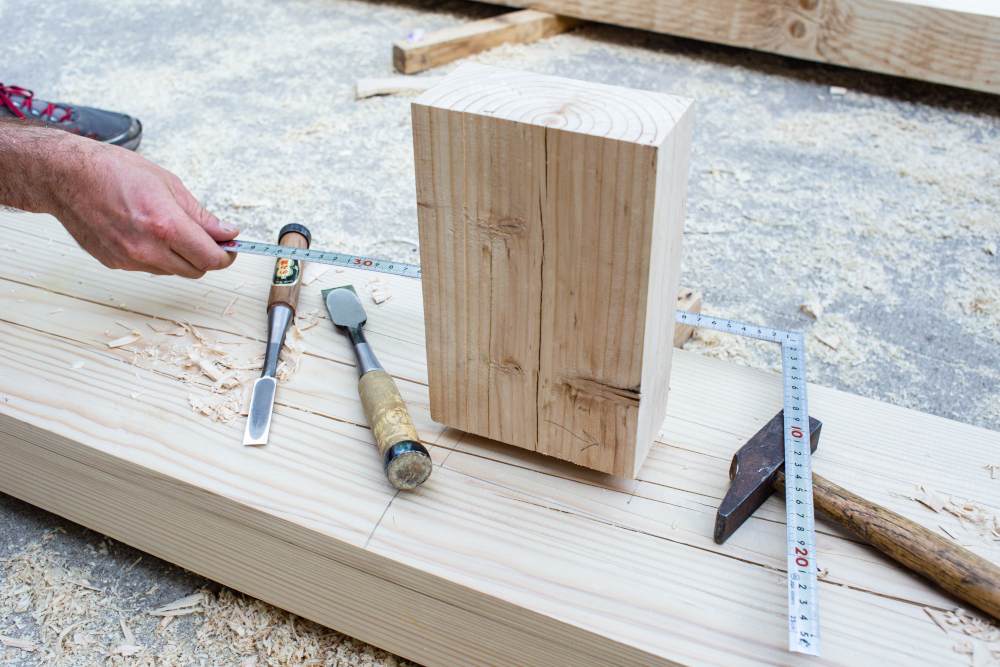
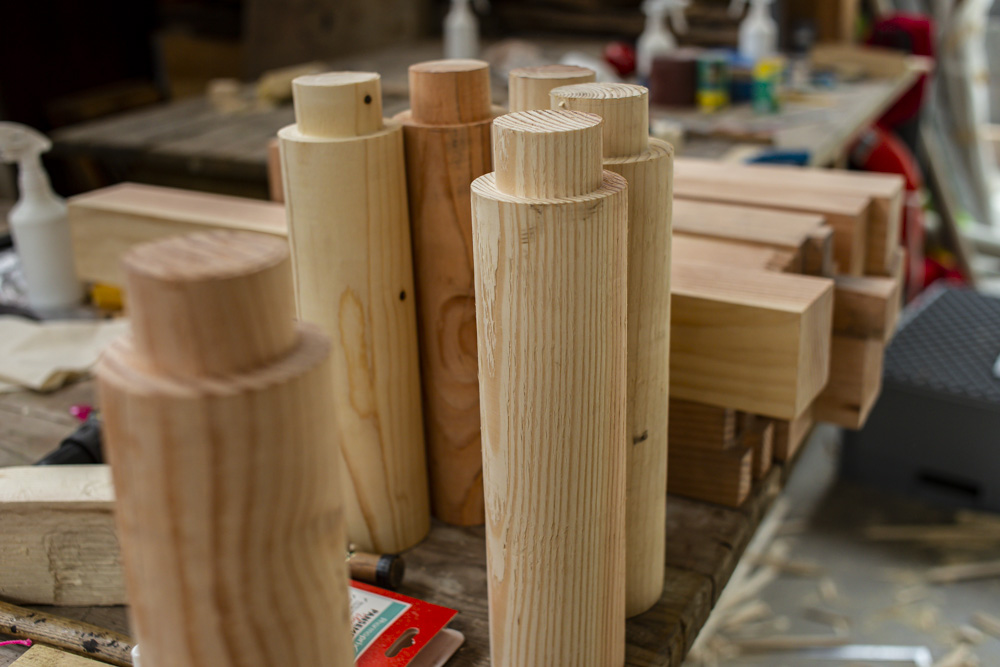
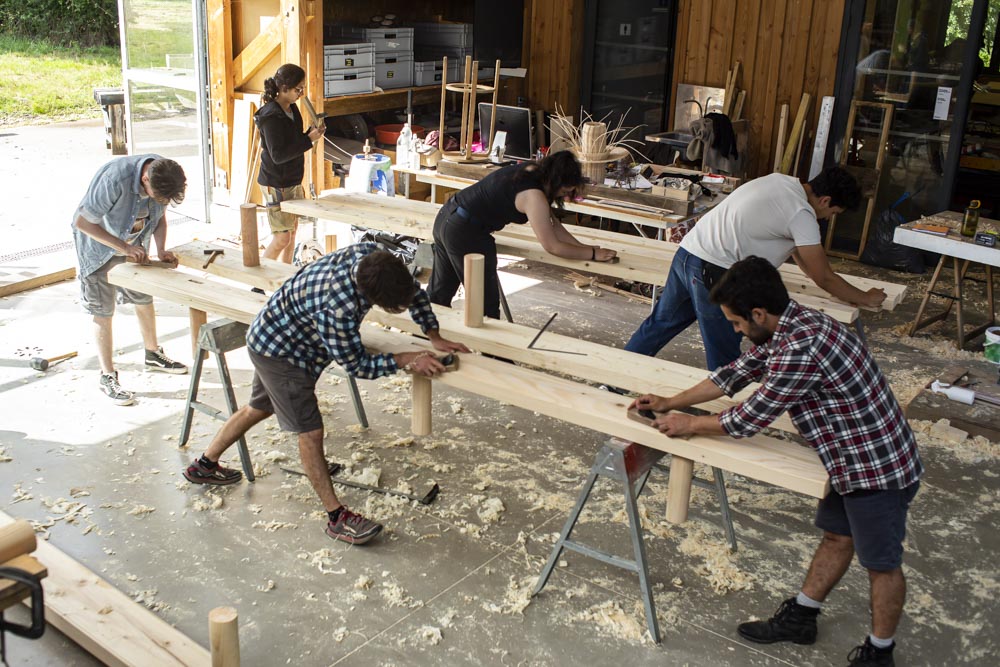
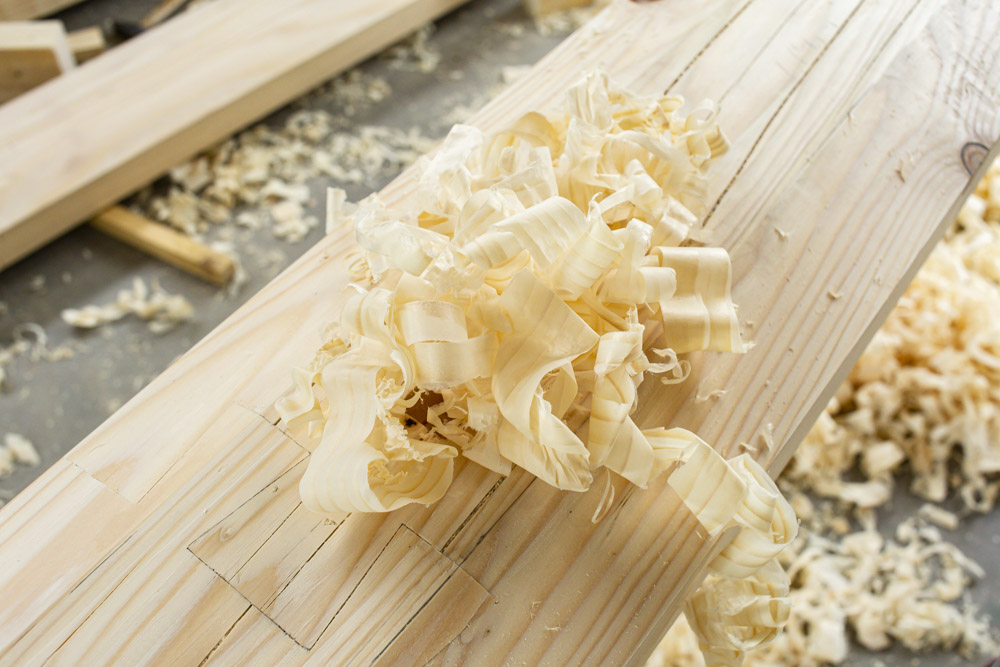
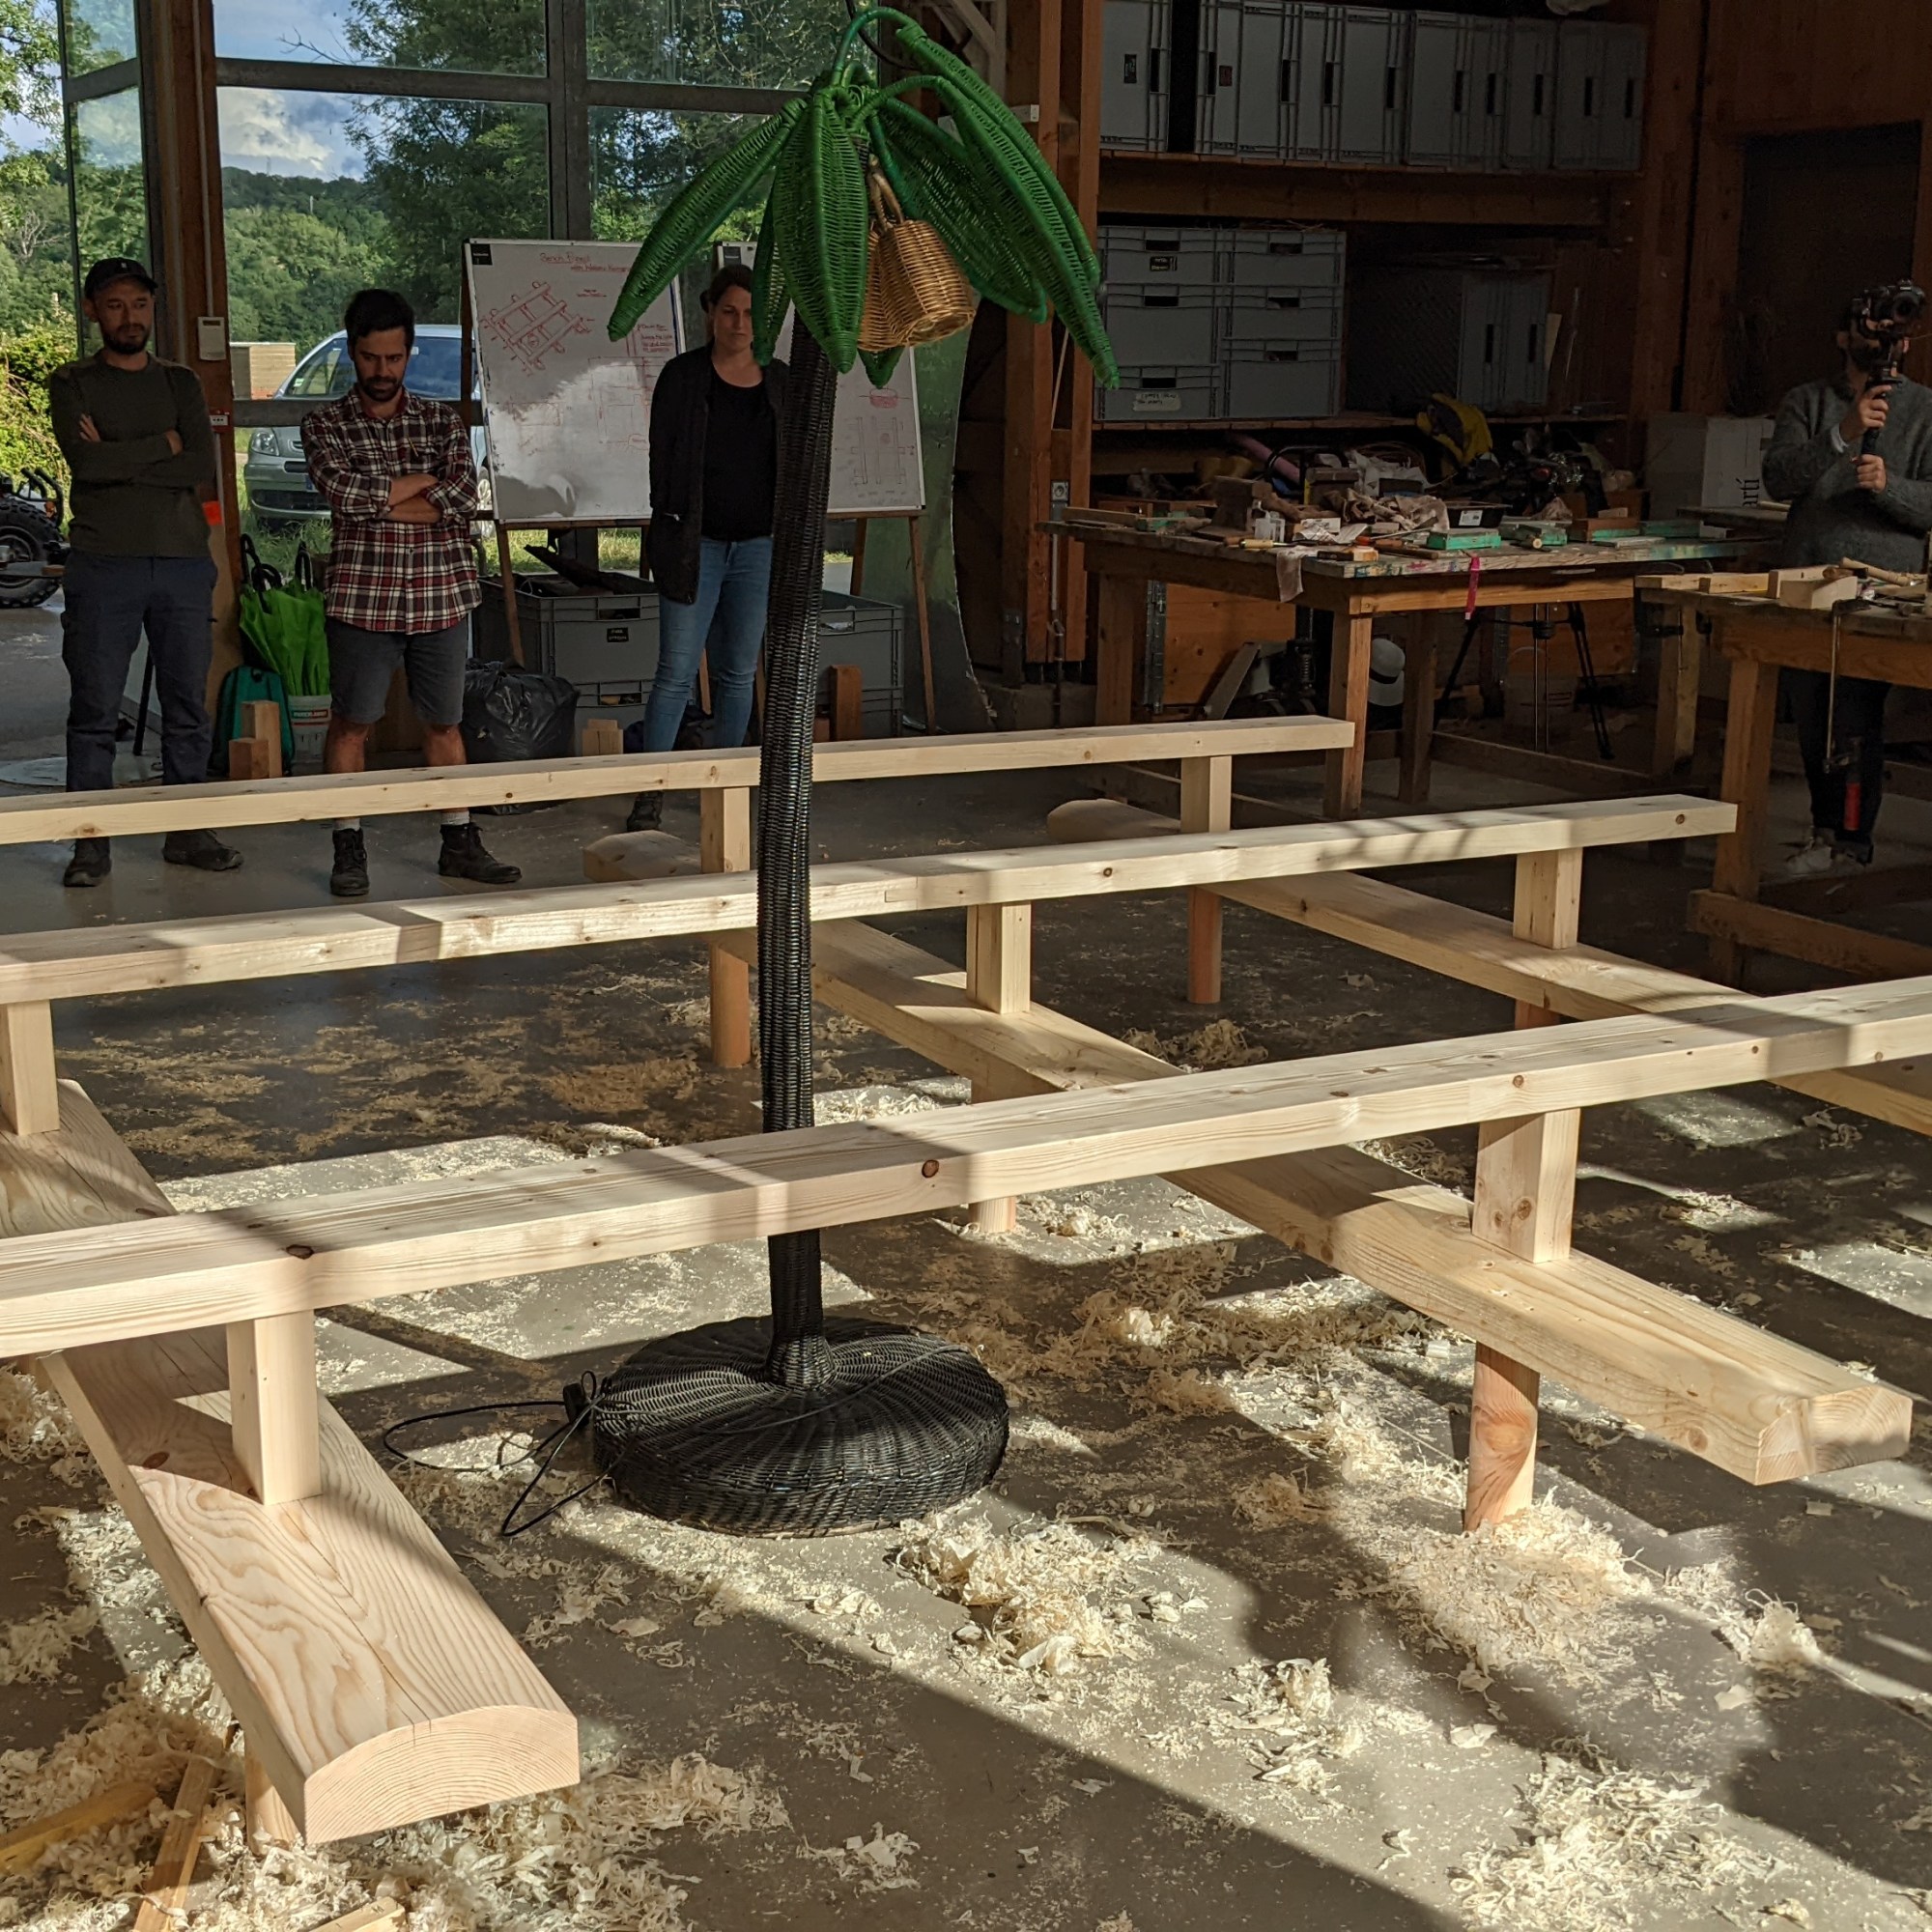
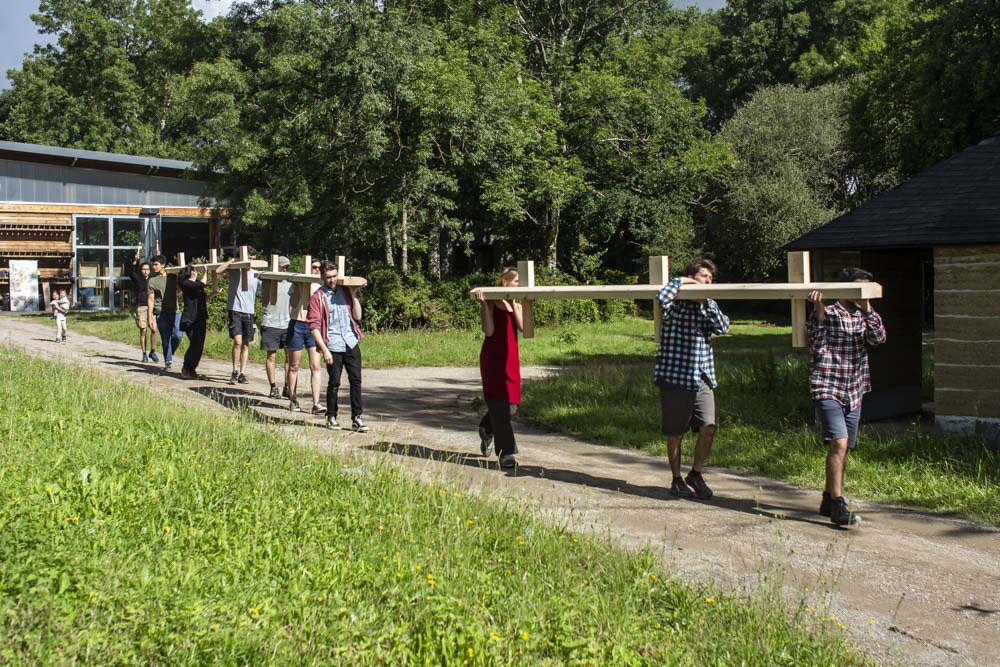
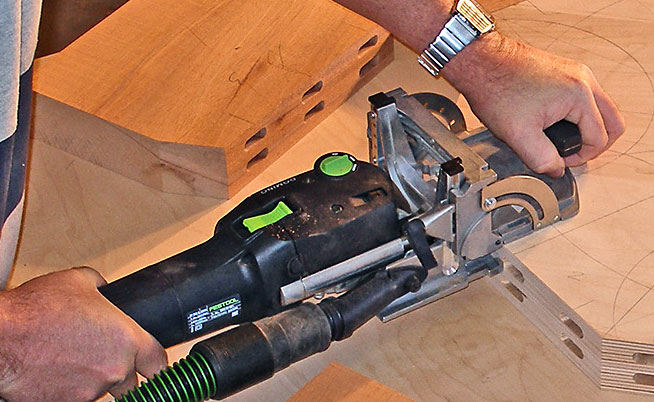
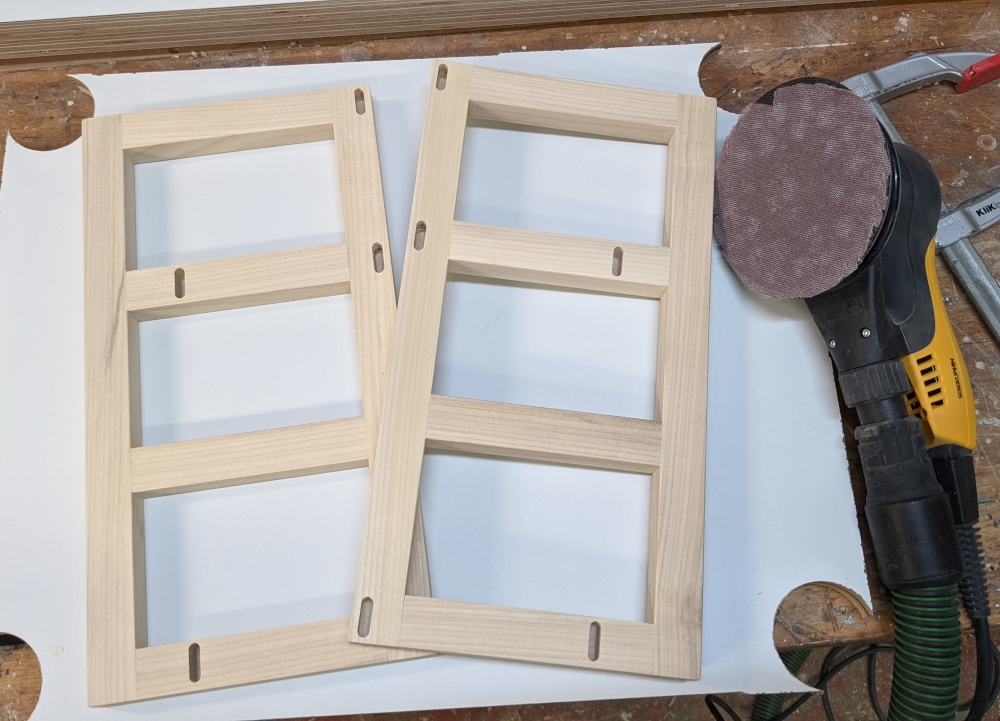
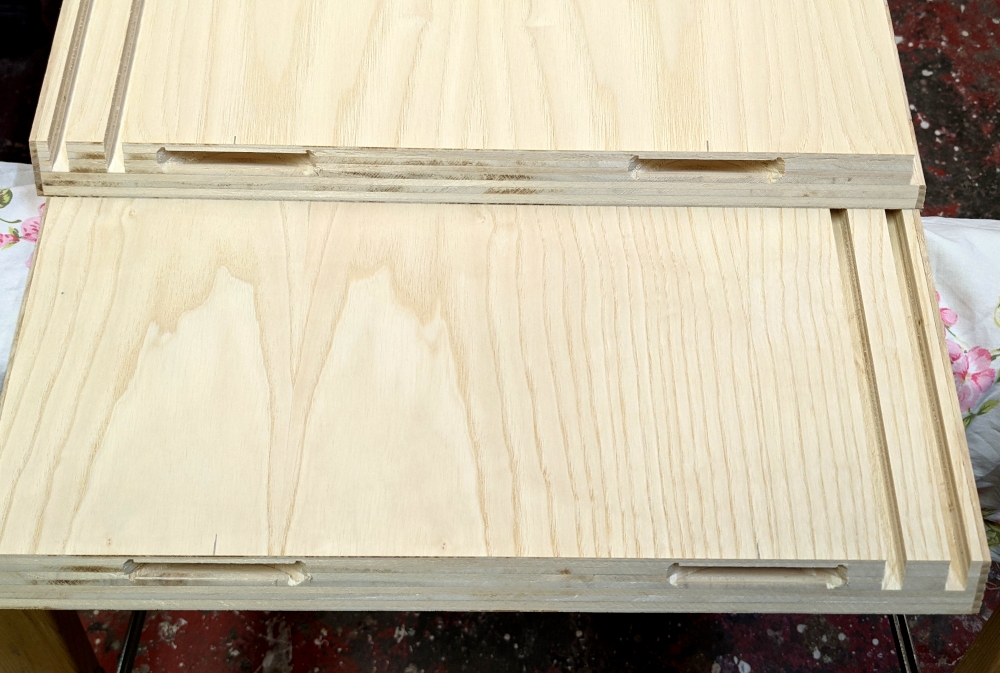
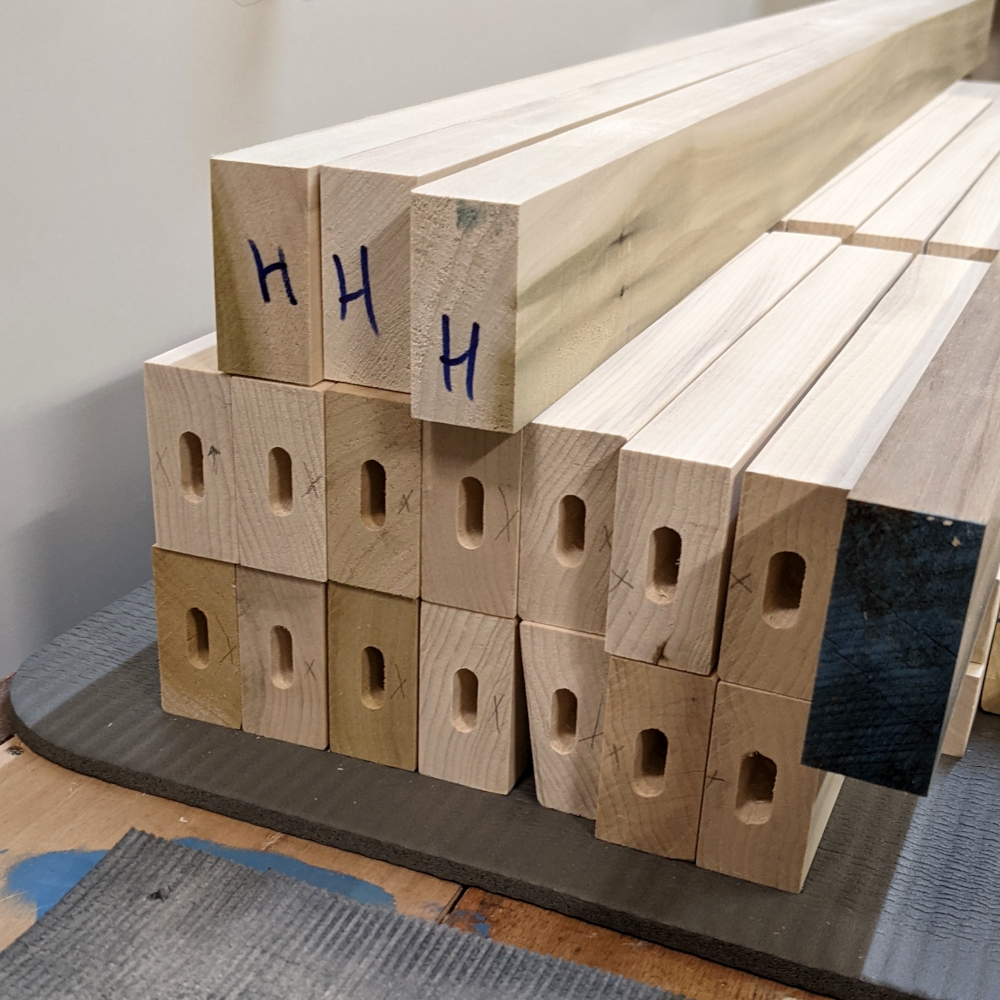
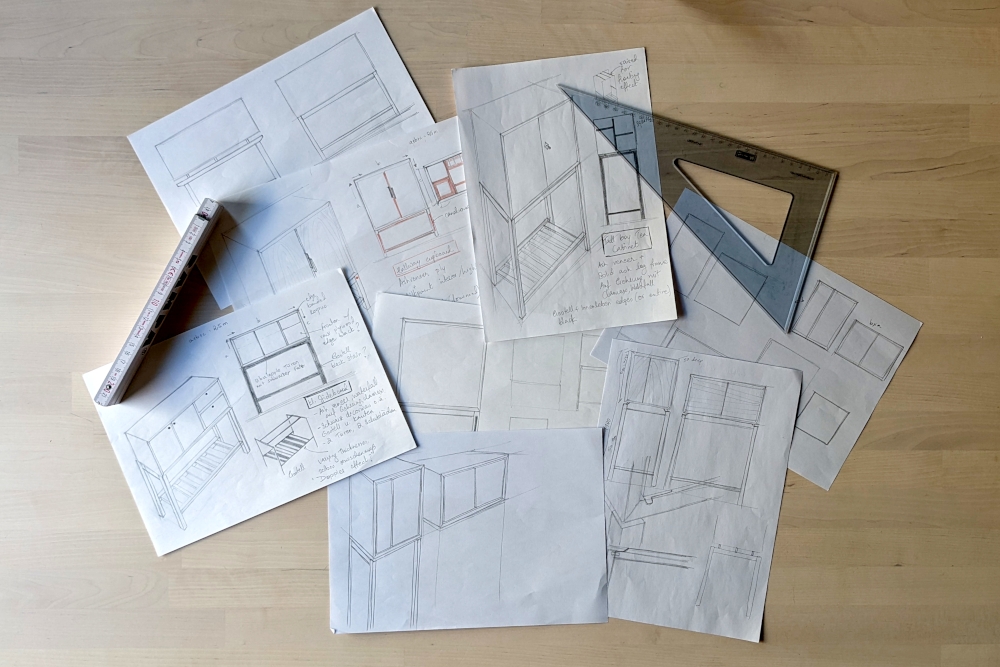
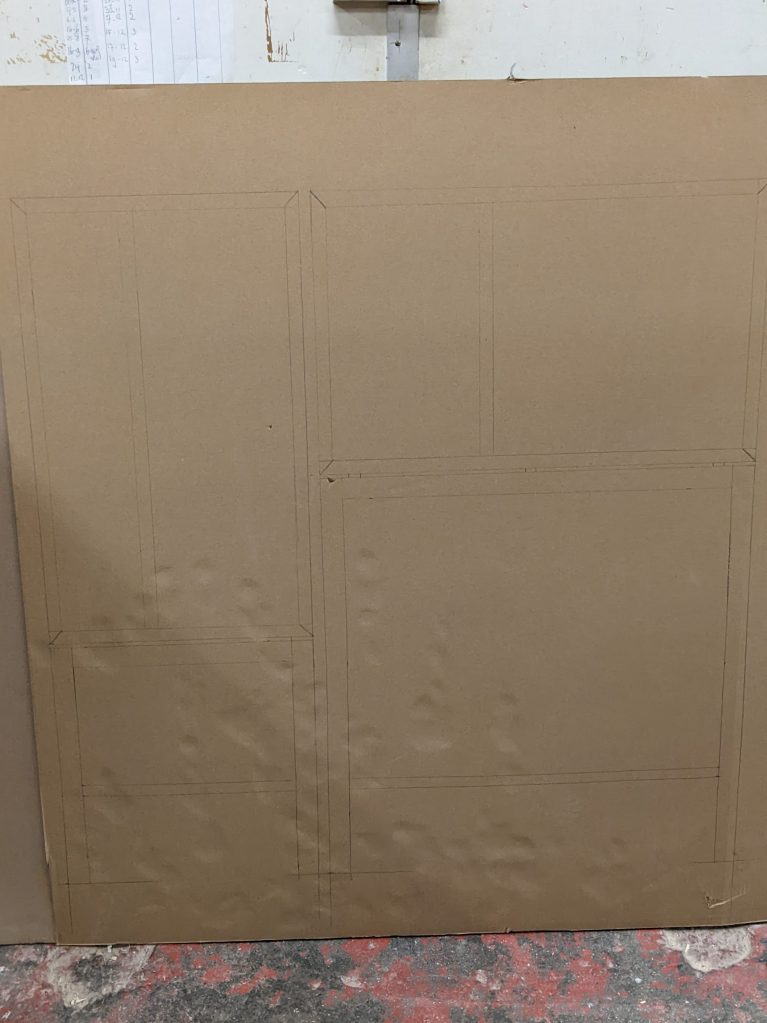
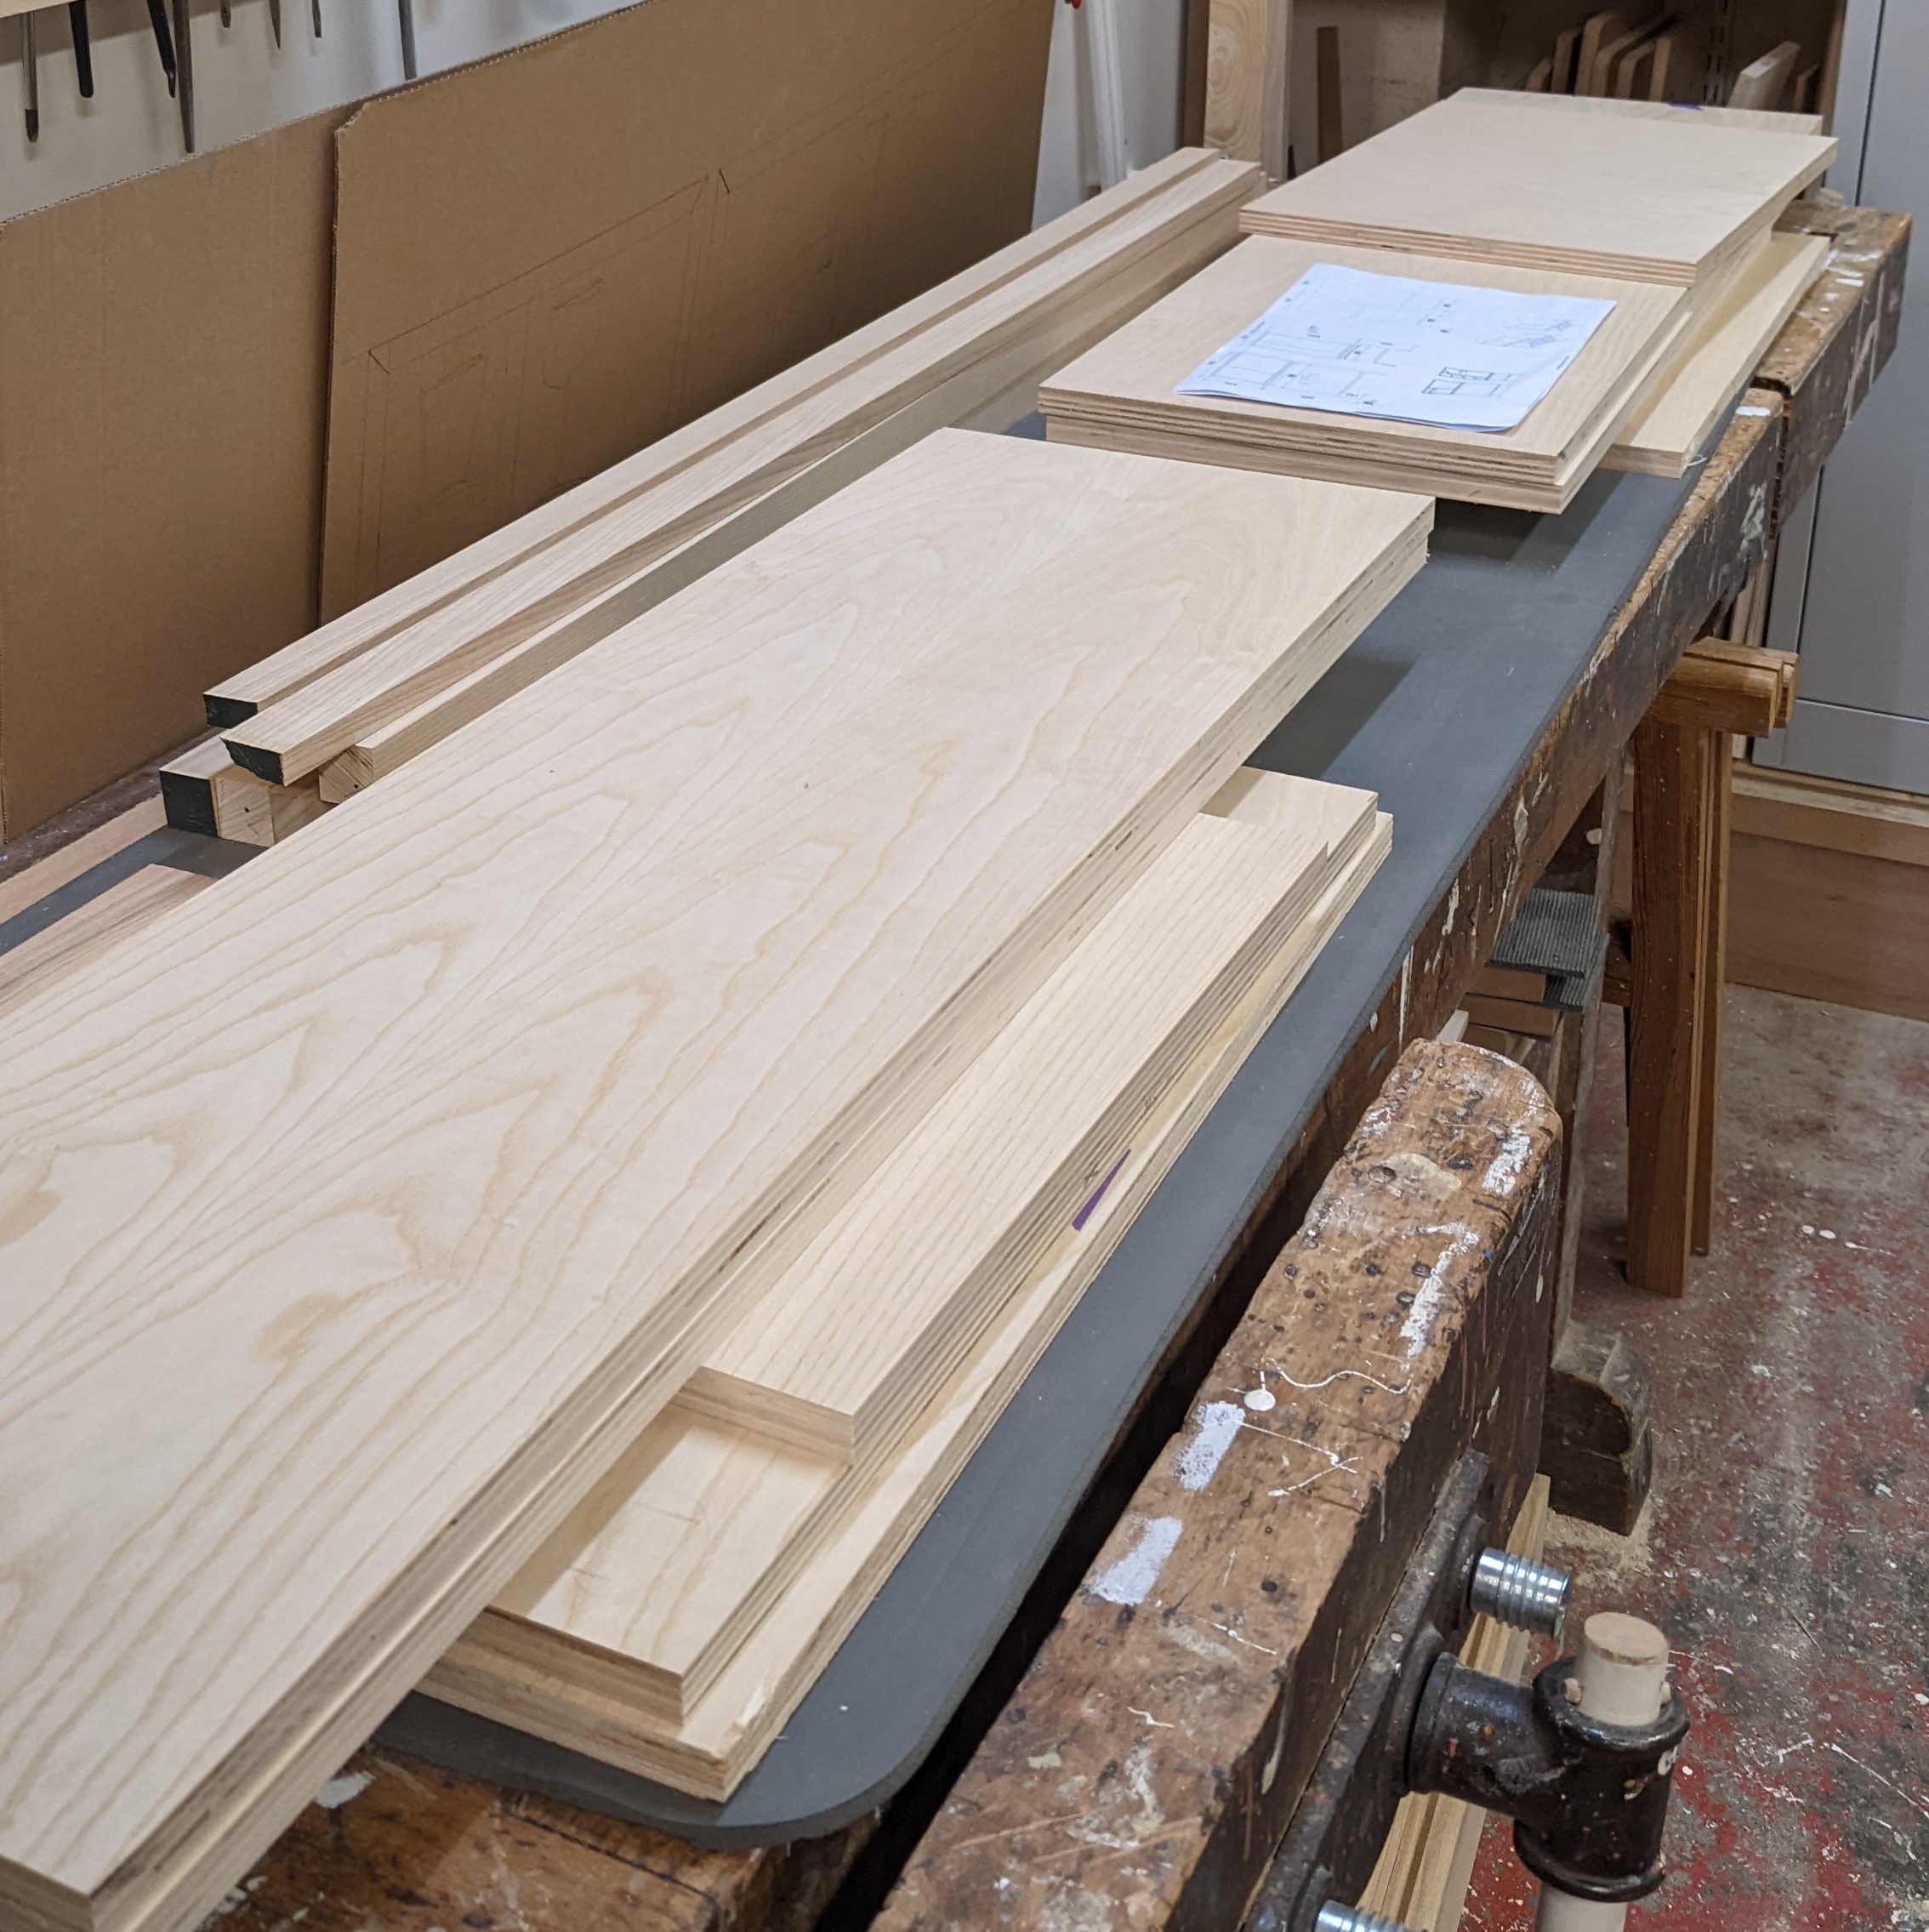
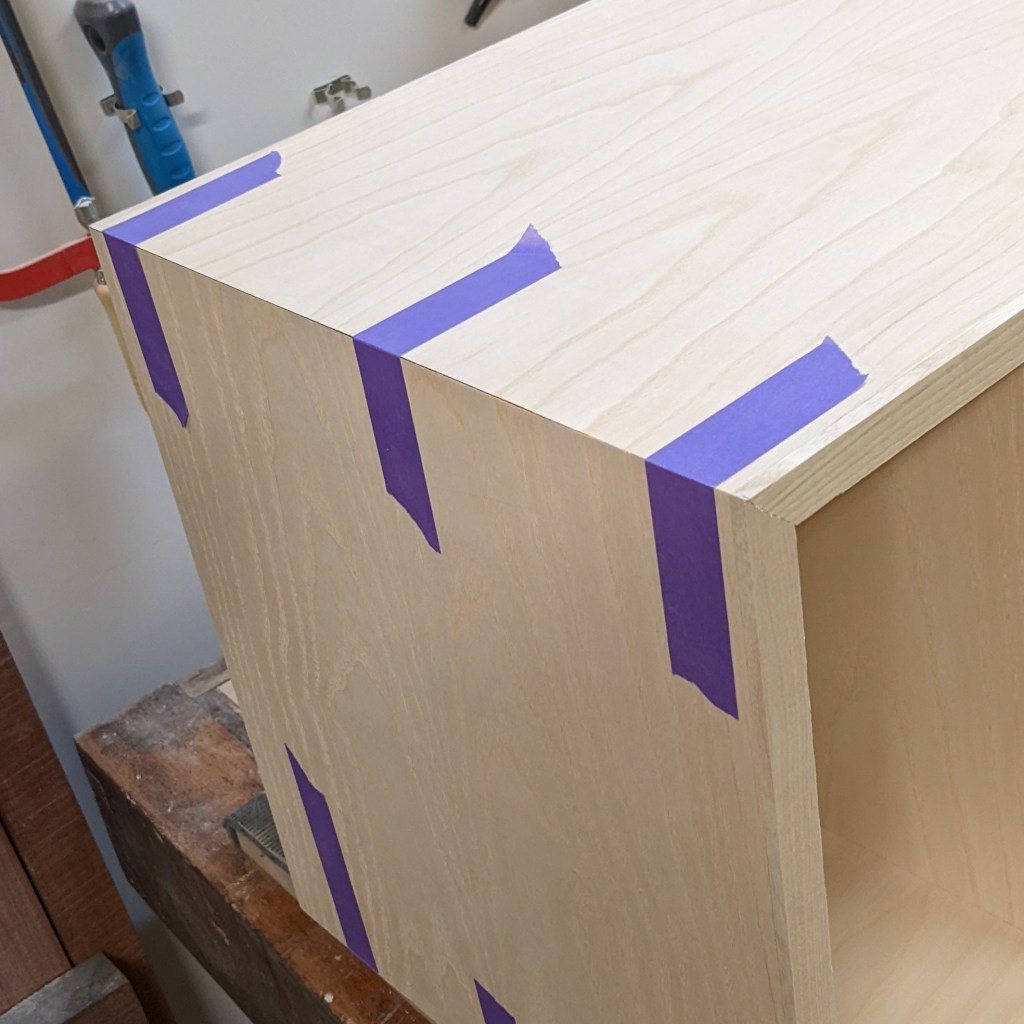
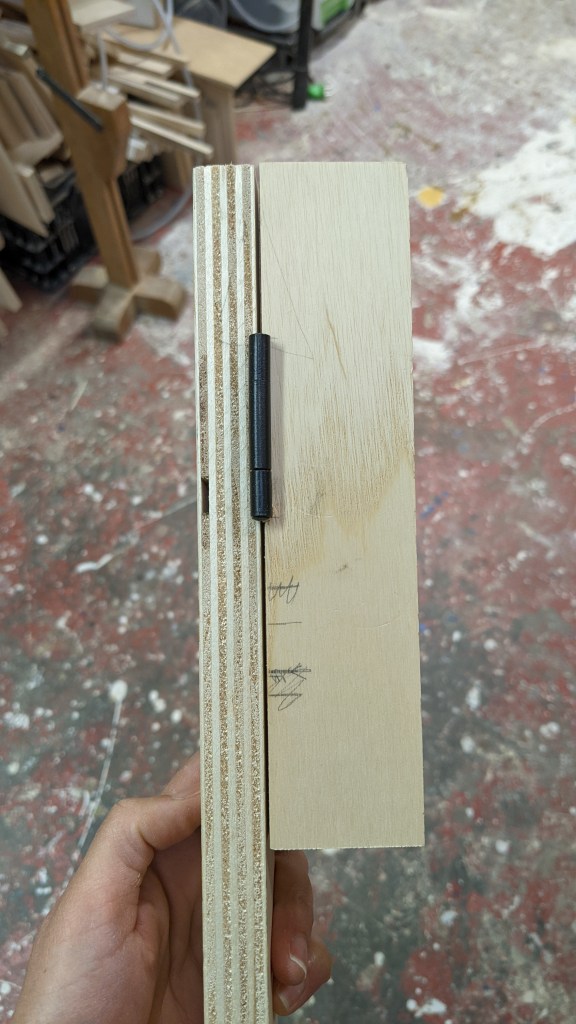
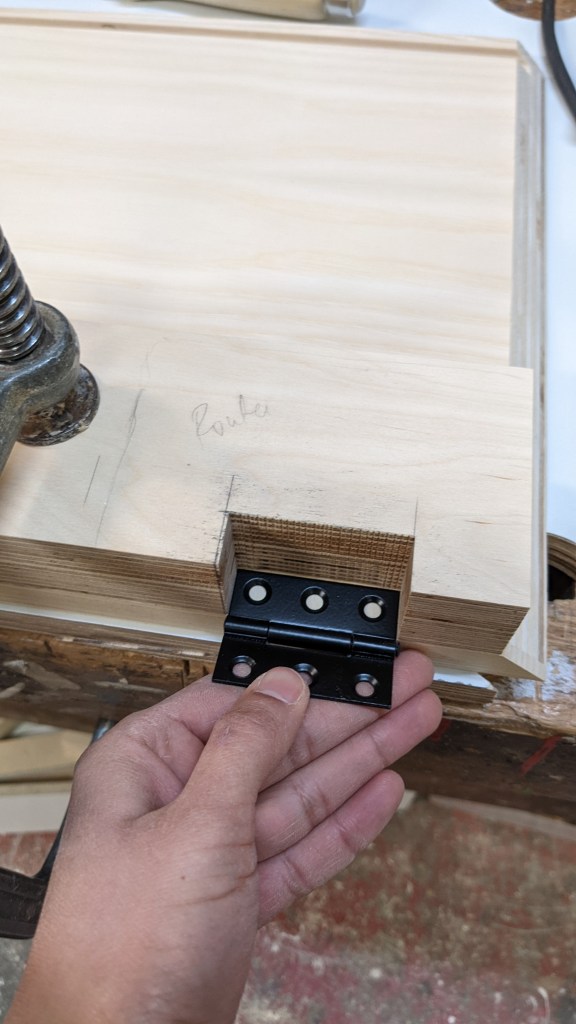
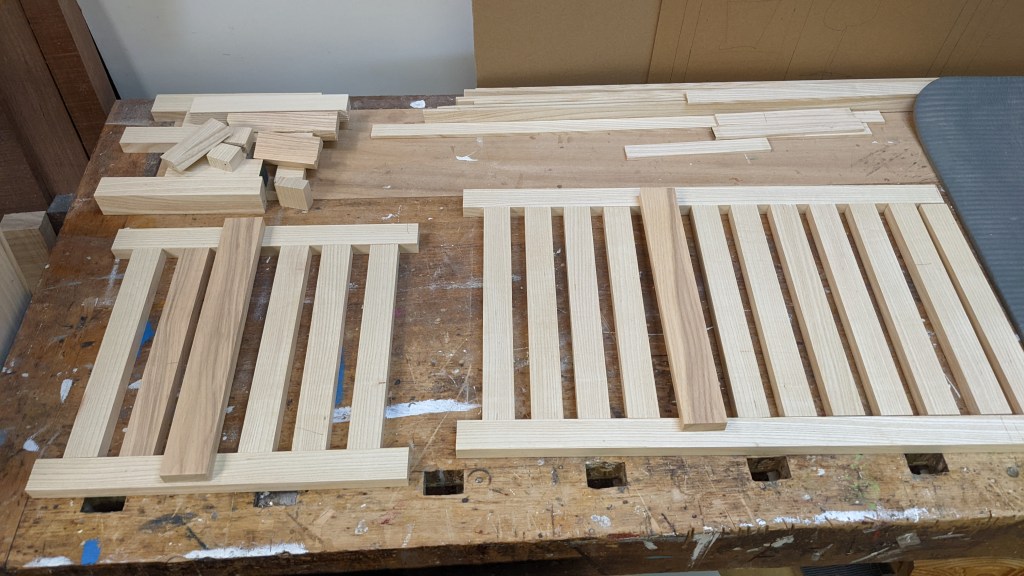
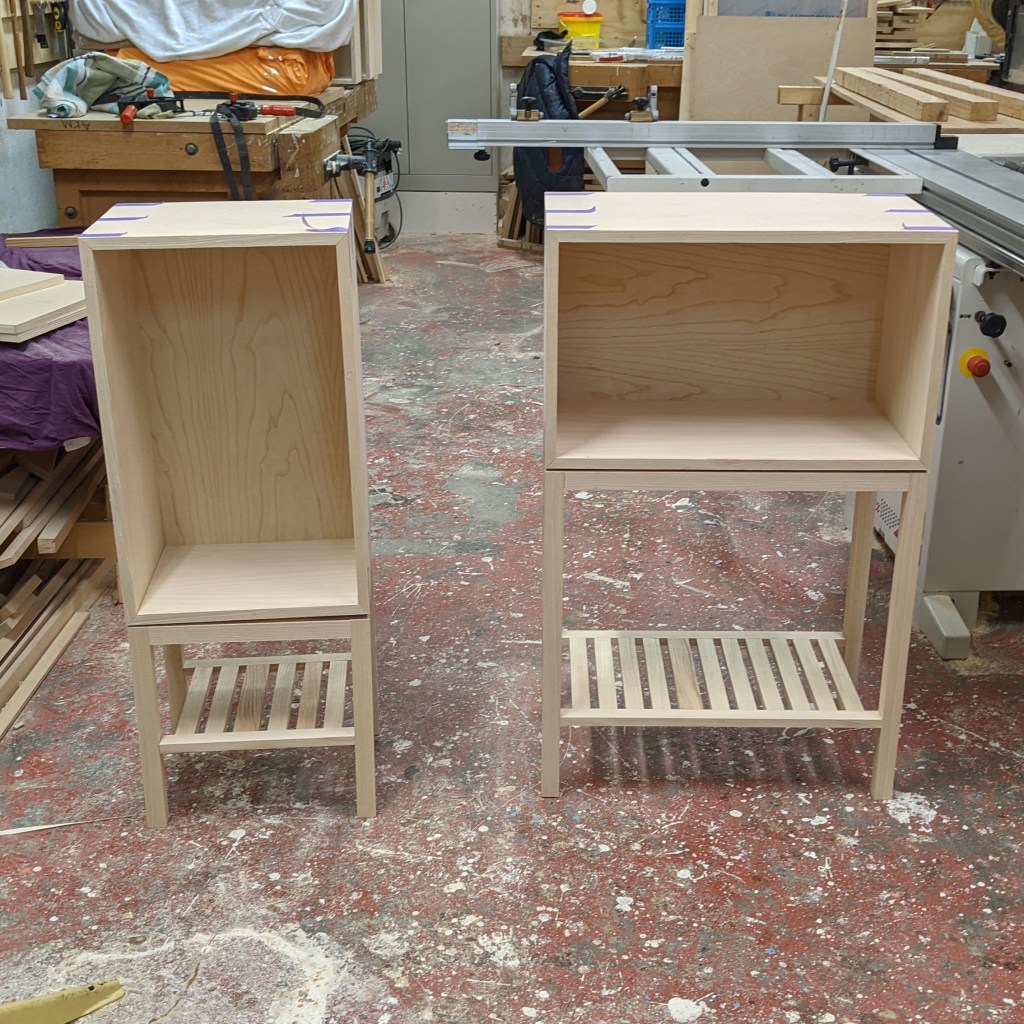
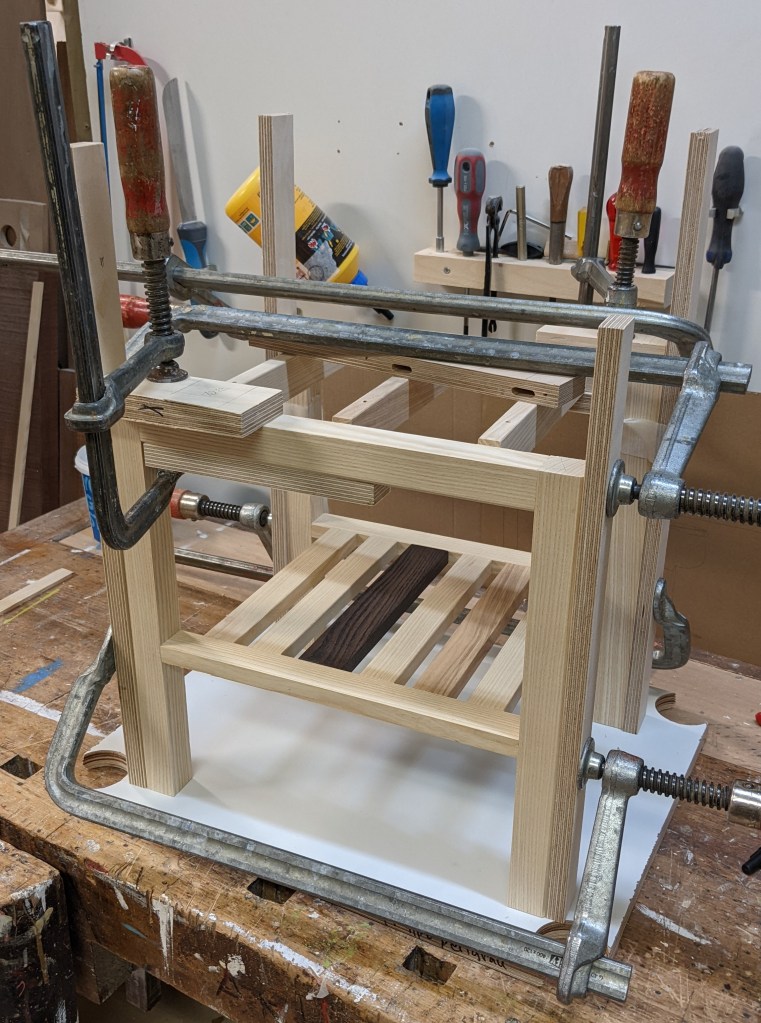
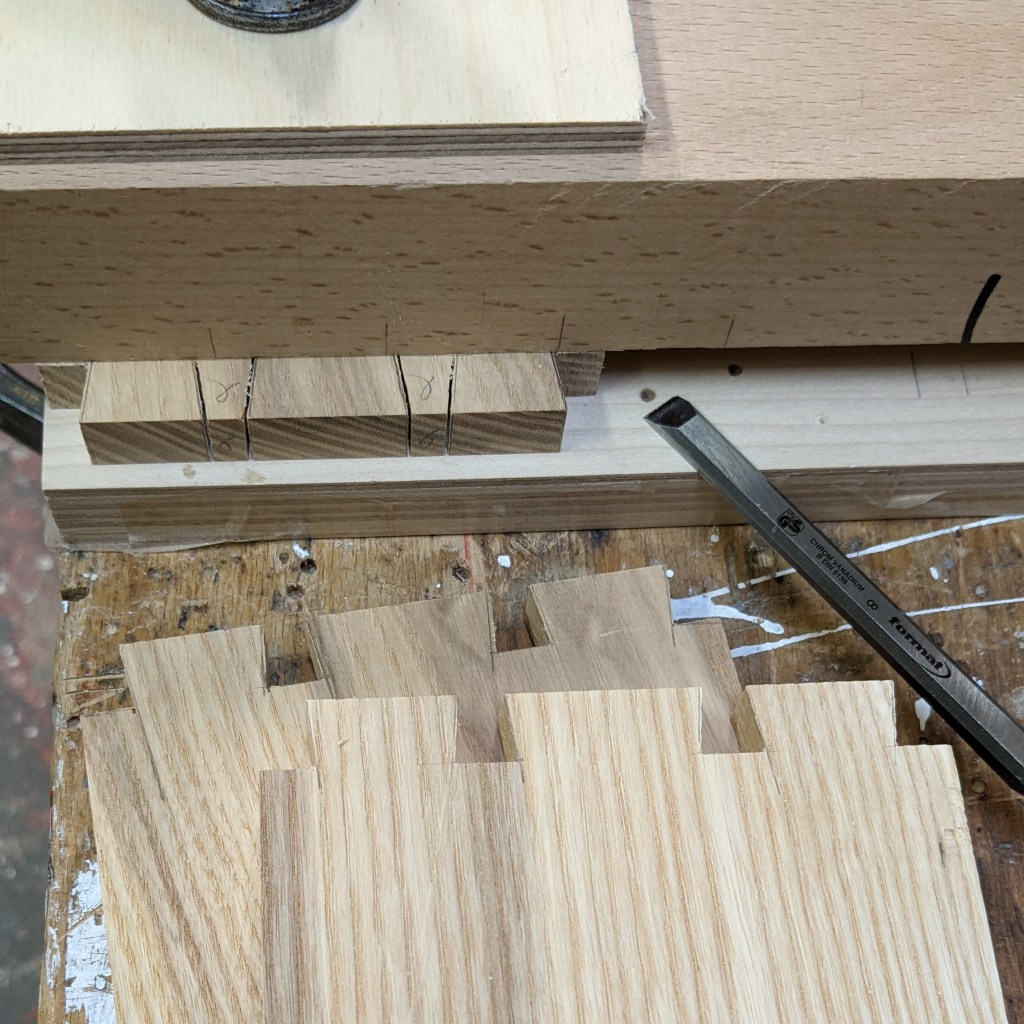
Since I am going to be making the furniture piece myself, the number of hours that I spend on it determine the design & making cost. This includes the planning of the project, making the drawings, ordering the materials, and researching the hardware . Ofcourse the actual making of the furniture in the workshop makes up about 90% of these costs. Consider that some materials take longer to process or certain finishes take longer to apply.
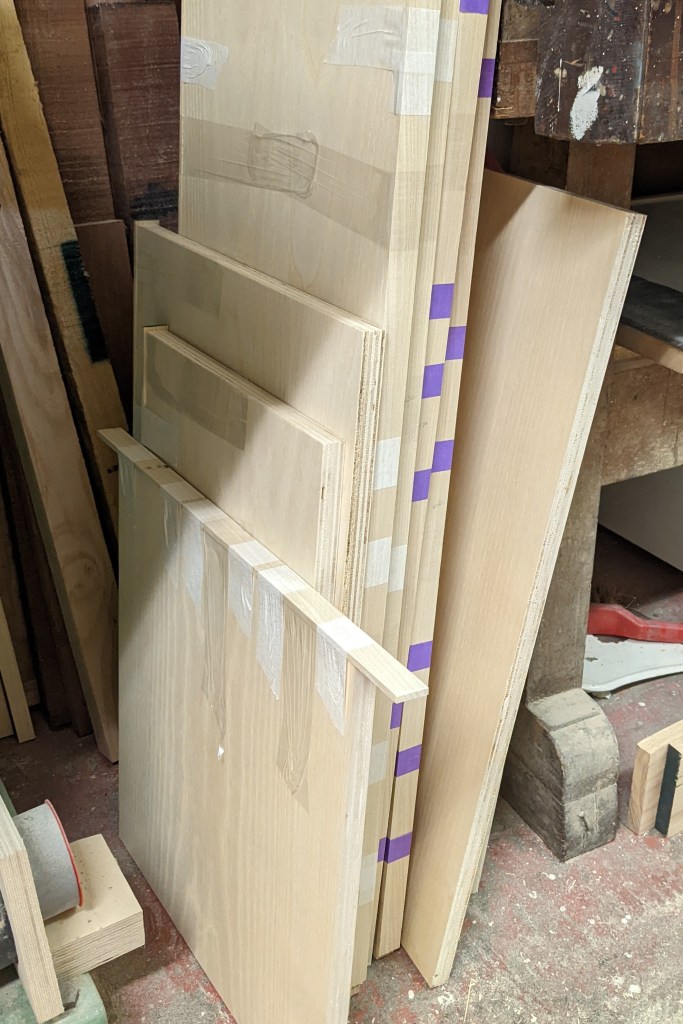
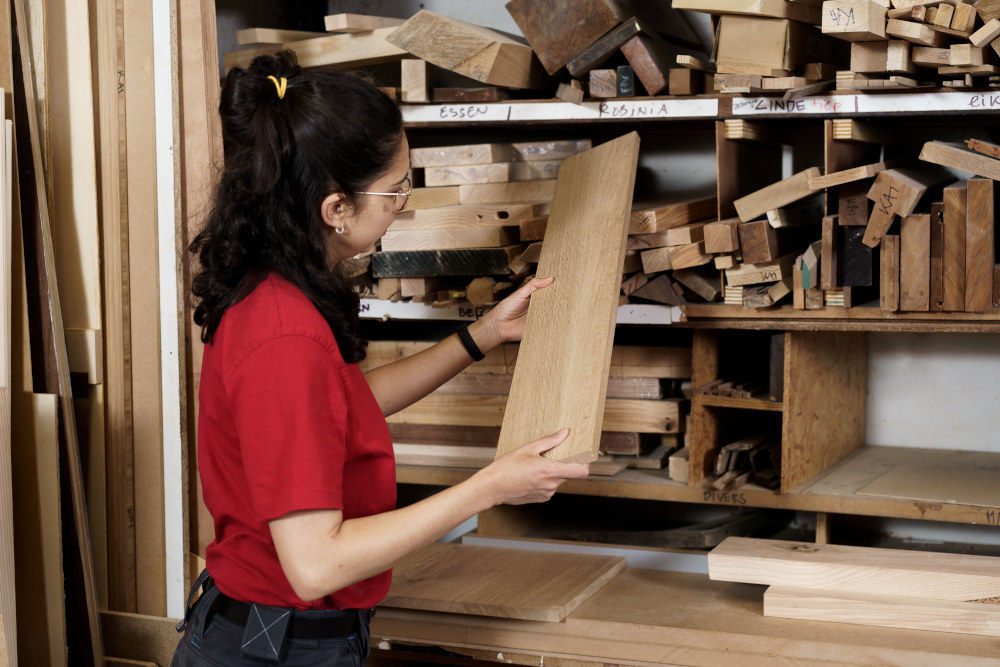
The material cost
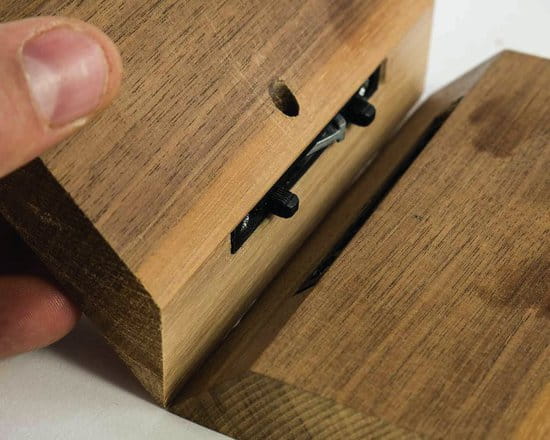
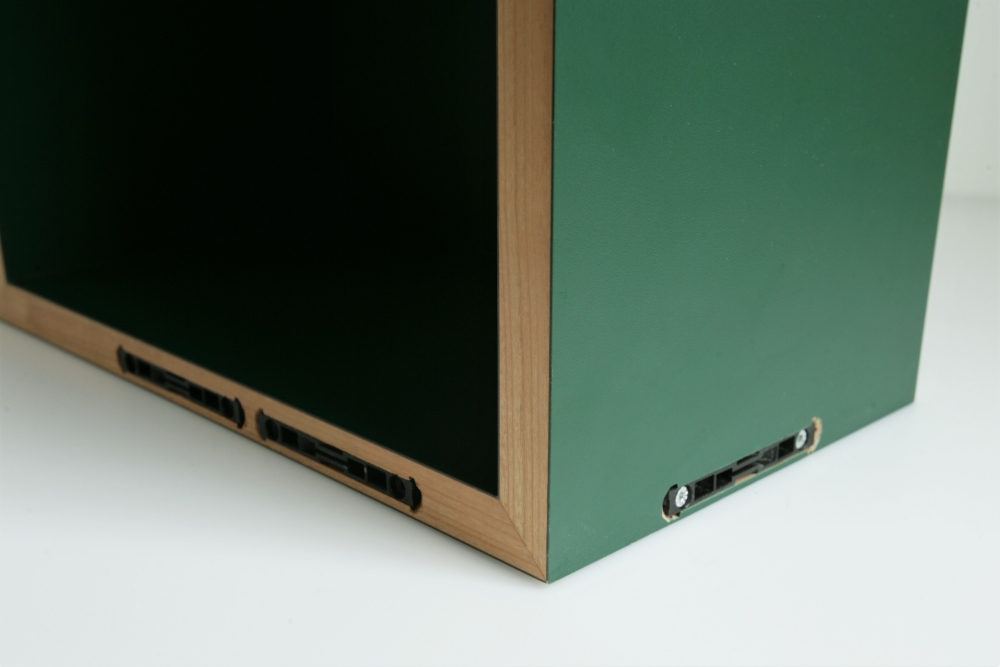
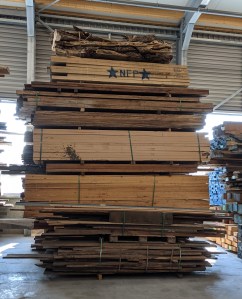
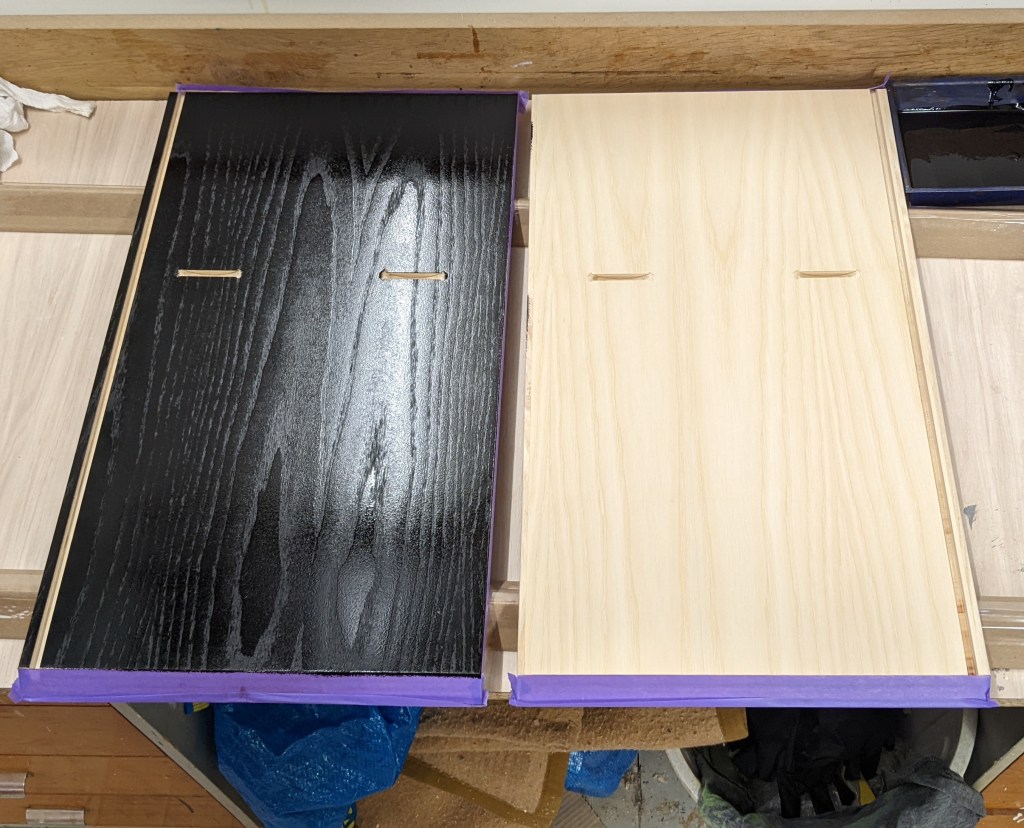
The furniture piece will obviously be made out of wood, include some sort of hardware and be finished with oil or lacquer. The material cost of the bespoke furniture includes all these aspects. As a customer you also pay for the delivery of the materials, other workshop materials like sandpaper or finishing accessories, and fasteners like screws that are used in the furniture.
The delivery & installation cost
Once the furniture is ready in the workshop, it has to be delivered to the customer. The cost of delivery depends on the size and weight of the furniture piece. I sometimes hire an additional moving company to help with large items.
The installation price of the piece can vary depending on how the furniture piece fits into the customers house. In case of a free standing sideboard it might be just an hour of unpacking, hanging the doors and installing the drawers. In case of a fitted storage solution or a kitchen, it might even take multiple days.
My philosophy about Custom Furniture
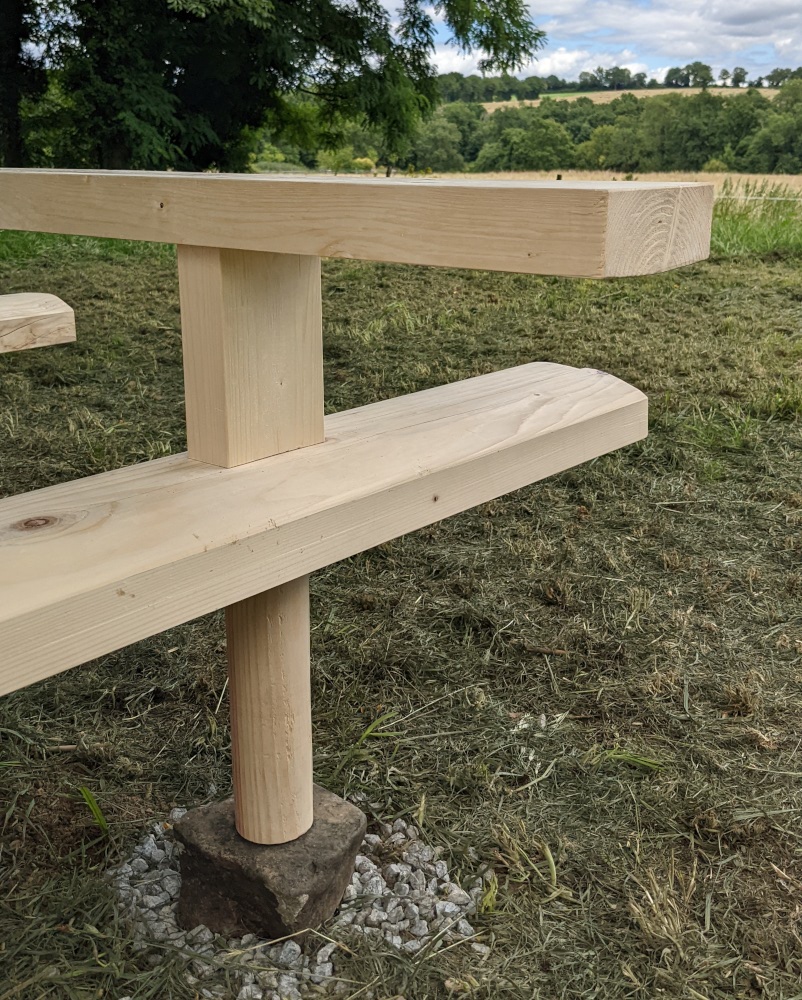
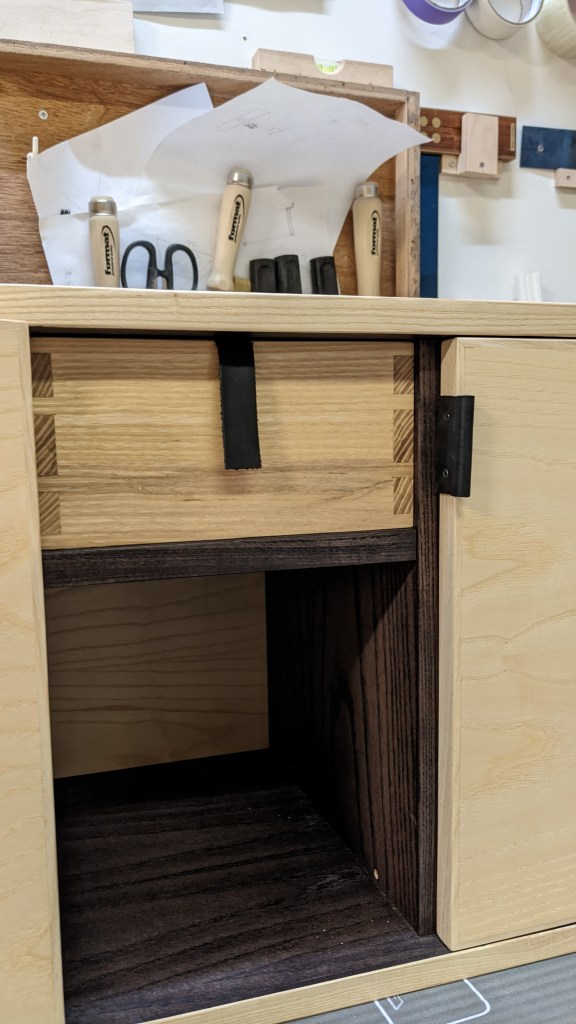
I enjoy working with customers to design and find the perfect furniture solution to meet their needs. My education in furniture design, ergonomics and carpentry ensure I have the know-how to advise and help my customers make an informed decision. I try to find a balance between cost and quality. I believe that even though good quality costs more, it is worth the investment because it is sure to last longer and will create fewer problems in usage. According to me, quality materials, strong joinery and the right know-how build great furniture that stands the test of time.
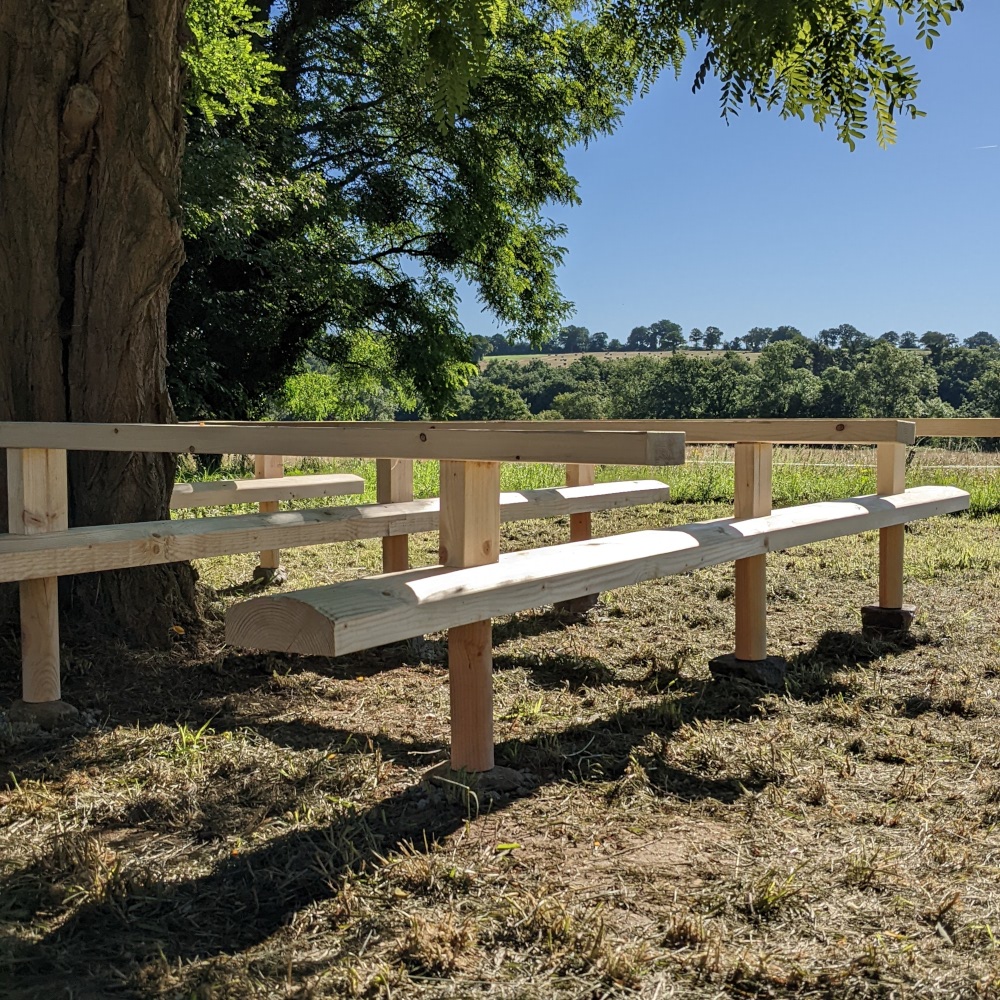
Custom furniture is a sustainable solution to furniture production since there is minimum to no material wastage. The furniture is exactly what you want, so there is no compromise on the design and you are not tempted to throw it away to replace it with something better. My know-how as a professional carpenter means I build quality furniture that will last a lifetime and can be passed down from generation to generation.
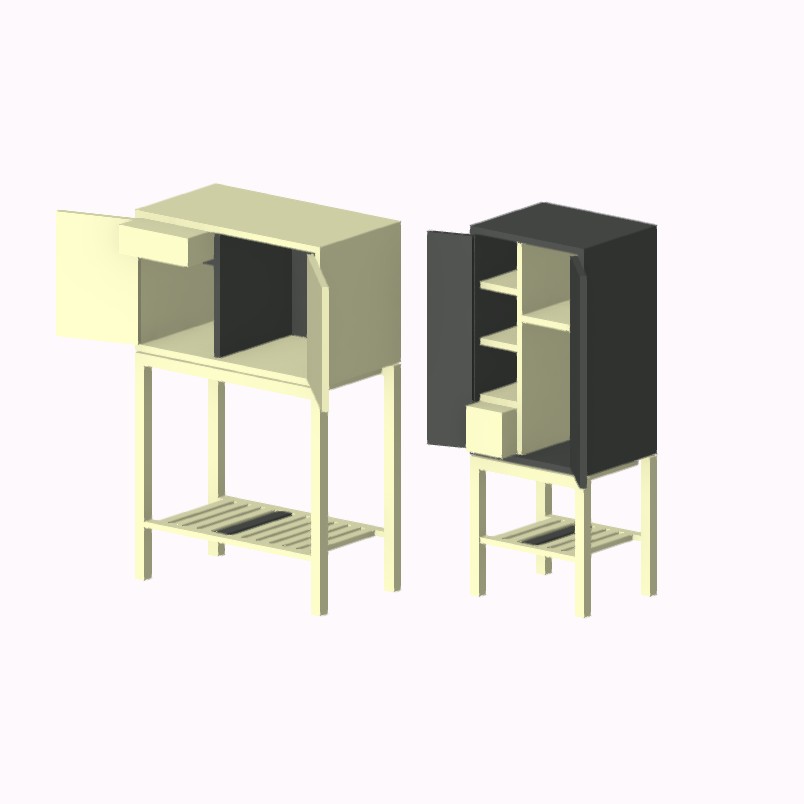
I also provide customers with wood and finish samples for them to visualise it better. If needed, I order samples from my suppliers that customers can feel and touch, and take home to consider. I also make technical drawings and 3D visualisations during the design phase. Realistic timelines and deadlines that are met is what I offer my clients. I believe in clear communication during the process and that custom furniture is a team effort between customer and maker.
Read more about my philosophy here.
If you would like to request a custom furniture piece made by me, please fill in this form with as much information as you have.
Have a look at this page to see past projects that I have completed for clients since 2021.