
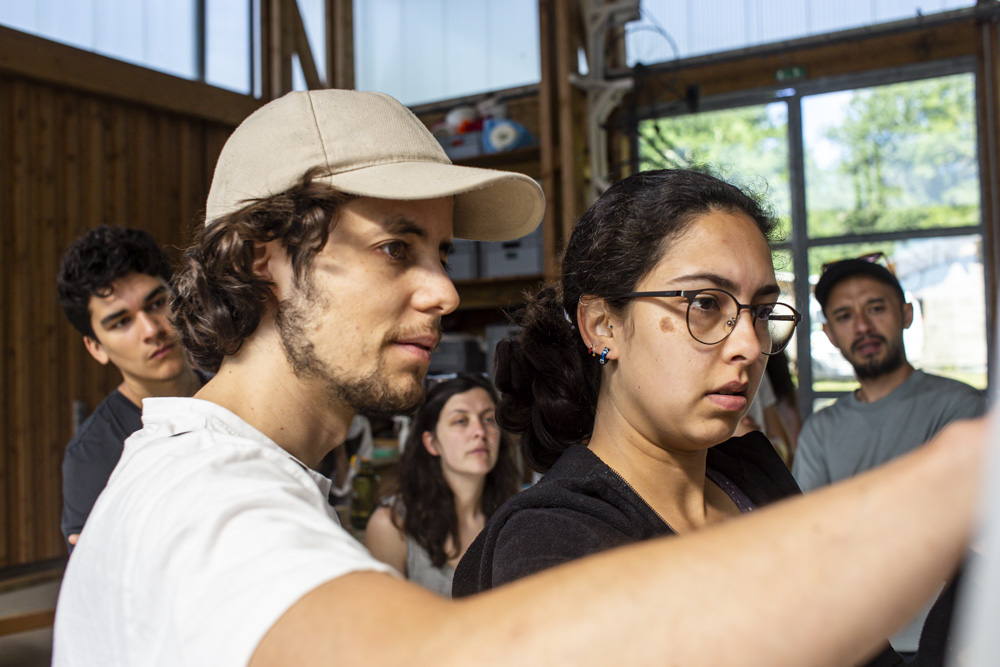
In June 2022, I received a scholarship to attend a Summer School on Japanese Carpentry organised by Domaine de Boisbuchet and Michelangelo Foundation. It was a 10 day workshop that took place on location at the Domaine and I attended it along with 11 other students from all over Europe.
Domaine de Boisbuchet is a utopia close to Bordeaux in France where Design meets Art. It is an international centre for workshops, research, and education on sustainably innovative design and architecture. Created in 1986, it is located in the southwest of France on 150 hectares of protected nature and ecological agriculture.
The Michelangelo Foundation is an international non-profit organization based in Geneva, Switzerland, that celebrates and preserves master craftsmanship and strengthens its connection to the world of design.
I am sincerely honoured to have been given this opportunity, I learnt so much and met so many interesting people.
Read Part 1 here
Part 2 – A Bench around a Tree
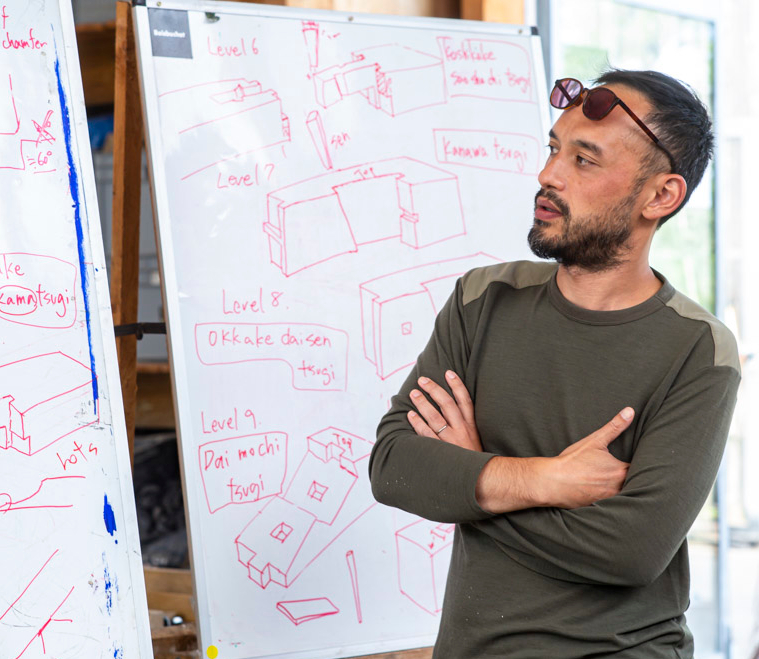
The second part of the course was conducted by Japanese designer Wataru Kumano. Having worked with Jasper Morrison in the past, he set up his own design office ‘kumano’ in 2011, and now works with interiors, furniture, and product design.
The aim was to apply the joinery techniques we learnt in the first couple of days, to build an outdoor bench that Wataru had previously designed. The bench had 6 joints, which meant each student would make one half of a joint, making the bench one large group project where all the pieces would come together to form one object.
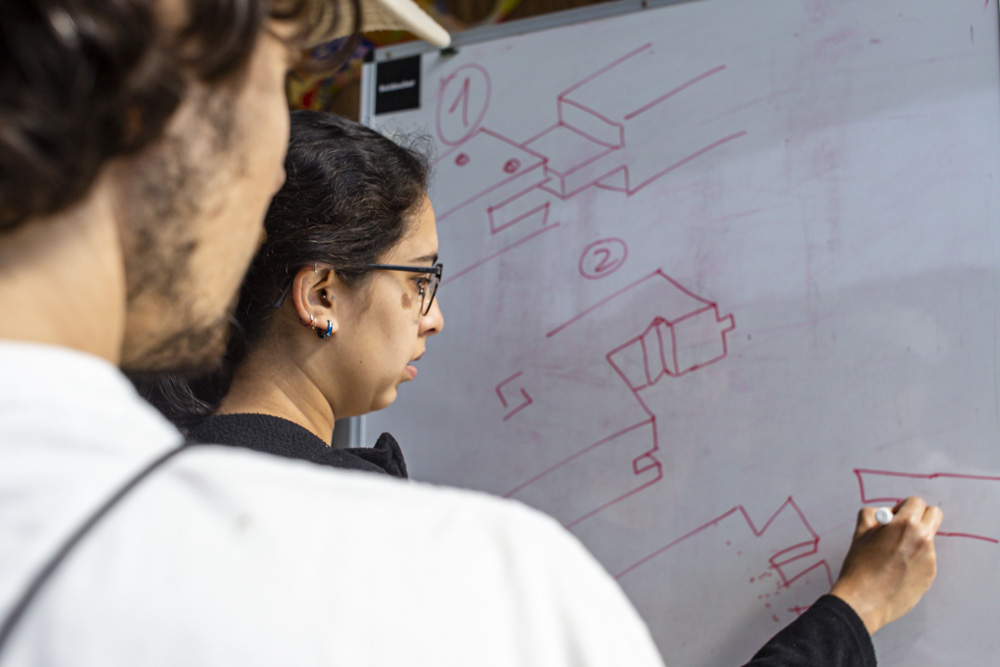
We started by brainstorming which 6 joints those would be, and assigning them to groups of two students. Each student picked a joint they were comfortable with or found interesting to work on.

Choosing a site and Picking Rocks
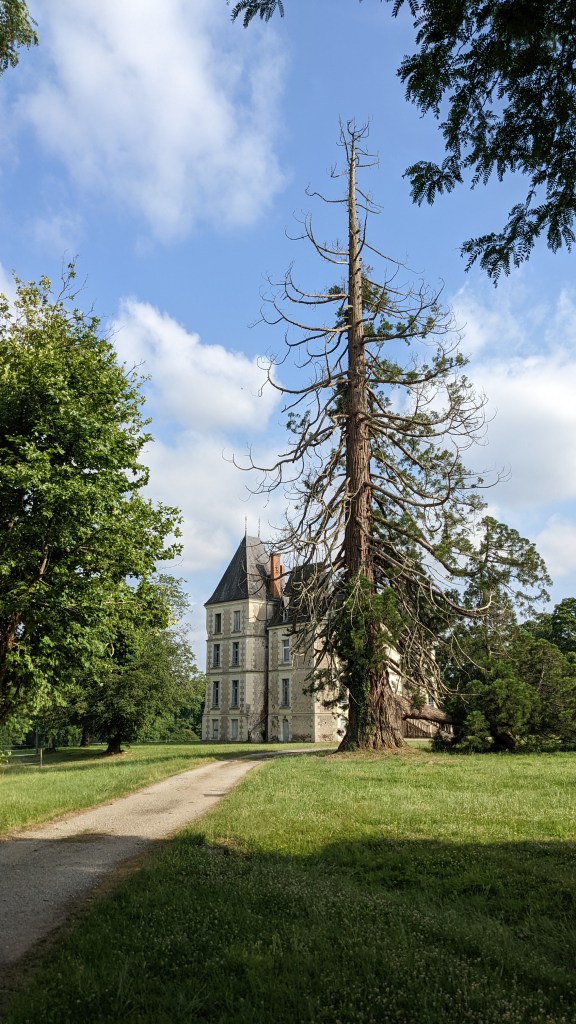
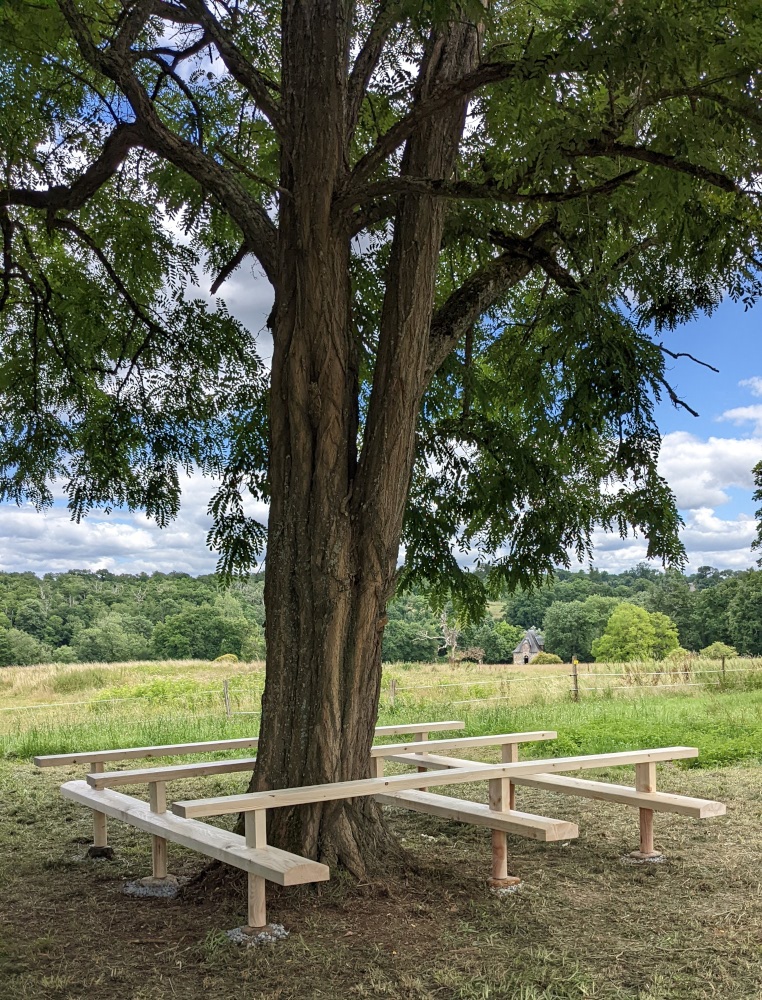
Once we had decided on the individual joints, and who would be making them, we scouted the grounds of Boisbuchet for an ideal site where the bench would go. Wataru had envisioned the bench to be installed around a tree, and we wanted it to have a connection to the daily activities of the Domaine, while still being slightly set aside to provide the user with some privacy and tranquility.
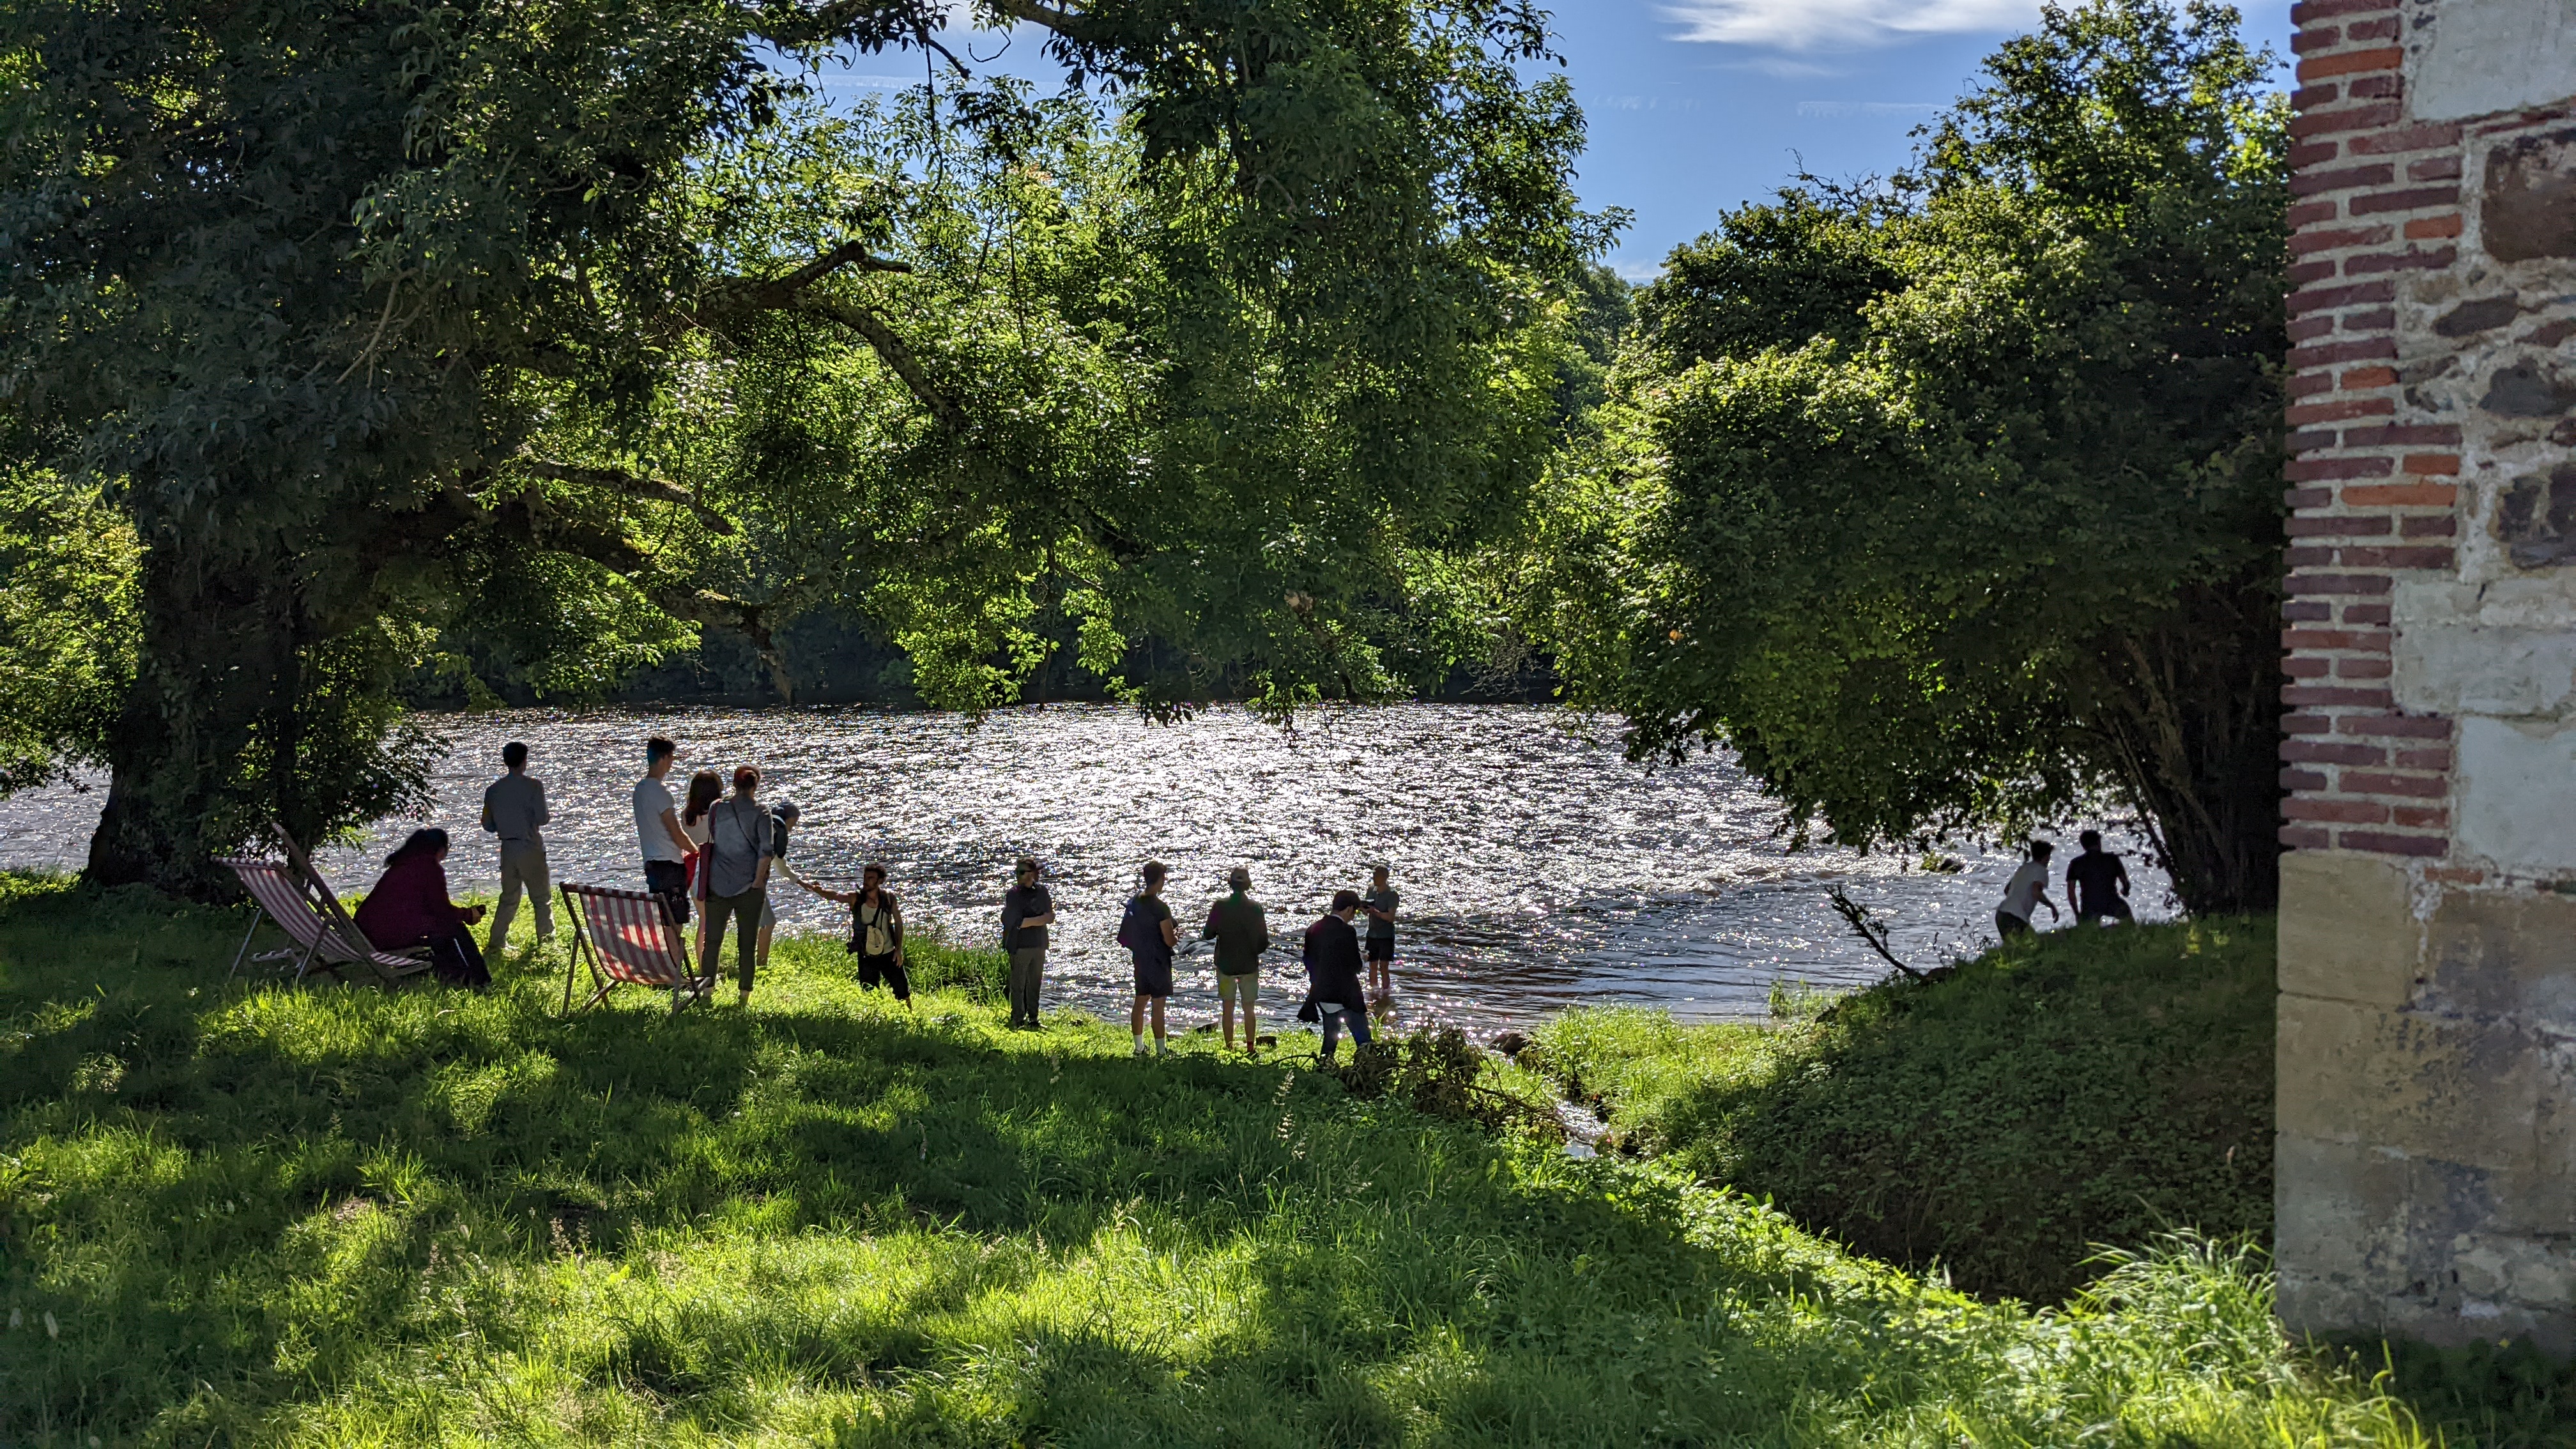
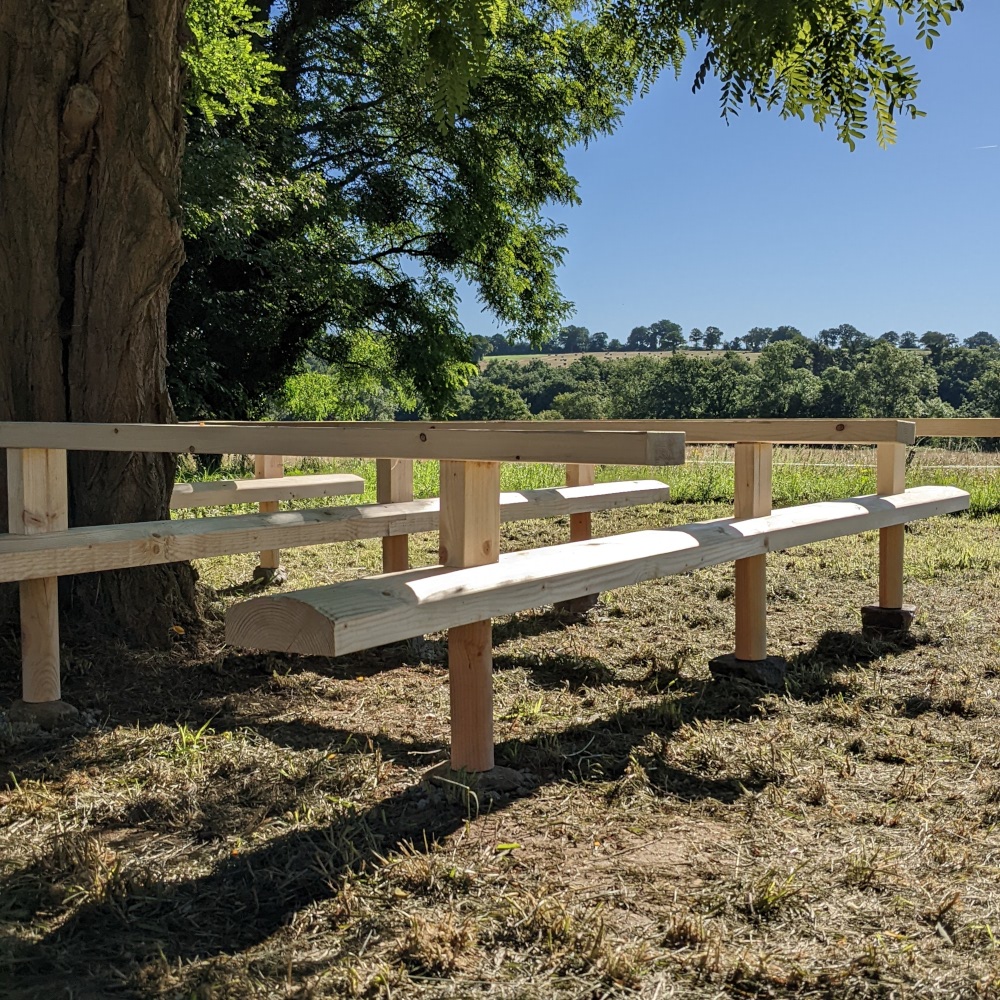
The site we chose was a spot next to the living quarters of the Domaine, opposite the restaurant. We chose a large Robinie tree that was part of a clump of trees. It stood at the edge of a field where horses often grazed. You could watch the sun rise behind the rolling hills beyond the field, with the Japanese House to the left and the Old Mill to the right. As the sun travelled through the sky, the shade of the trees would protect the users, only letting the evening sun warm the bench again. We all loved the site!
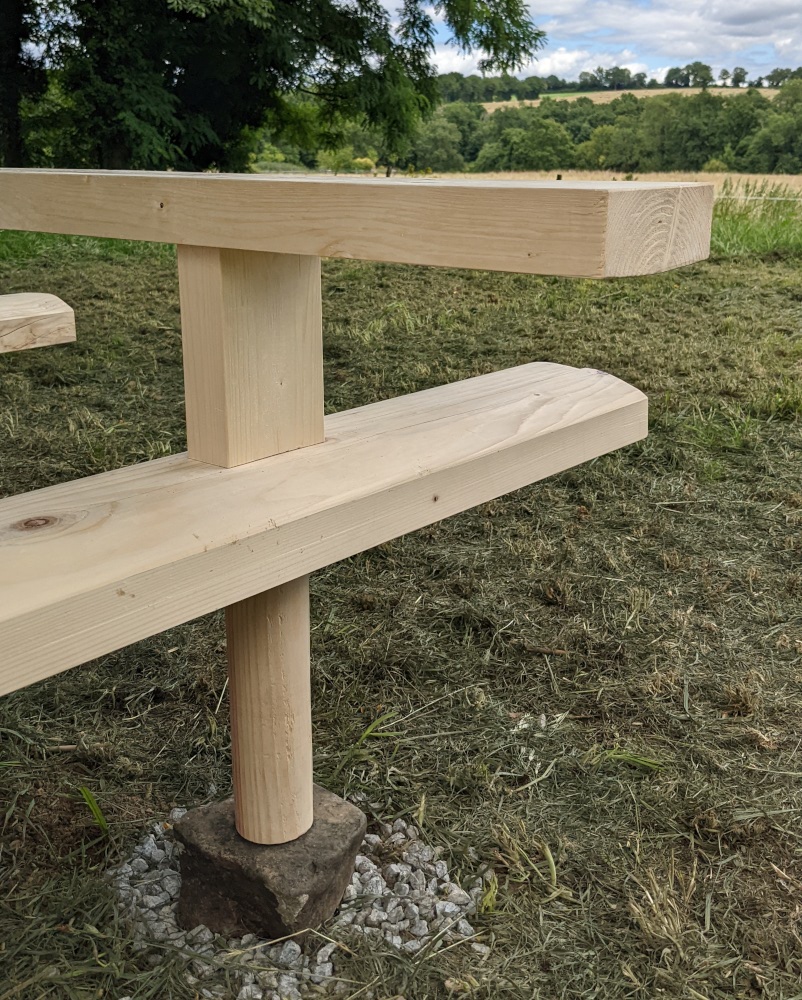
As part of the foundation of the bench, we needed 9 flat rocks to sit underneath the posts of the bench. This is how old japanese shrines are built, and in our case prevented the legs of the bench from standing in water. We went down to the stream to pick some flat rocks from the river bed and carried them back to the site. Each post would stand on a flat rock that would sit in a shallow pit filled with pebbles.


Making the joinery
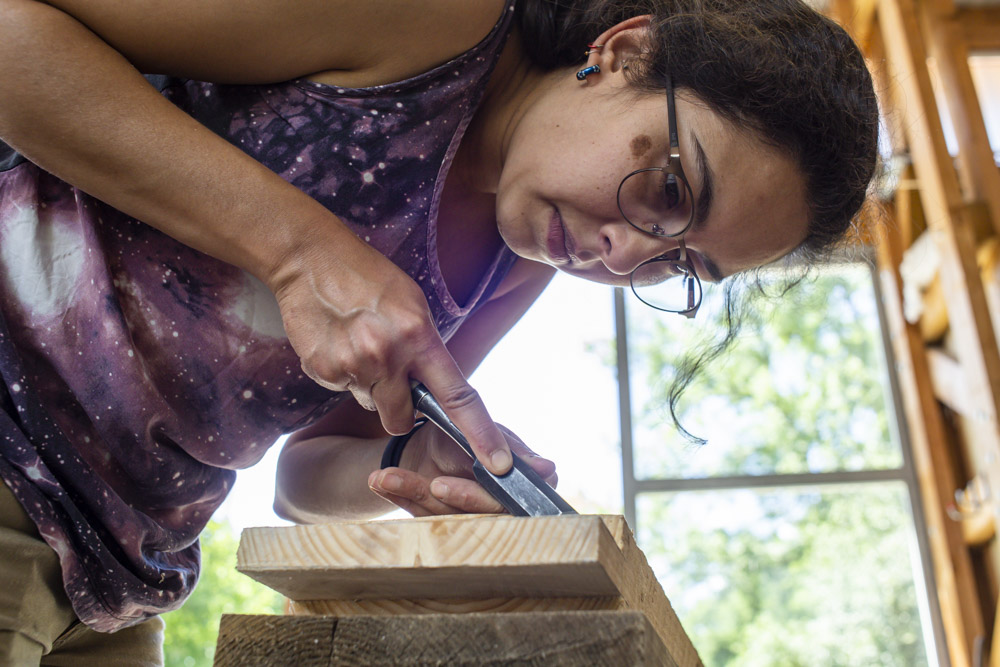
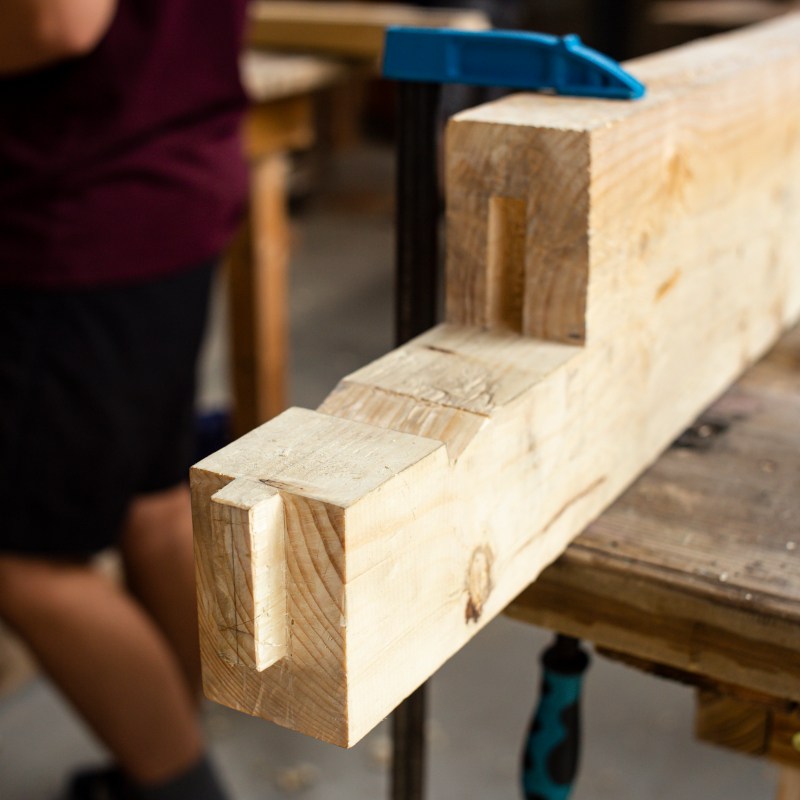
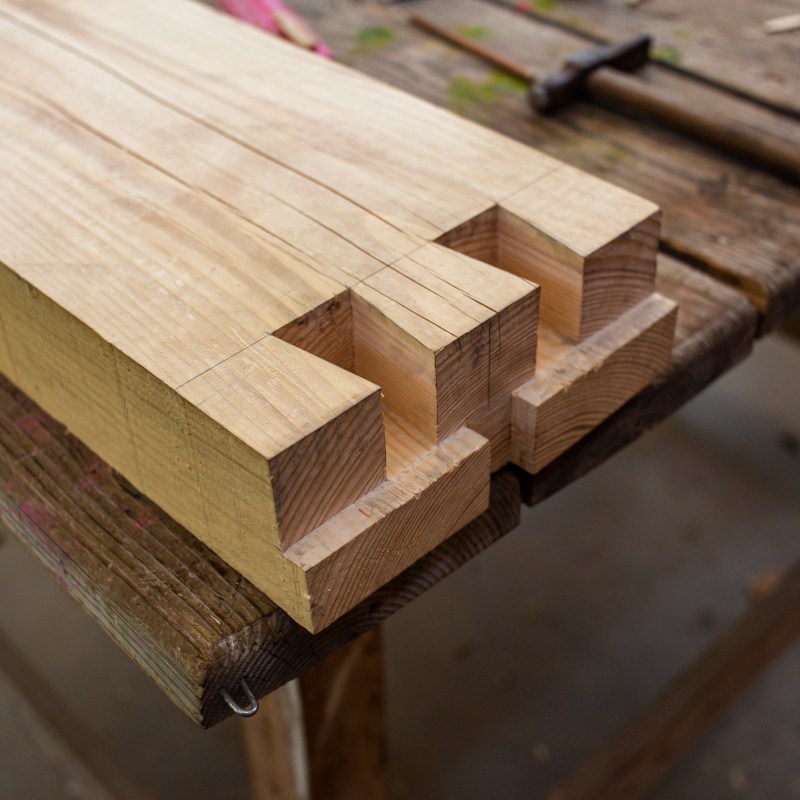
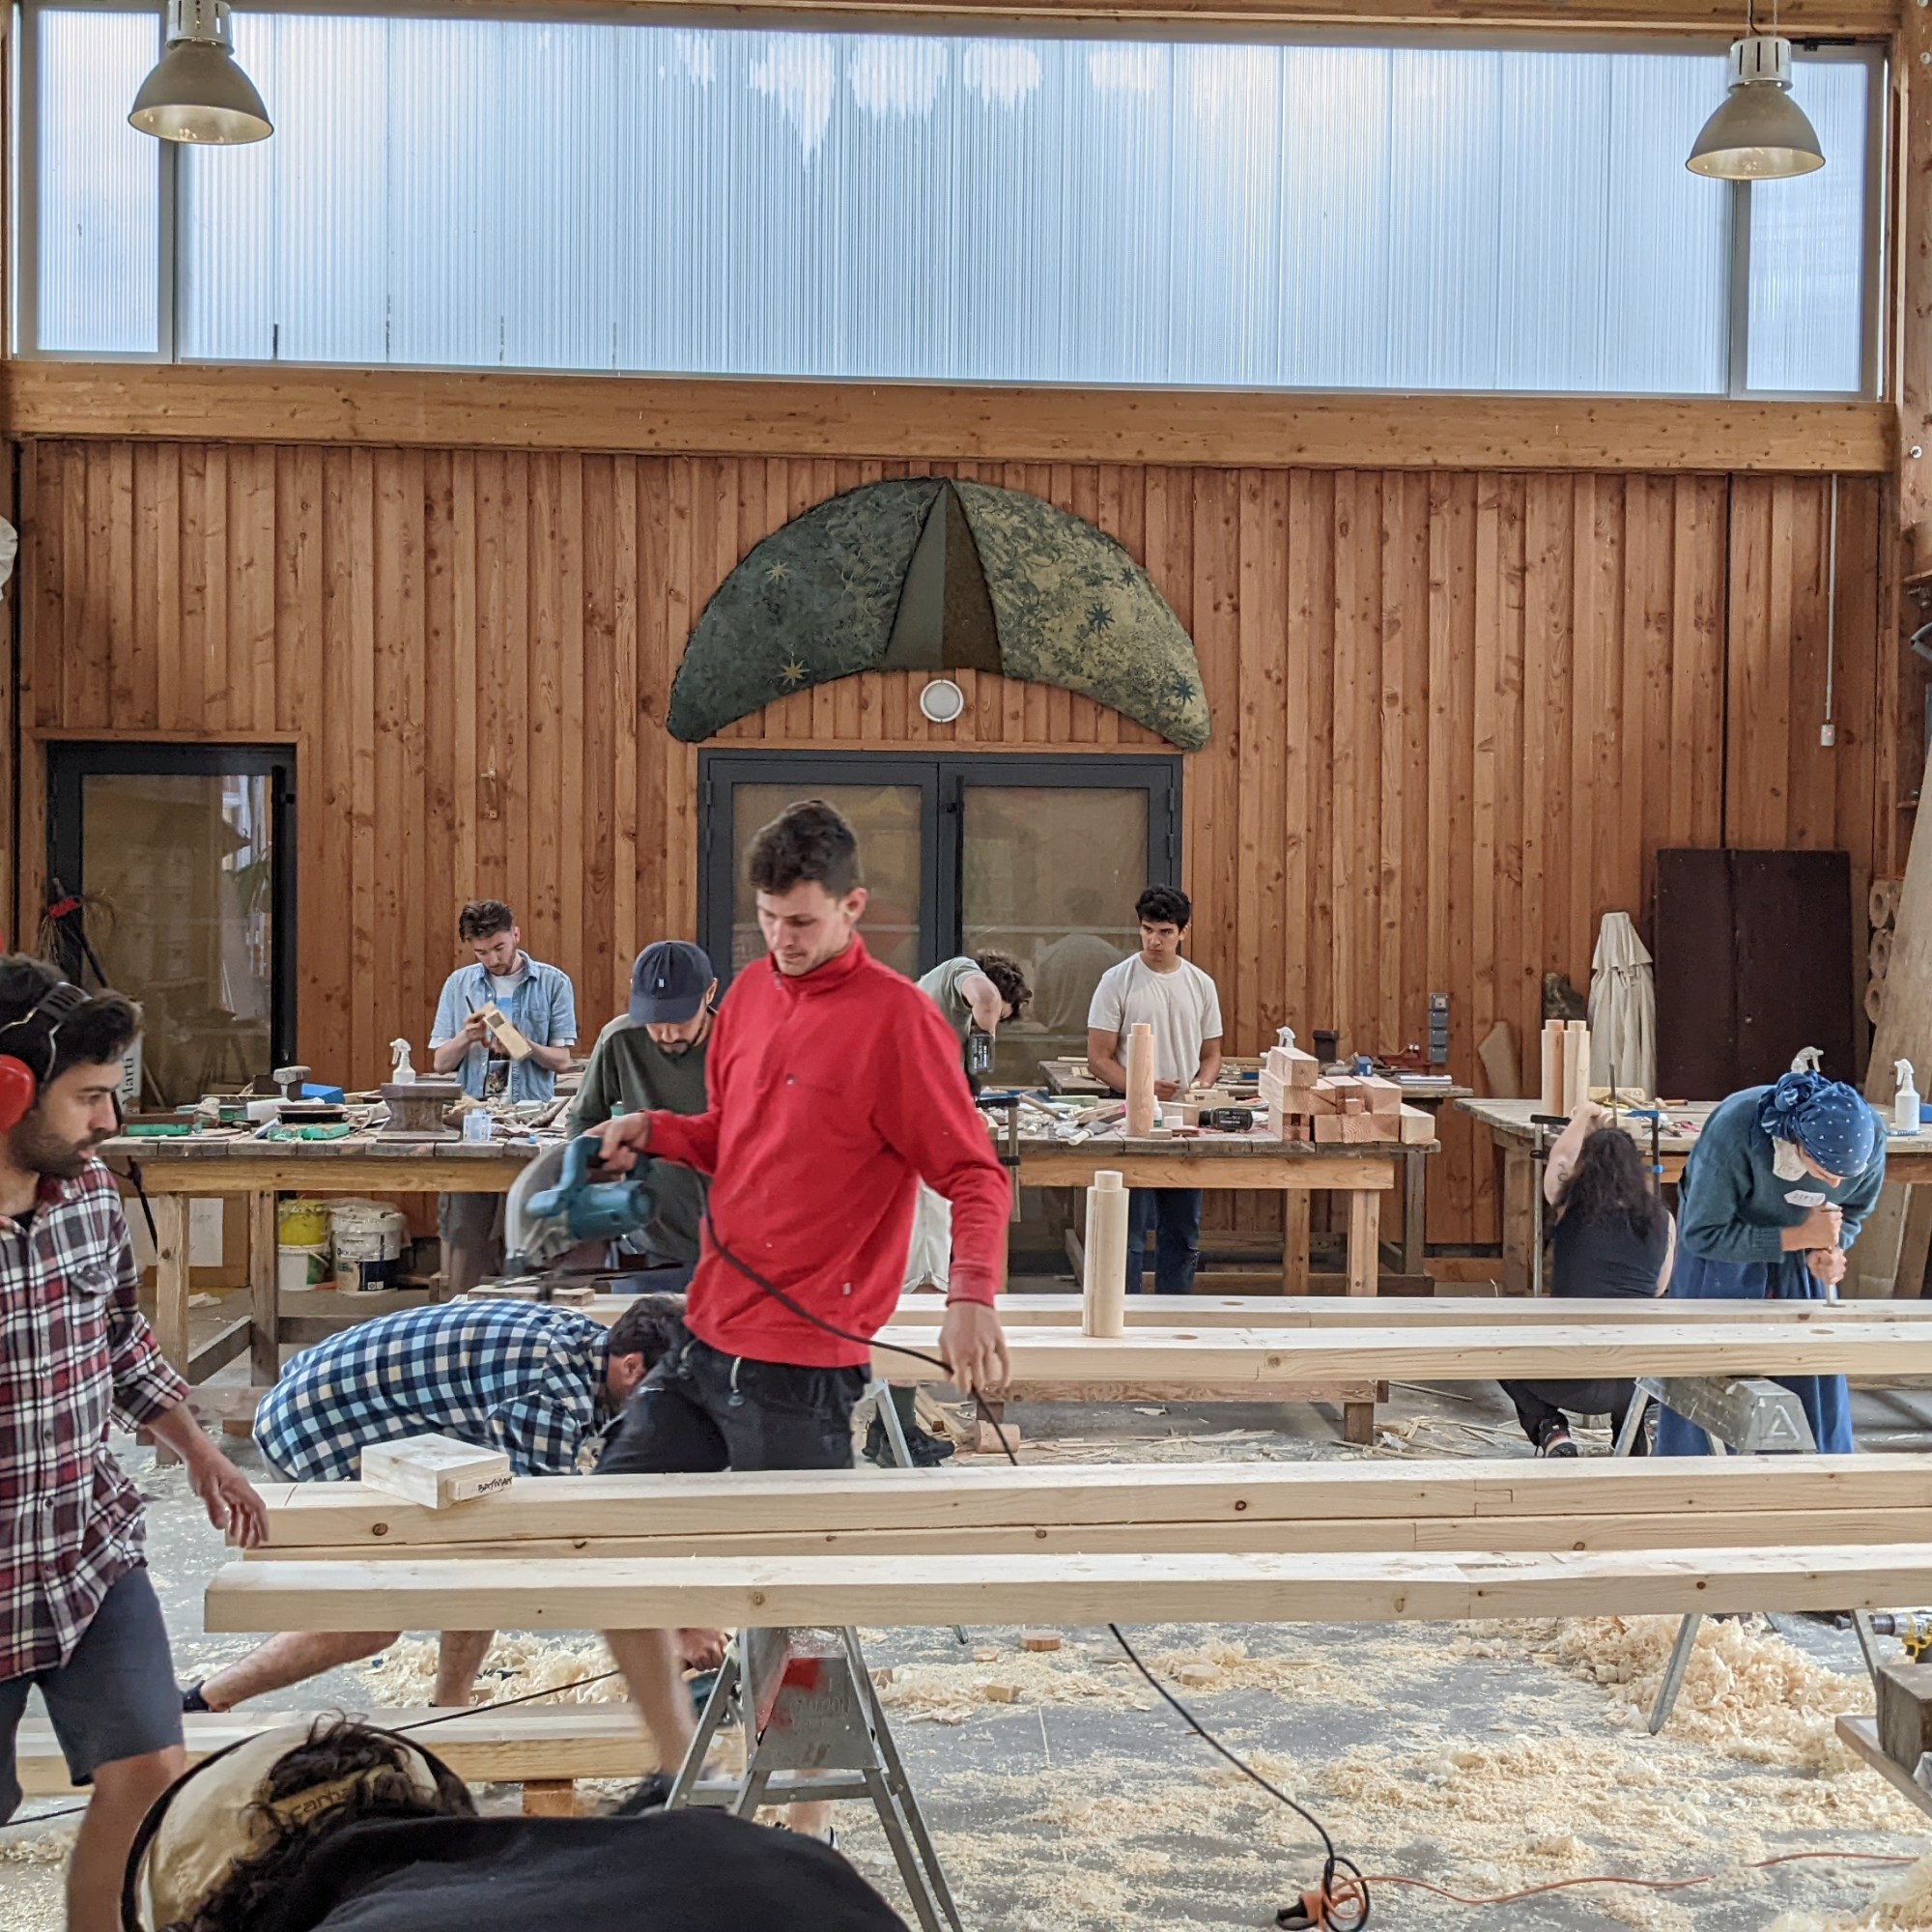
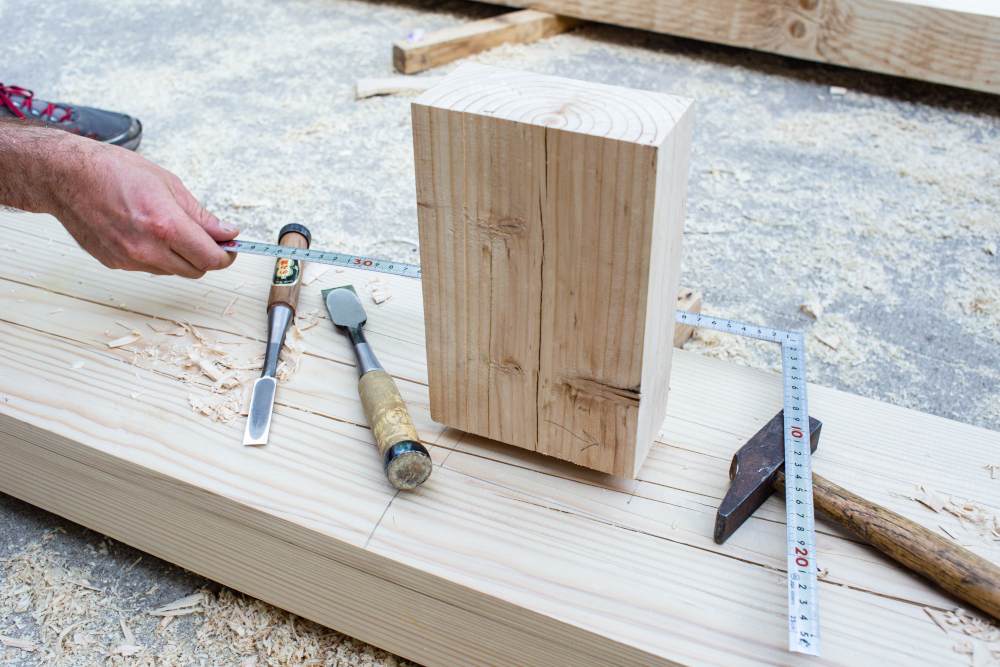
We returned to the workshop and each team of two laid out and started work on the chosen joint. Three teams were joining two beams each to make three tables, and three would become the benches. Marion and I chose to make a simple Bridle joint, which would be pegged with two dowels. I chose to make the male part, while she made the female. We used all the techniques we had learnt in the first half of the course to saw and chisel the perfect joint.

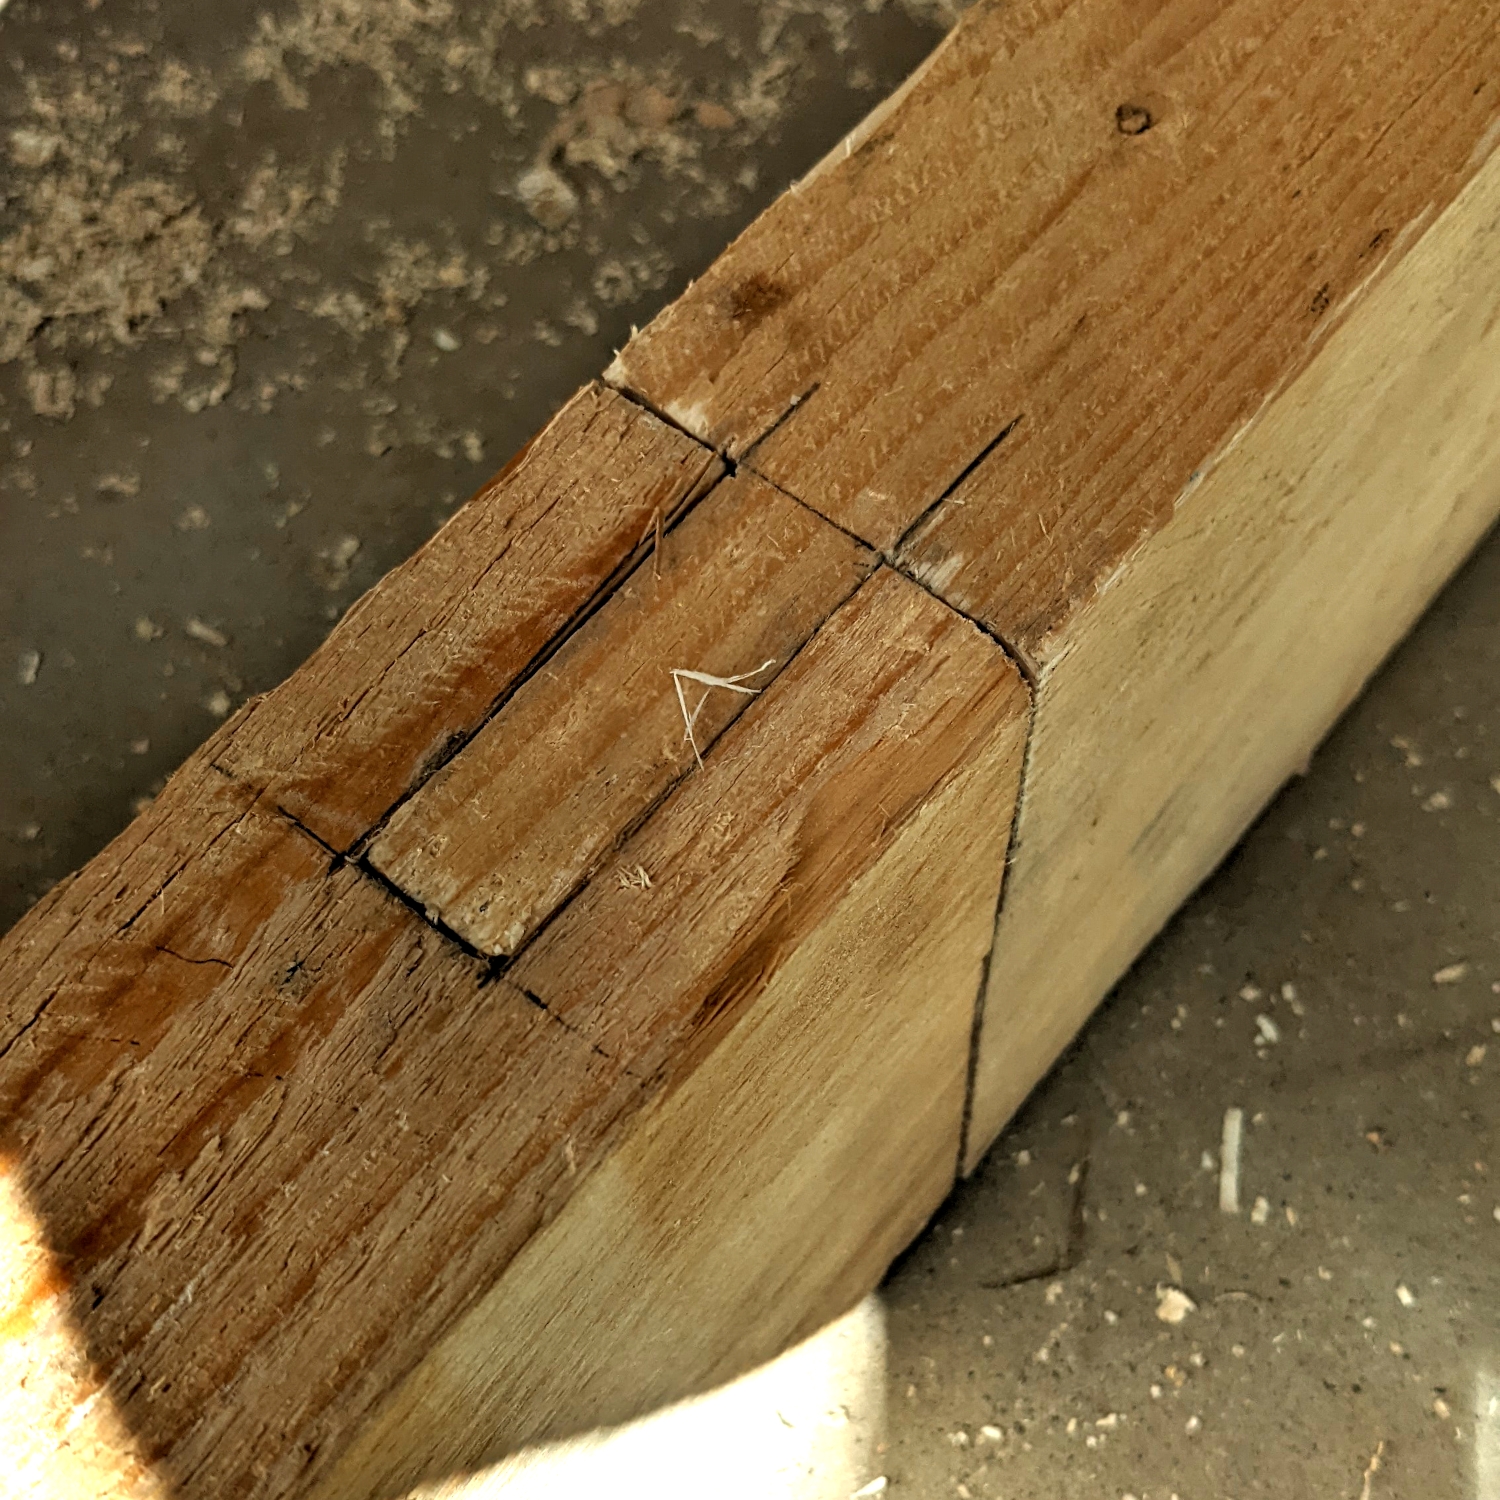
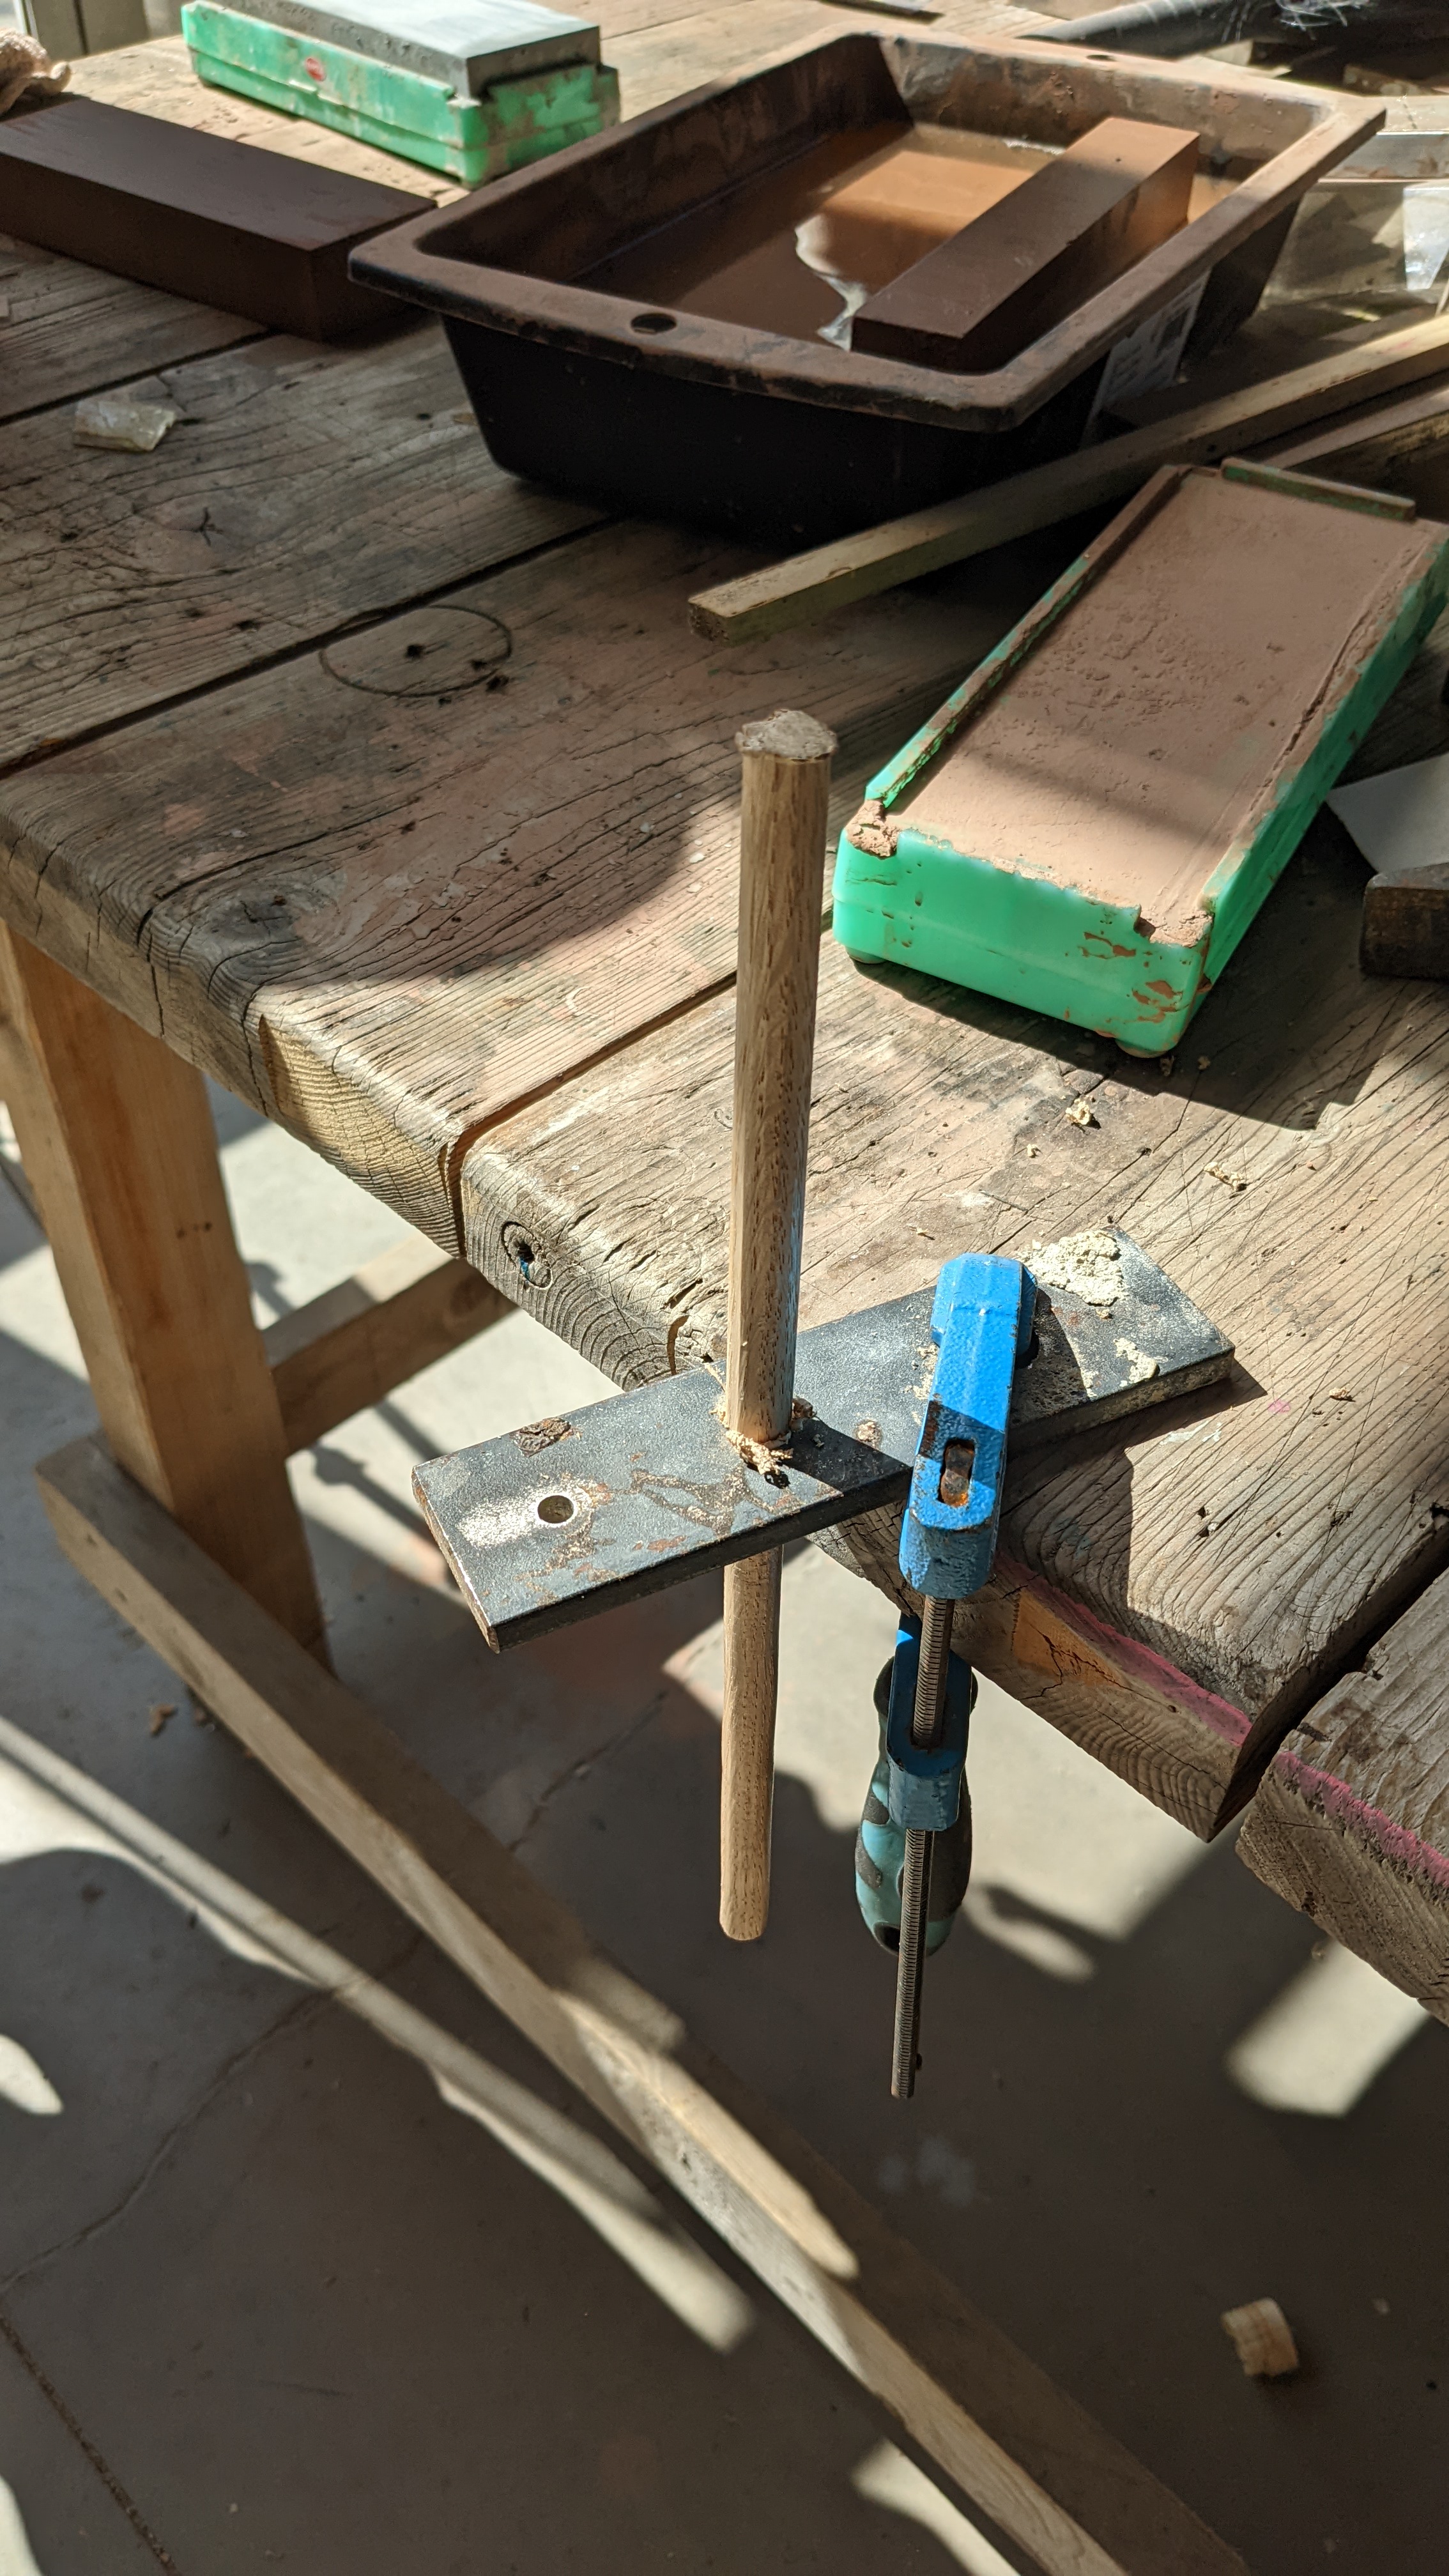
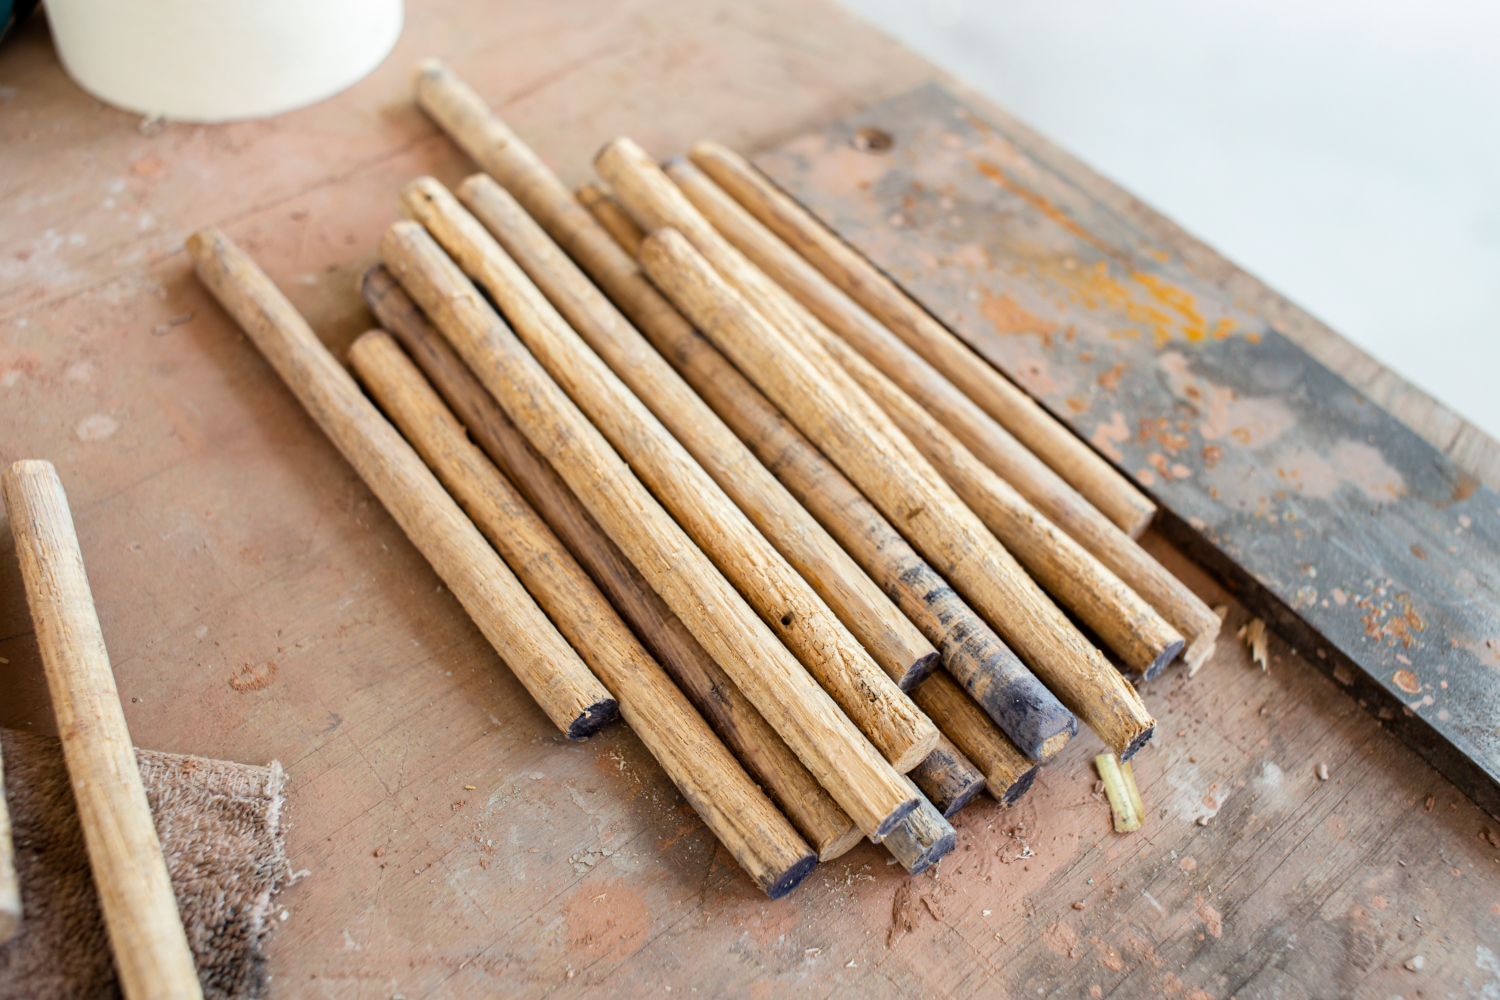
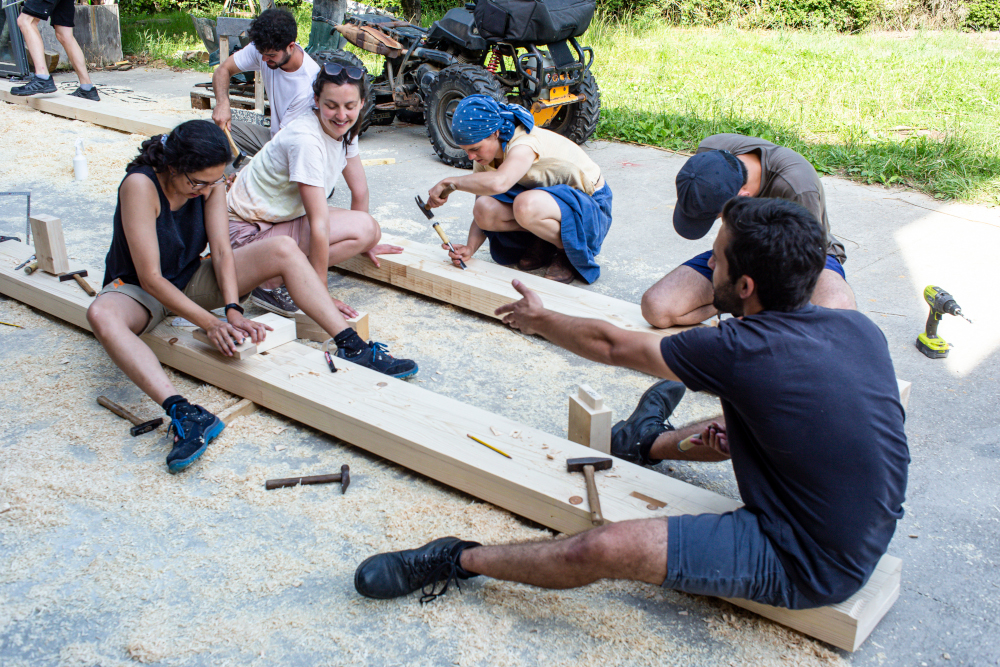
We made Oak dowels by hand in order to lock the joint. We first cut smaller sections of Oak and then shaped them into almost round sections with the kanna. To get a perfect cylinder, these pieces were then hammered through a hole in a metal plate which shaved off the last uneven bits to give us a round 8mm dowel. We then assembled our joint and locked it with the dowels. Using our kanna we smoothed the joint and the dowels until everything was flush.

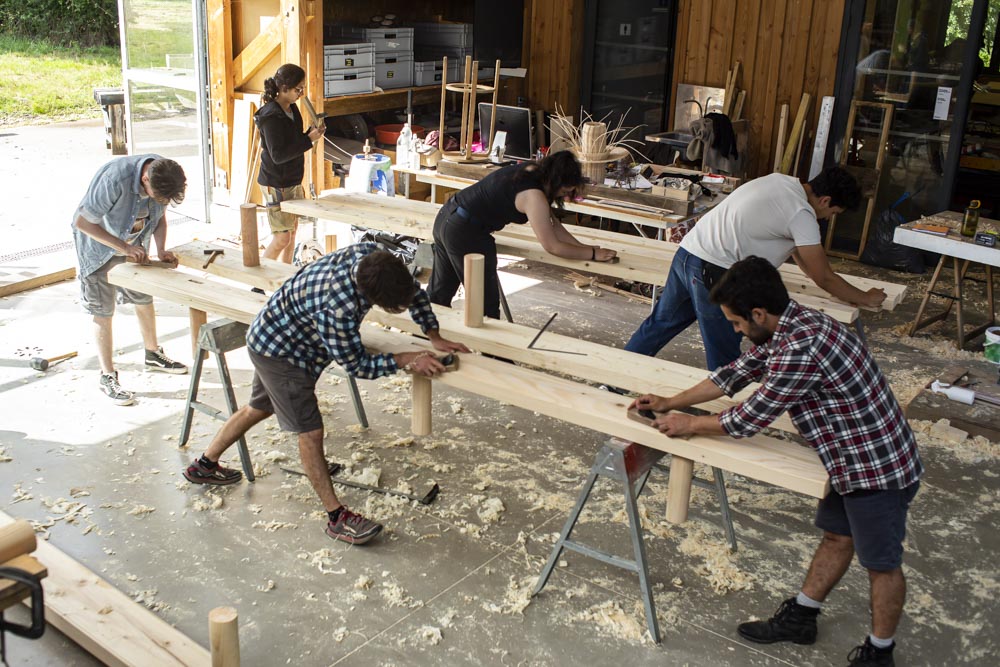
The workshop was a busy space, with all teams rushing to complete and assemble their joint. Some joints were more complicated than others, and took a little longer to make. However they truly represent the intricacy and technique of traditional Japanese joinery.
Assembling the bench
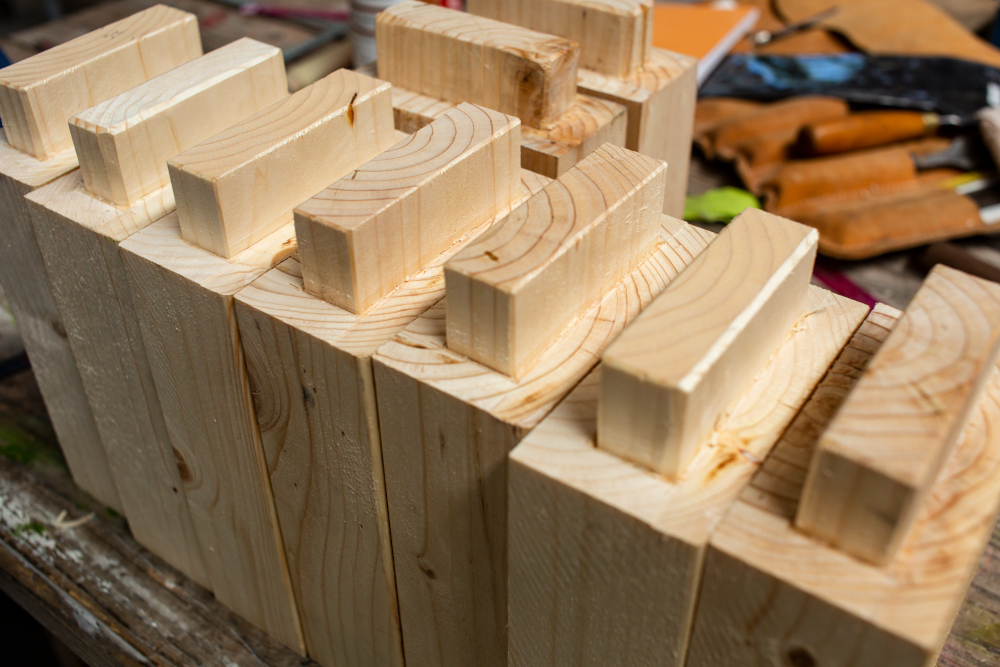
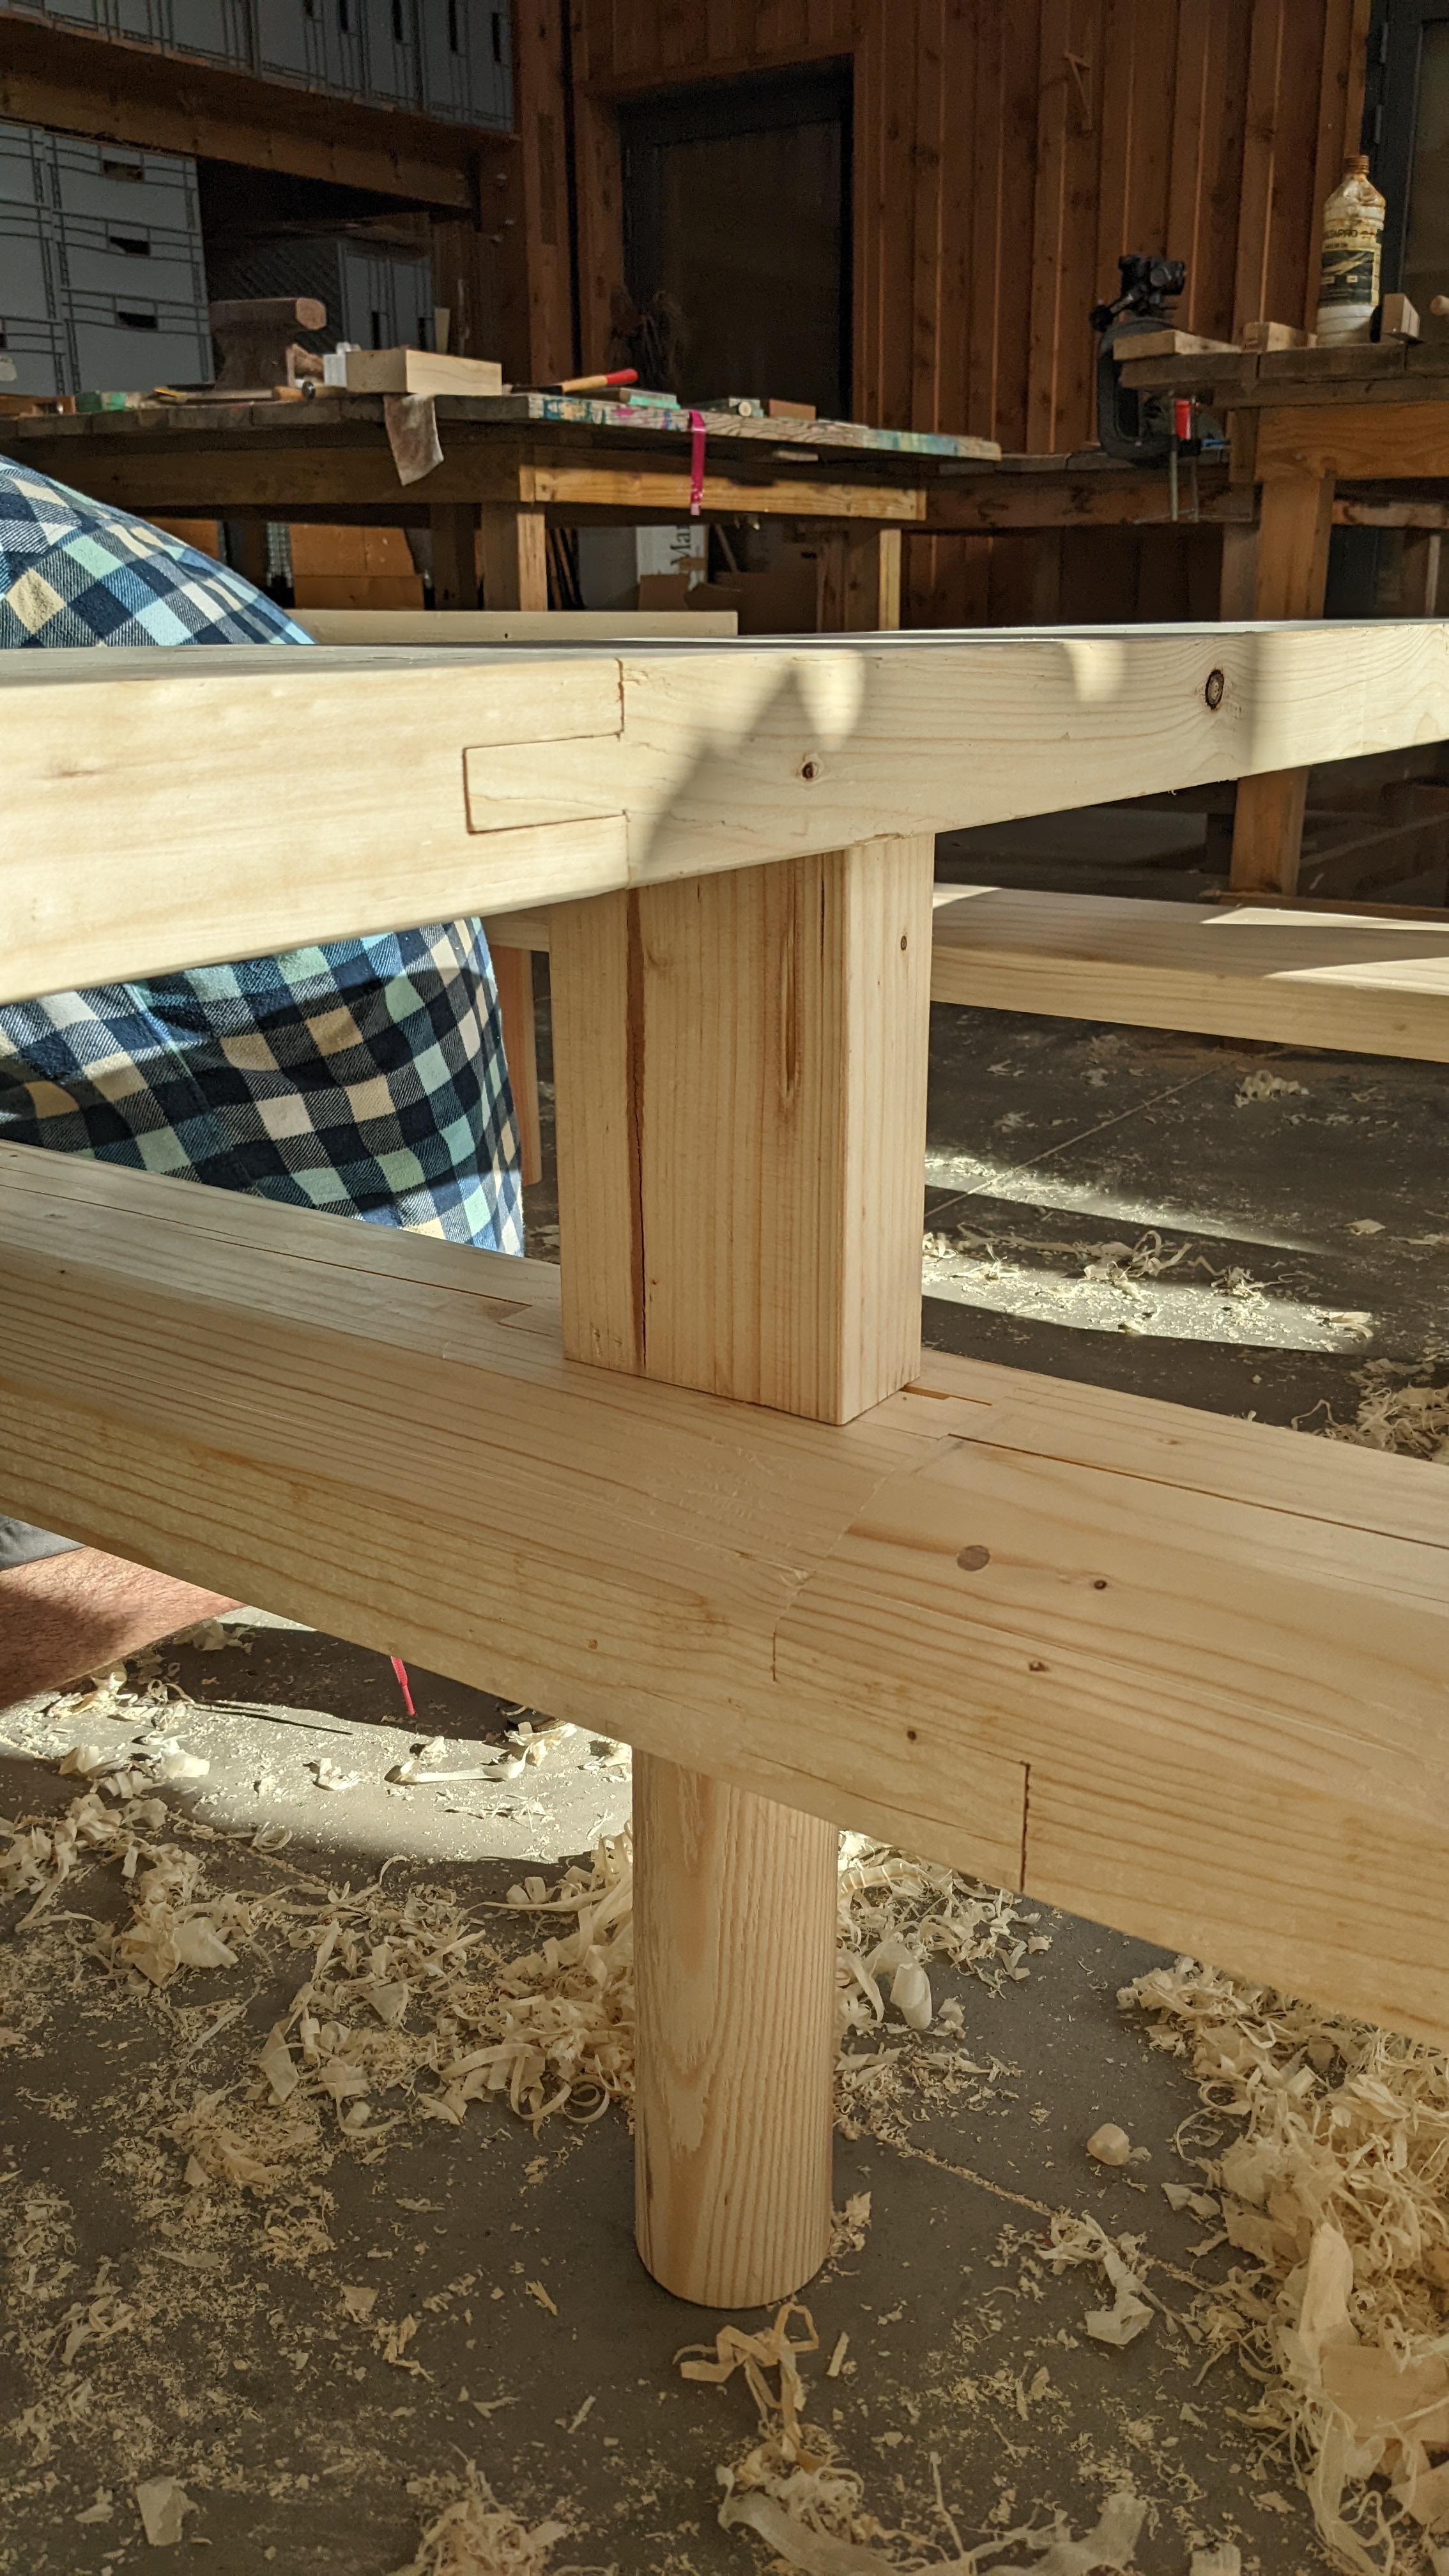
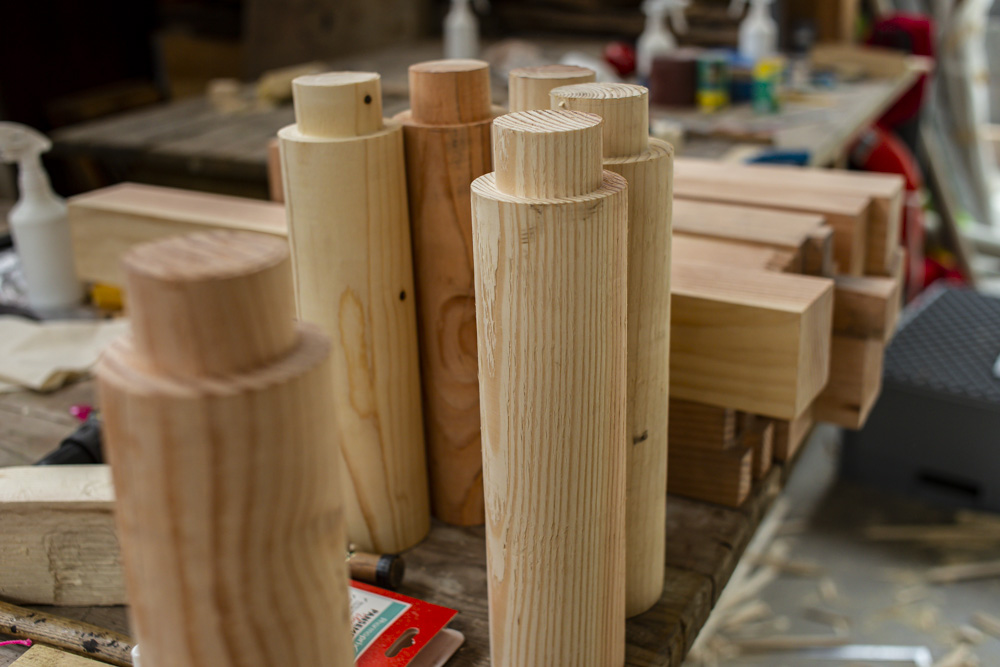
While some teams were still busy finishing their joinery, some of us started preparing the elements that would connect the tables to the benches. Circular posts with a circular tenon would support the benches like legs. Rectangular posts with a tenon would sit between bench and table acting as spacers and connecting elements.
We laid out the mortises on all 3 benches and 3 tables together so they would be aligned. The mortise for the circular posts was drilled with a large forstner bit and then the material in between was chiseled out by hand. For the rectangular posts, the mortises were cut entirely by hand.

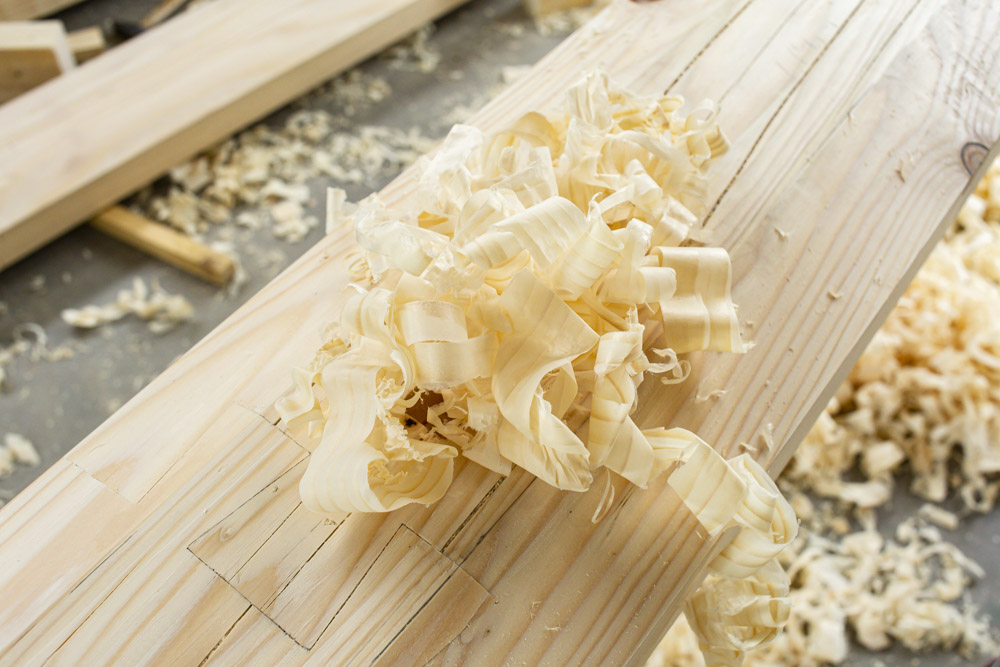
A last couple of finishing touches like a drip nose to help rainwater to drip off better were added. We also finished the surfaces of table and bench with the kanna to ensure a nice smooth surface that was pleasant to touch and splinter free.

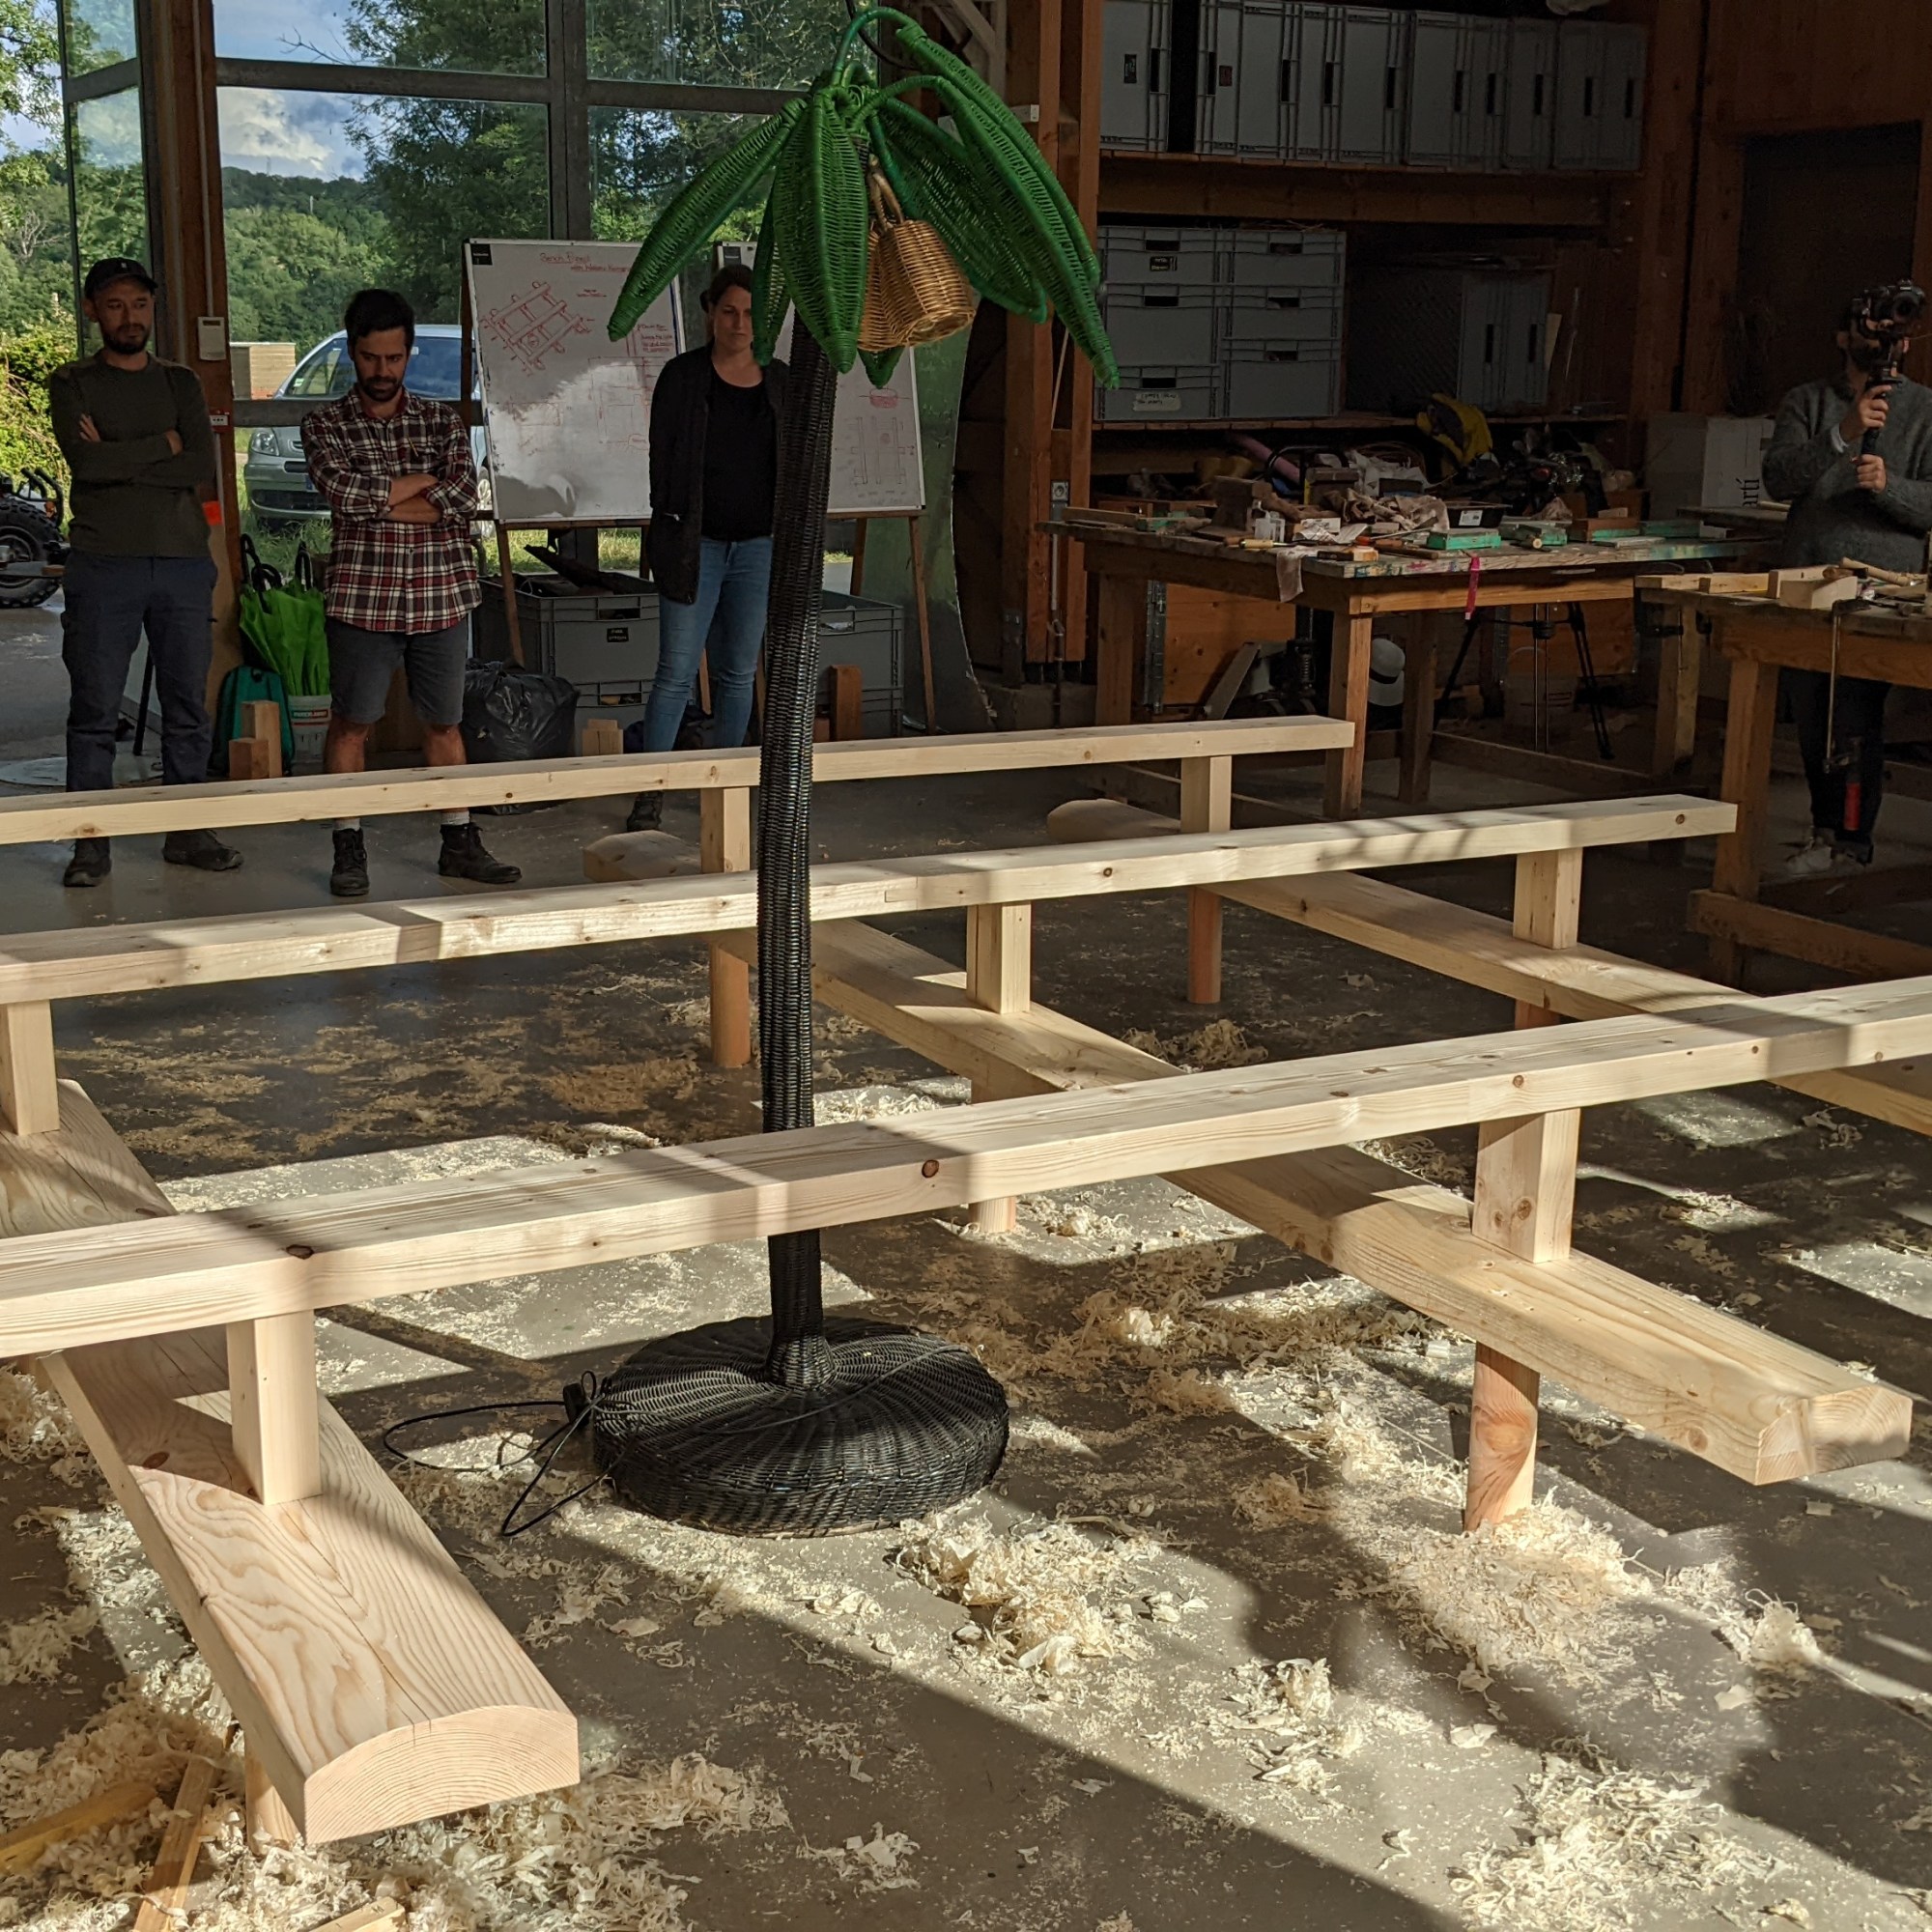
Before carrying the bench out to the site around the tree, we did a dry assembly in the workshop. We decided where we wanted the tree to be, and checked if everything fit together as planned. It was lovely to see the bench come together, and we marveled at how large it looked. The best part was that it was delightful to sit on and our entire group could fit on it at once!

Installing the bench
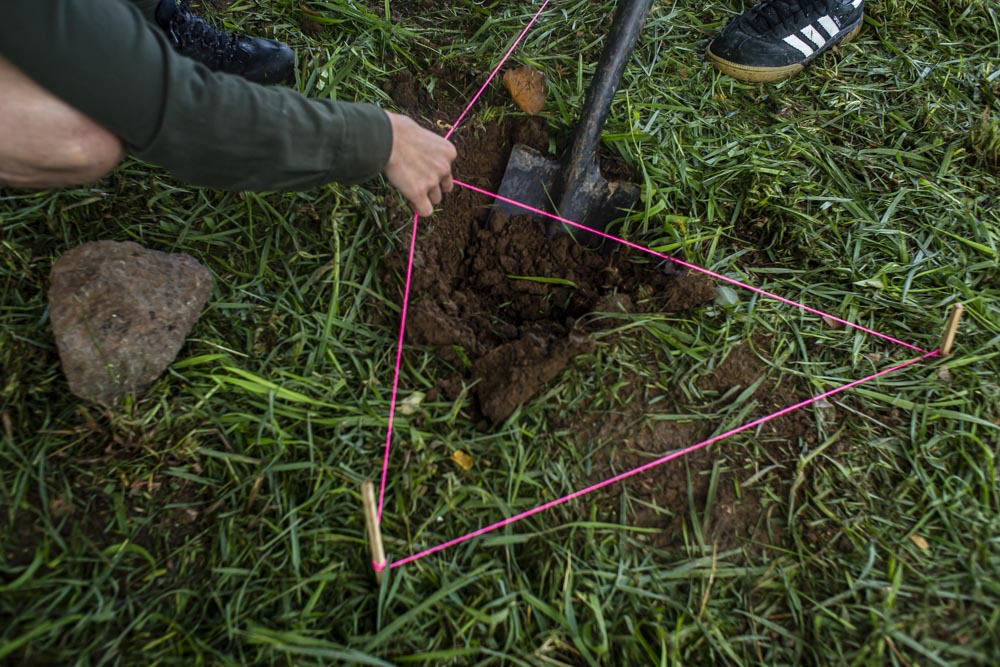
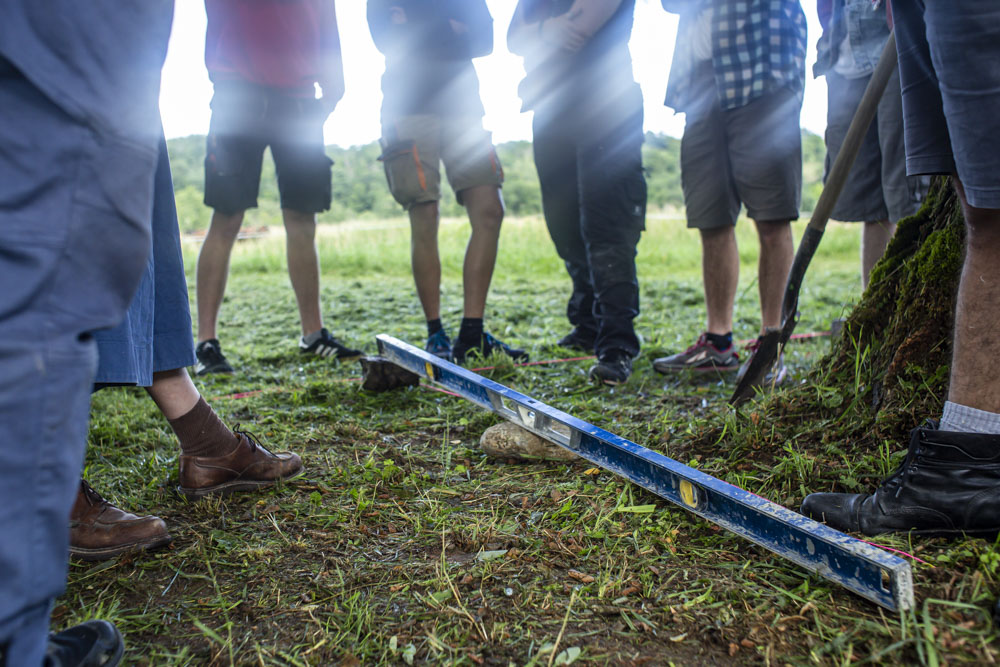
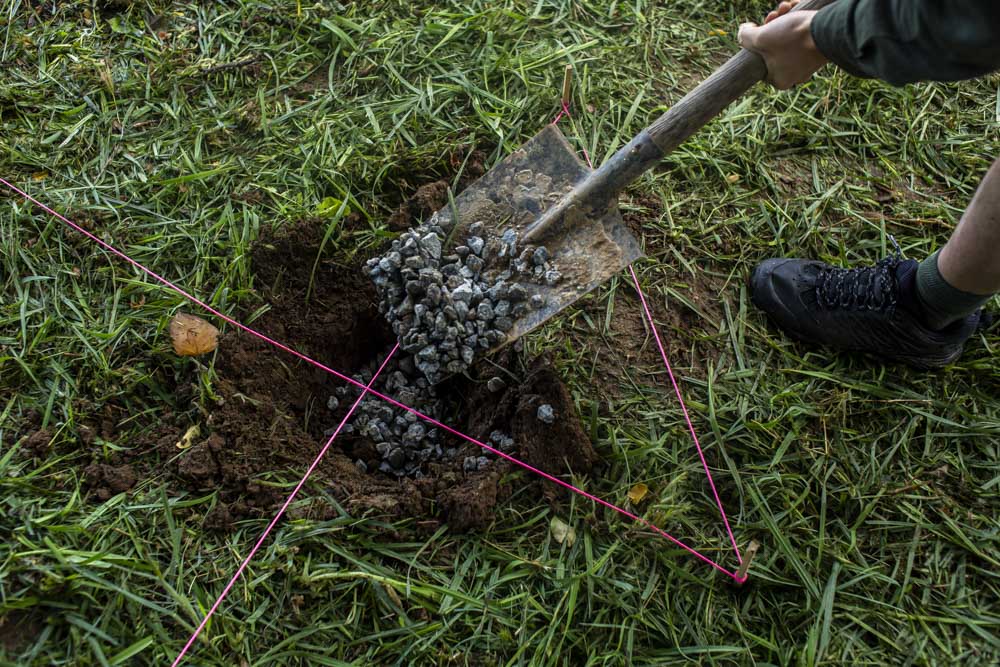
The site was prepared before the bench was installed. We cut the grass around the tree, and mapped out where the legs would sit exactly. We dug shallow holes and filled them with gravel to stabilize the rocks that would carry the bench. The stones were leveled so that the bench would be straight once installed.
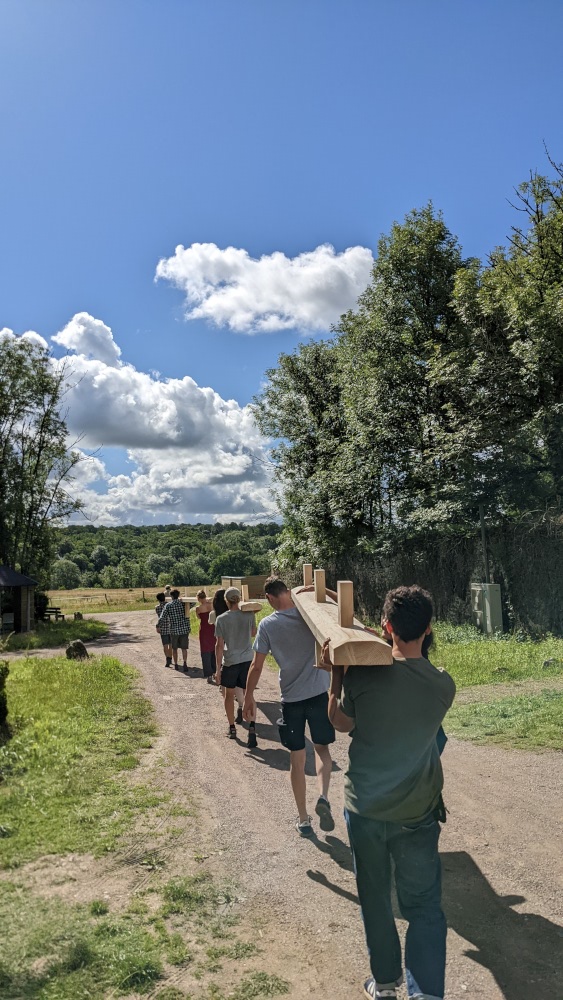
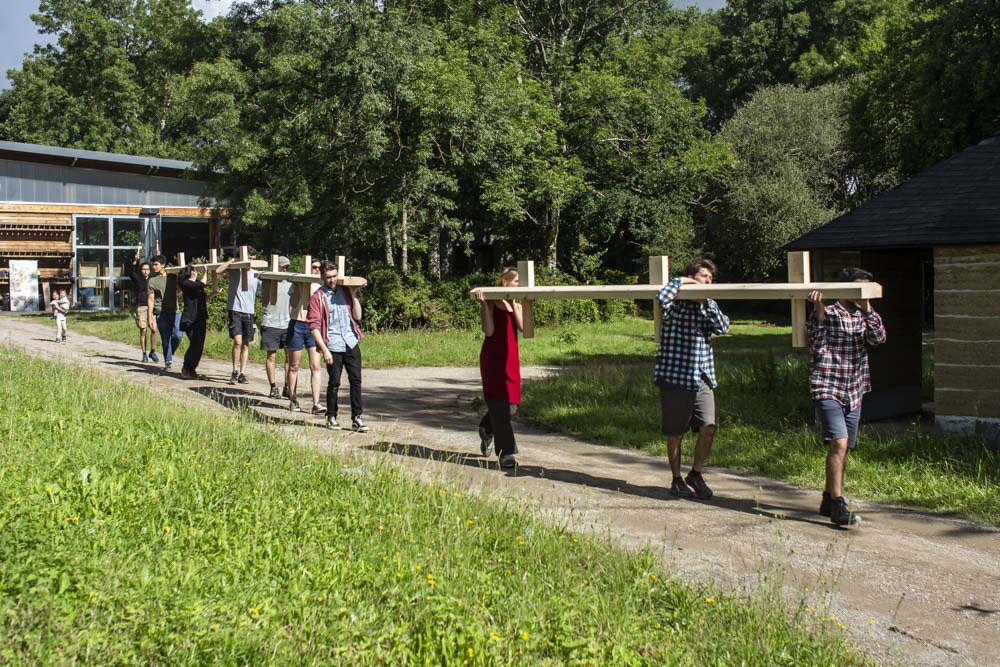
The next morning we ceremoniously carried the individual parts of the bench out. Each member of the group helped carry it out and it was like we were proudly presenting our work to the world.
Once at the site, we placed the benches on the stones, positioned the tables across the benches and connected them using the handmade Oak dowels. This process went surprisingly quickly, and the bench was very sturdy once everything was connected.

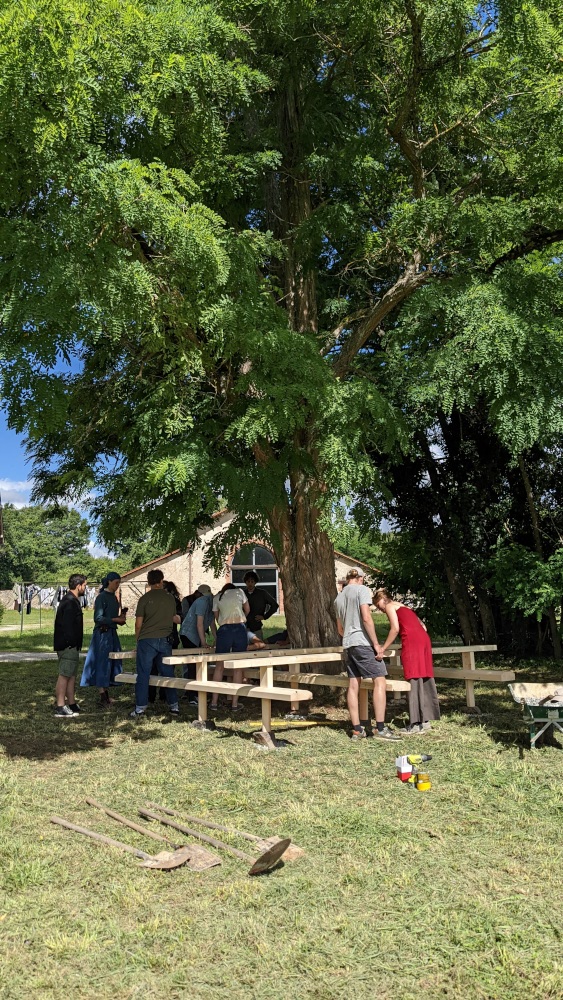
We spent the last couple of hours at the Domaine enjoying the bench we had built in the last 4 days. We invited other residents of the Domaine to sit and use the bench as well, drinking juice and coffee and experiencing sitting under the large Robinie tree.
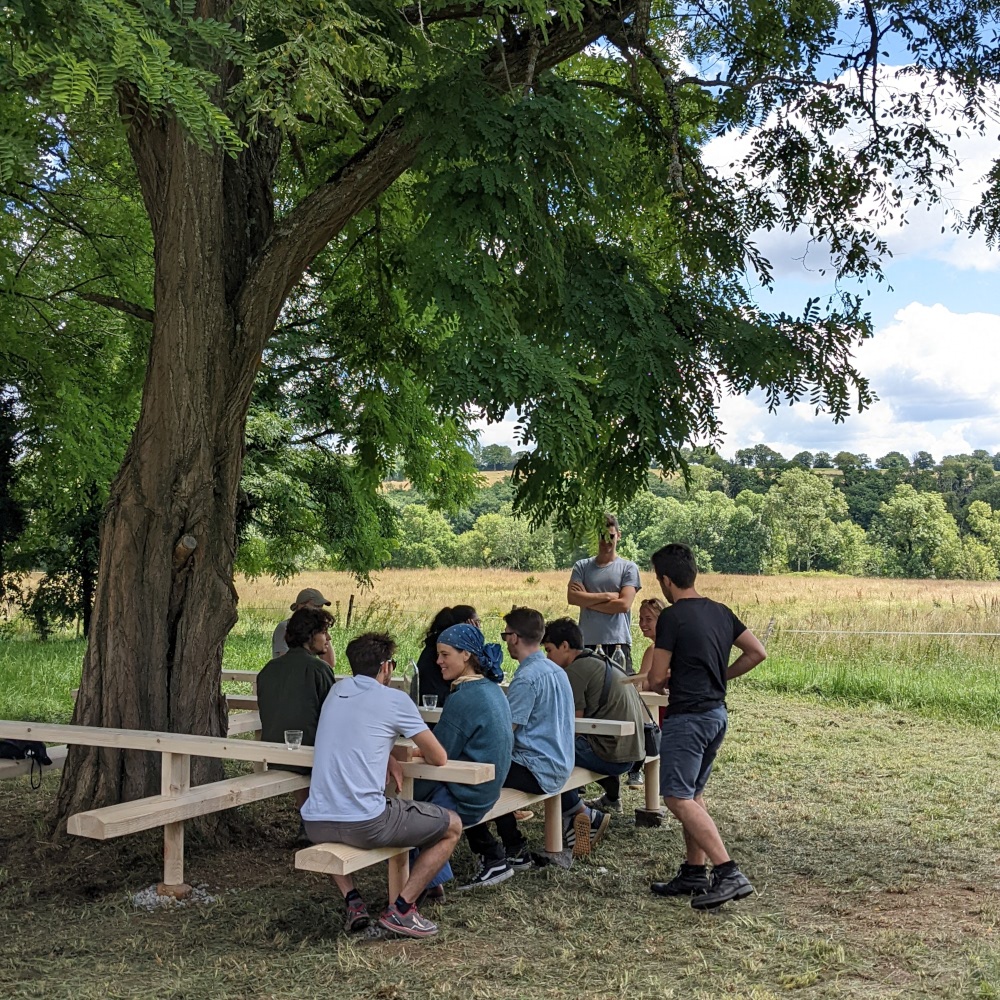
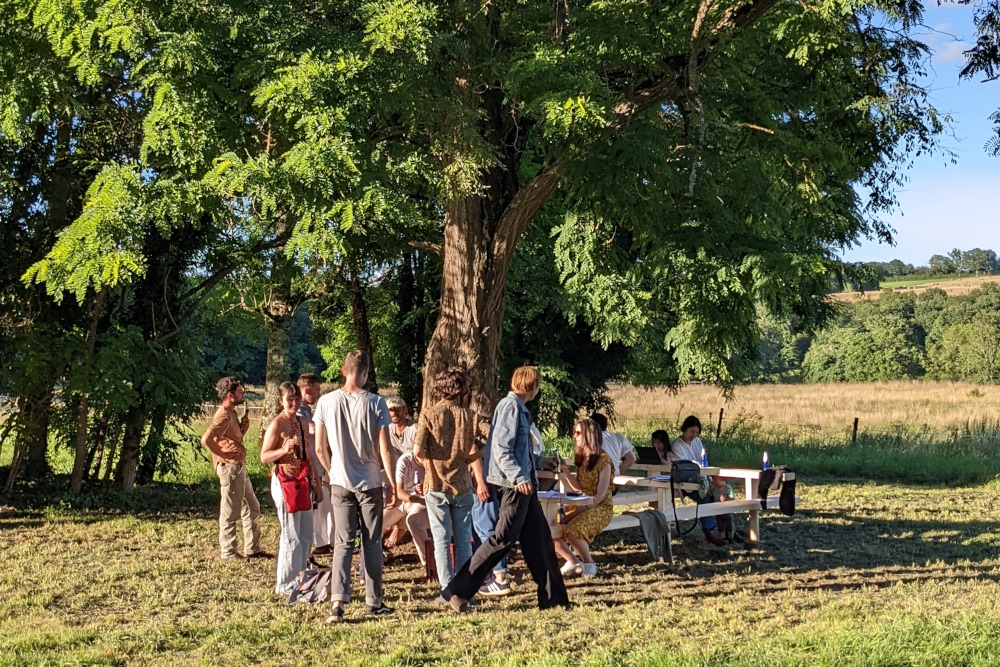
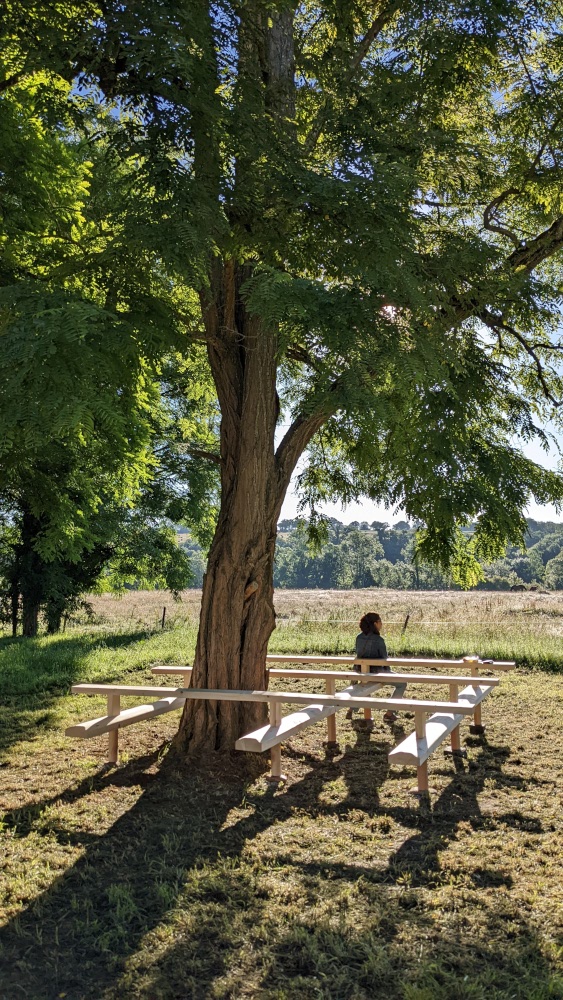
What I loved the most about the design of the bench was the fact that it was so versatile in its usage. I observed how different people used it in different ways depending on the situation; some straddling the bench, others sitting sideways, some using the tables to sit on, others using the tree as a backrest. The bench even allowed for a comfortable nap, or just watching the countryside with your feet up, listening to the birds and the gurgling of the river downhill.
On the last morning I sat in the warm light of the sunrise with my cup of coffee, just trying to take in every detail of the landscape around the bench. It was a wonderful view, and it gave me a lovely sense of tranquility. Indeed a beautiful end to an enriching and unique experience.
Occasionally I see a video or picture on Instagram of the bench in use by other workshop attendees at the Domaine. It fills my heart with joy to know that we could contribute to life on the Domaine in such a beautiful way. It’s always nice to see people using things you have made, and this remains the best part of my job as a furniture maker!
Picture credits – Vanessa Hörig, Pietro Migliorati and Simon Searle
