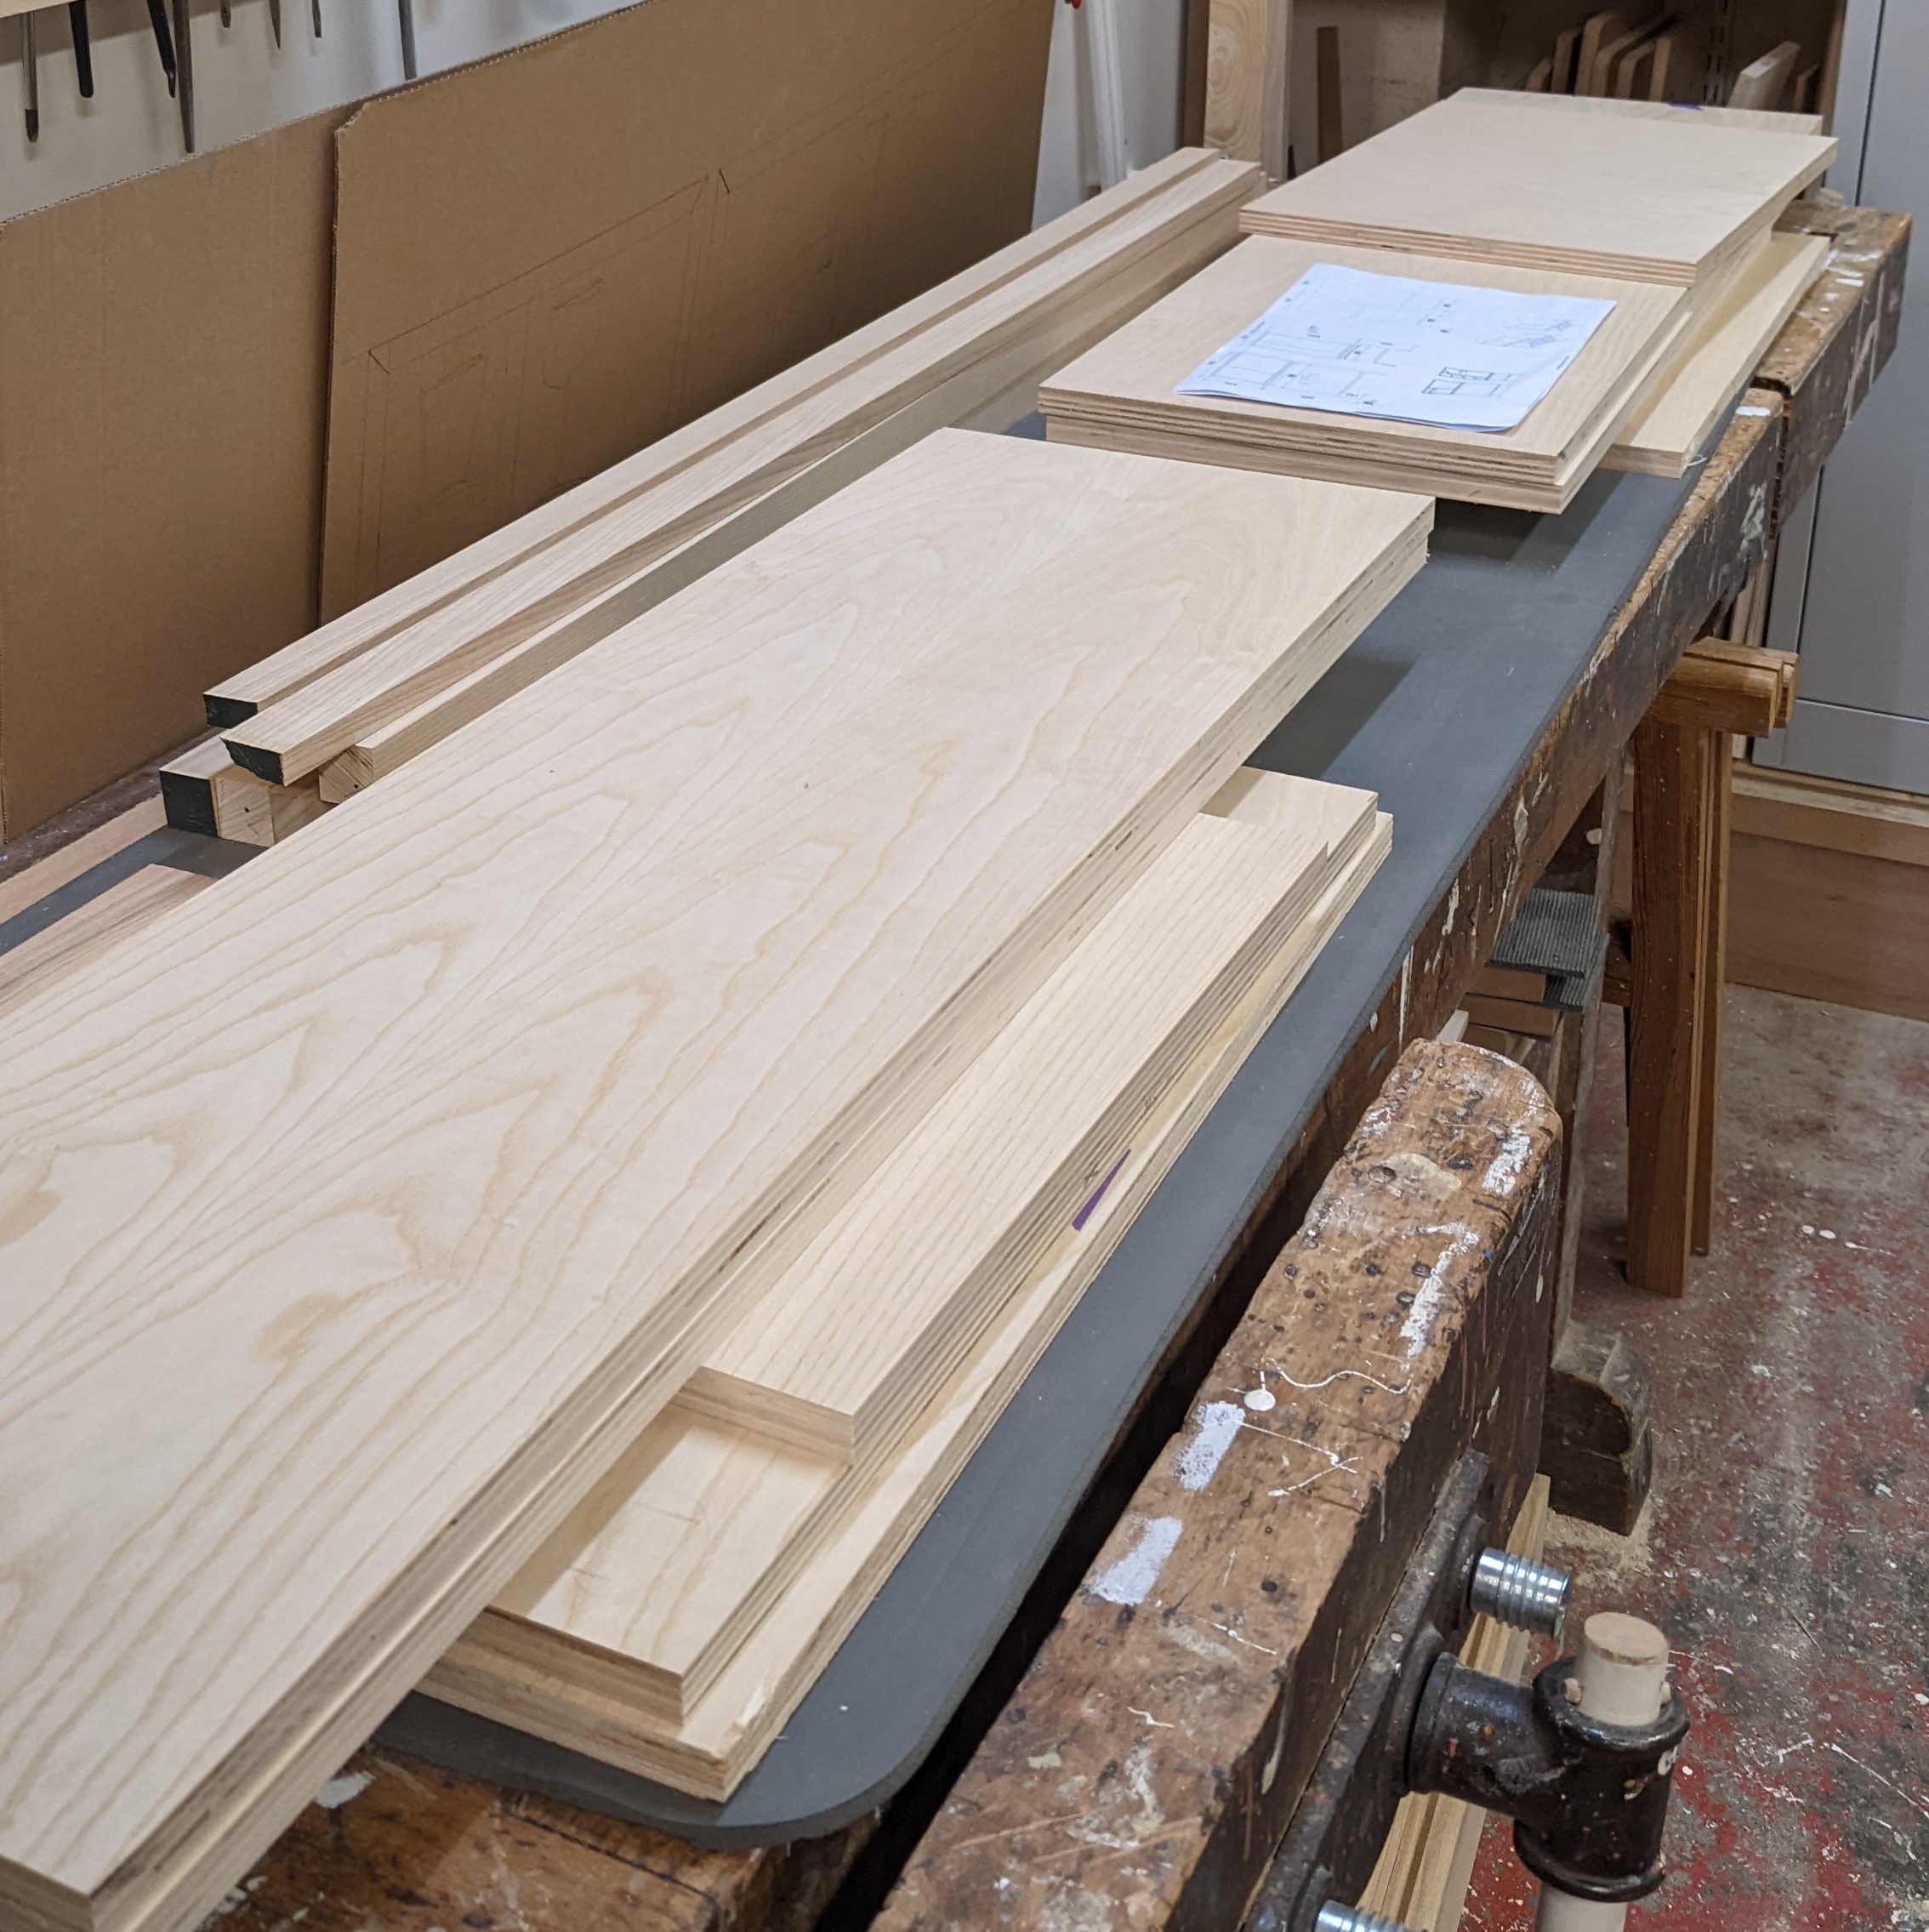

In this blogpost I will briefly describe the principles of Design and how I use them in Furniture Design. These principles act as an aid in the process of design and can be interpreted in many ways. This post talks about how I use them, but there are many other ways as well. There are many sources that list more than these principles as well.
What are the Principles of Design?
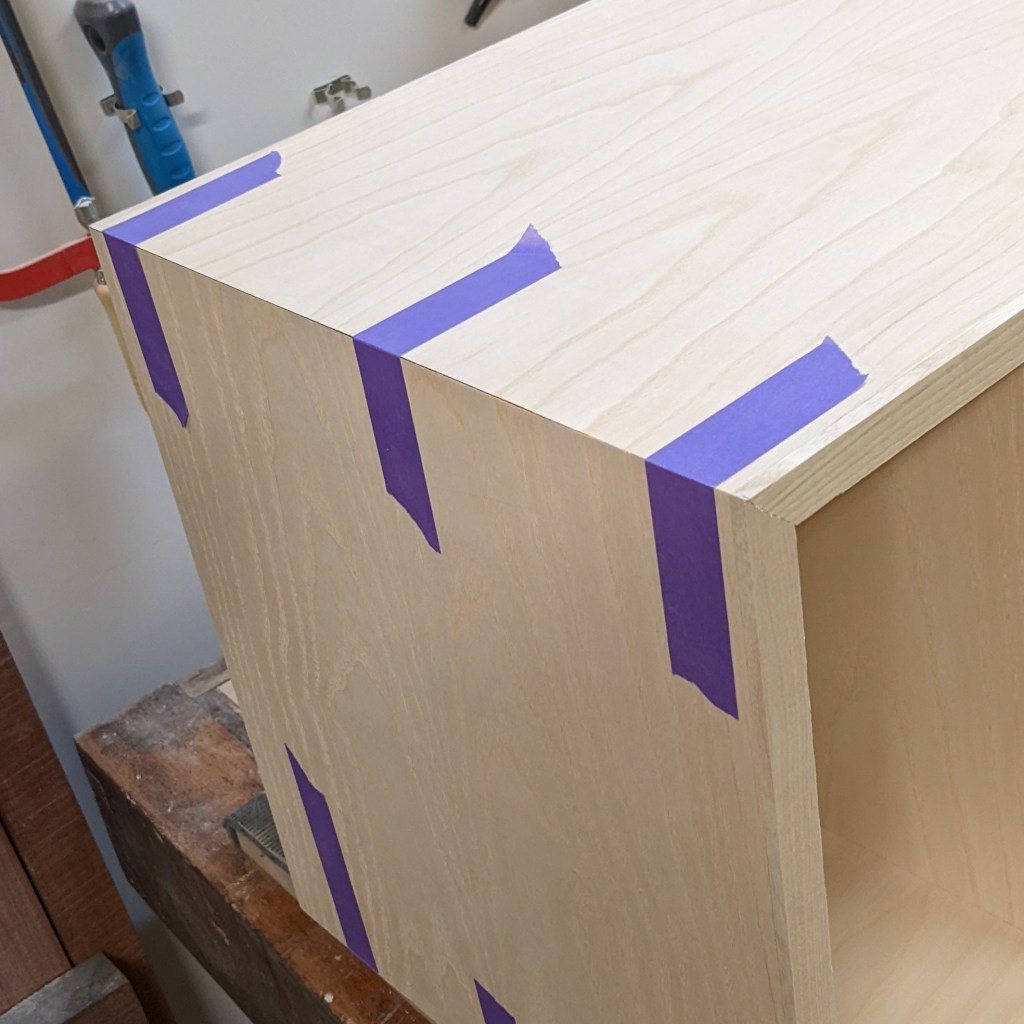
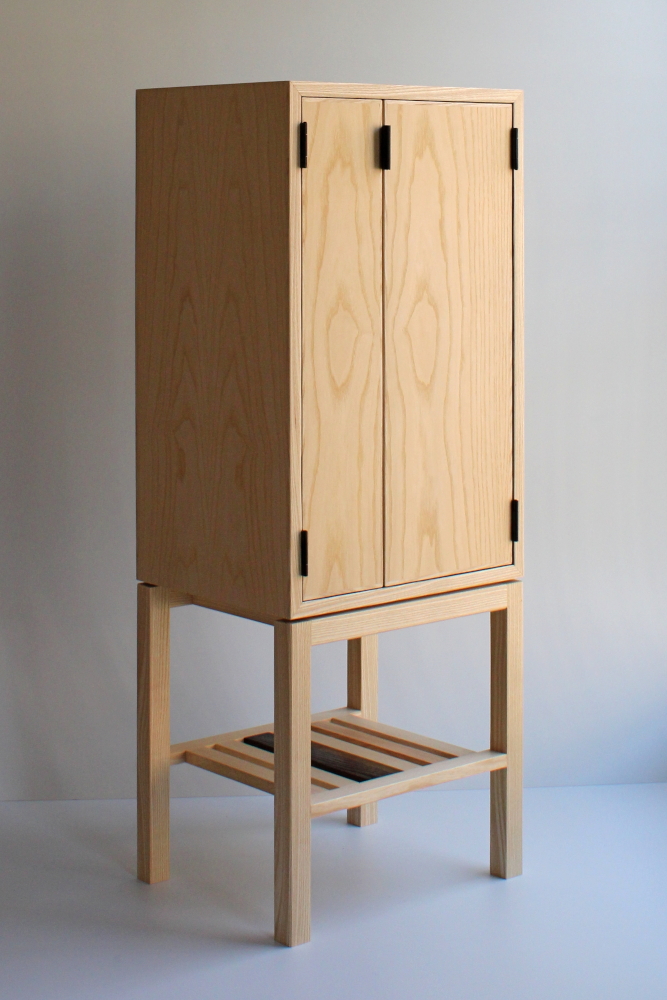
Harmony in Furniture Design
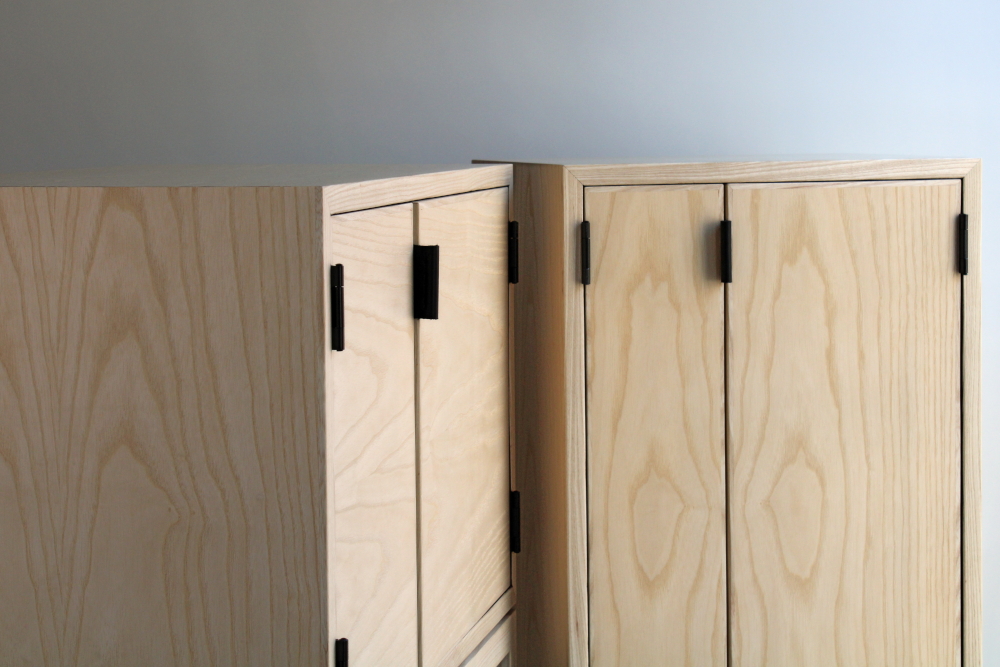
Harmony, also called unity, talks about how all elements in a piece work together as a cohesive whole. Whether the furniture piece is small or large, there are always multiple elements to consider such as doors, feet, handles, etc. These should be designed while keeping the others in mind, and how they all work together to form the whole piece.
This might be the style or form or colour, but also the curve or angles on different elements. I like to use wood in its natural form to emphasise harmony by celebrating the inherent beauty of wood and letting its beauty speak to the viewer.
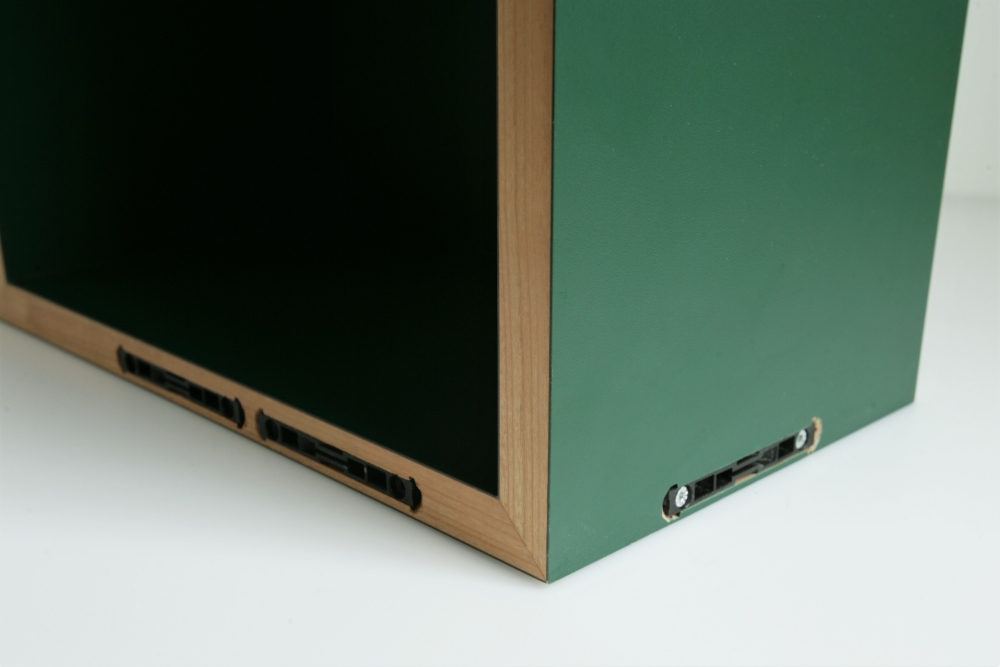
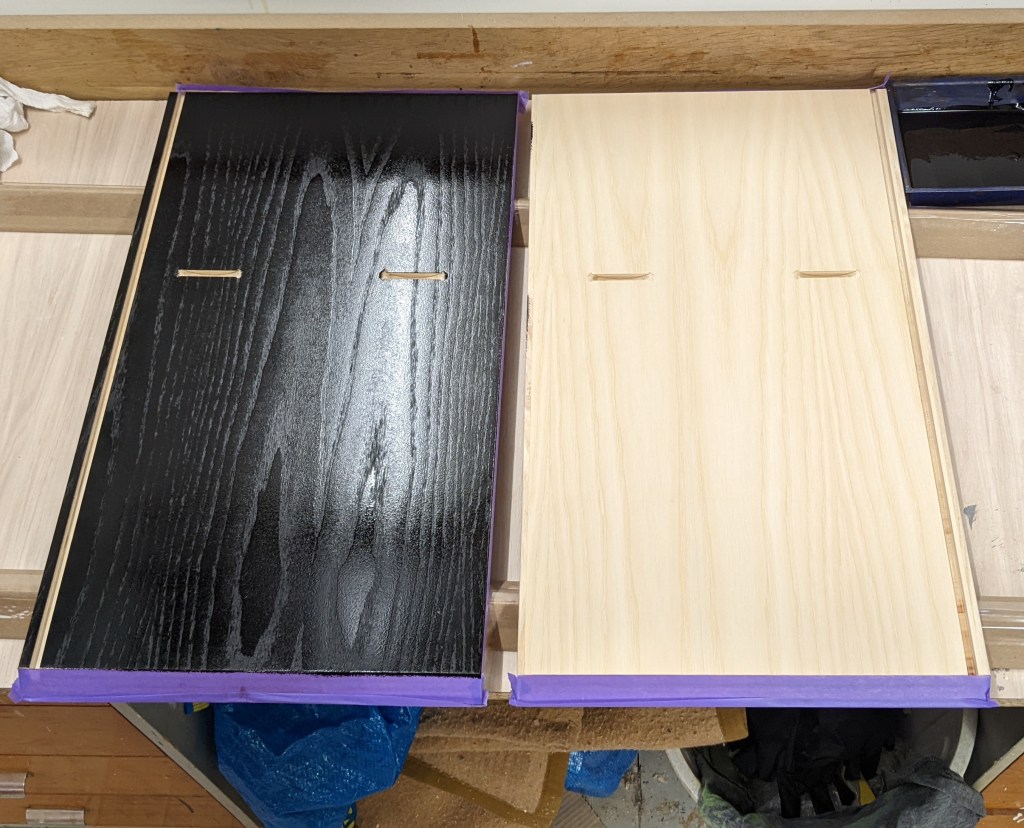
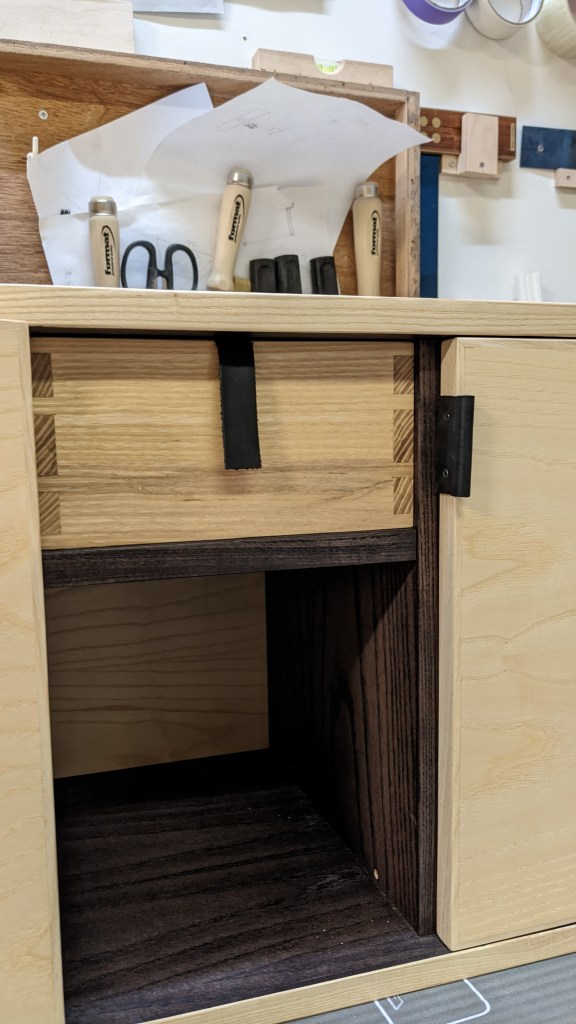
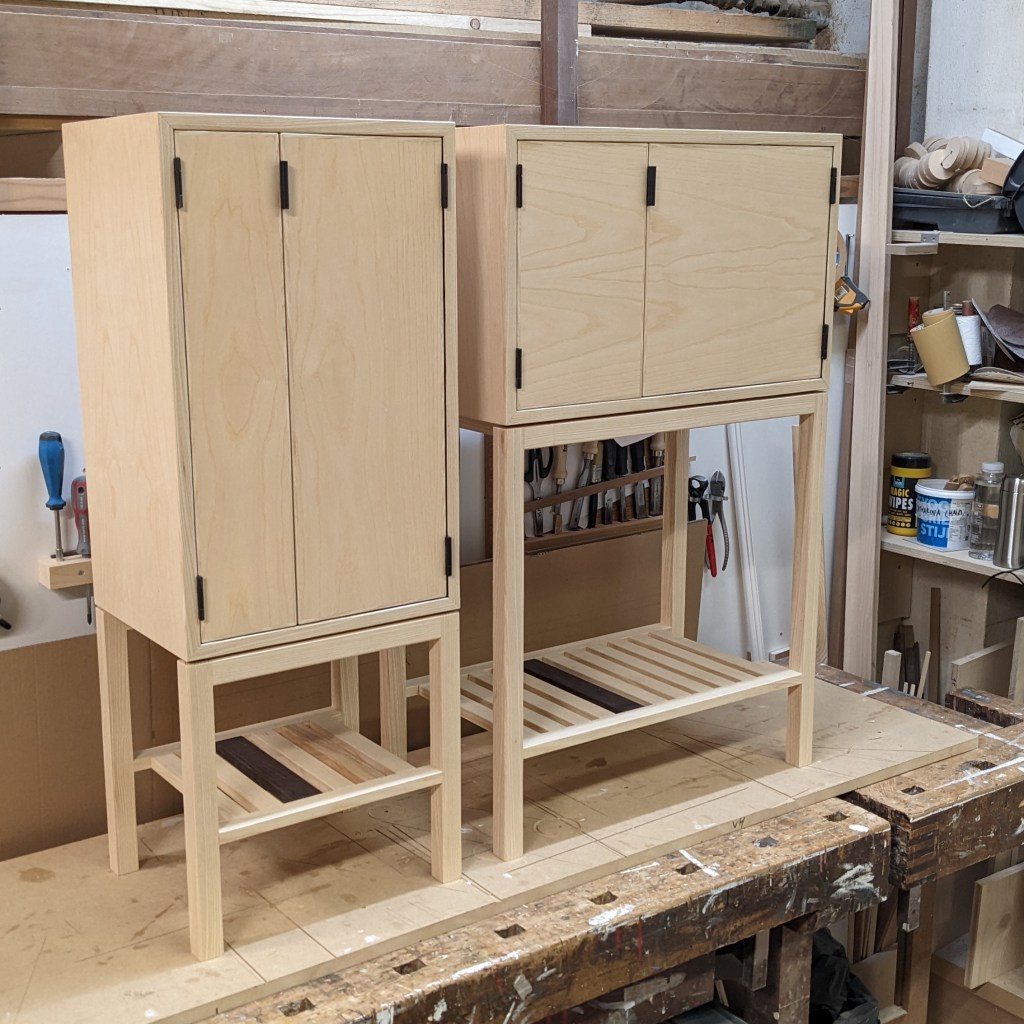
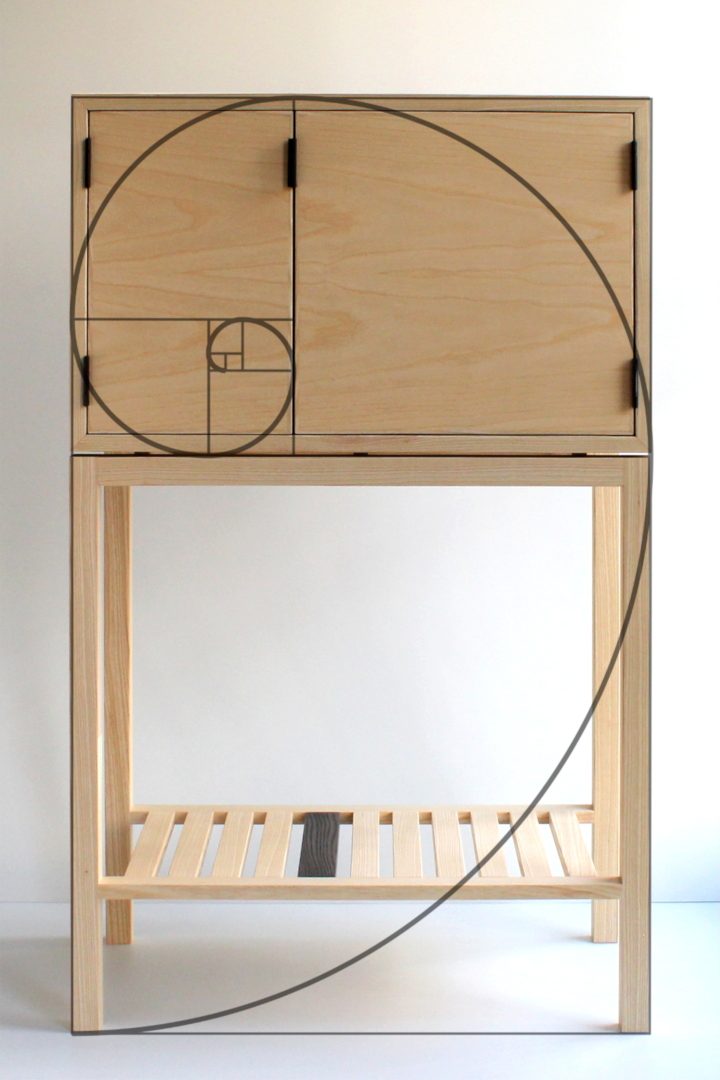
Harmony is also very often about the proportions of different elements to each other, and my go-to is often the golden ratio – 1:1.618. Many of my cabinets, or parts within my cabinets have employed the golden ratio, most famously my Ashwood cabinets. I have shared an image below.
In interior design, a harmonious space is one where all the individual furniture pieces and elements have a consistent style or story. This does not mean that only one type of design style has to be used, but they should work well together.
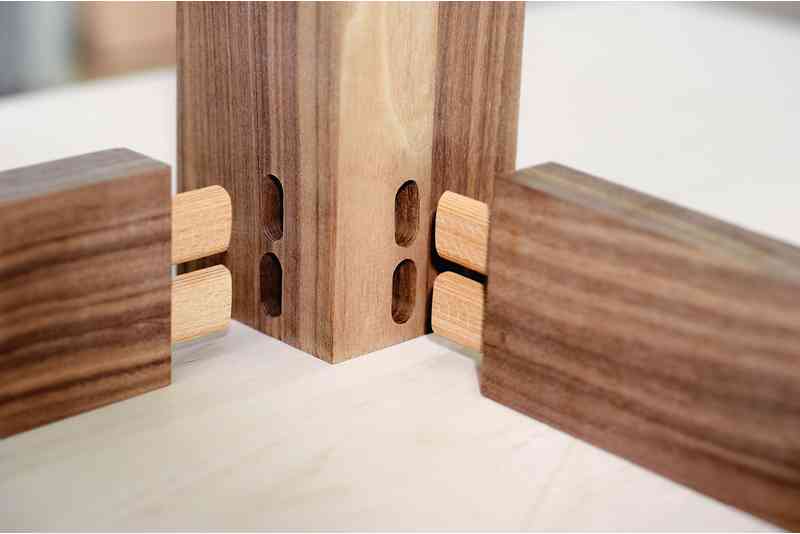
Examples of Harmony in Furniture Design
Balance in Furniture Design
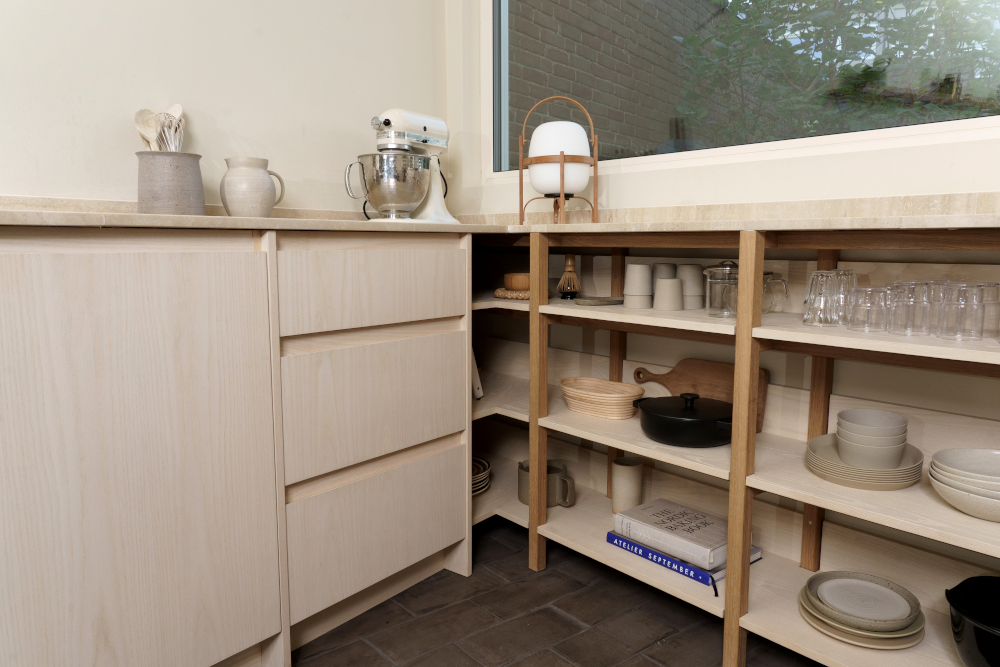
Balance, refers to how the visual and physical weight of different elements in a piece work are distributed over its entirety. This can be observed well by taking a step by and appreciating the piece as a whole from a distance.
A piece may be symmetrically balanced, along a central axis. Often this technique delivers some beautiful pieces, but at times this might get boring as well.
Elements might be distributed in an asymmetrical balance, which adds interest to a piece while still maintaining its aesthetic beauty. This could be with different elements, or with the same element in a different form. The golden ratio can also be employed to create a beautiful balance between elements if it is asymmetrical.
When elements are arranged in a circle around a central focal point, it is radial balance.
Examples of Balance in Furniture Design

Contrast in Furniture Design
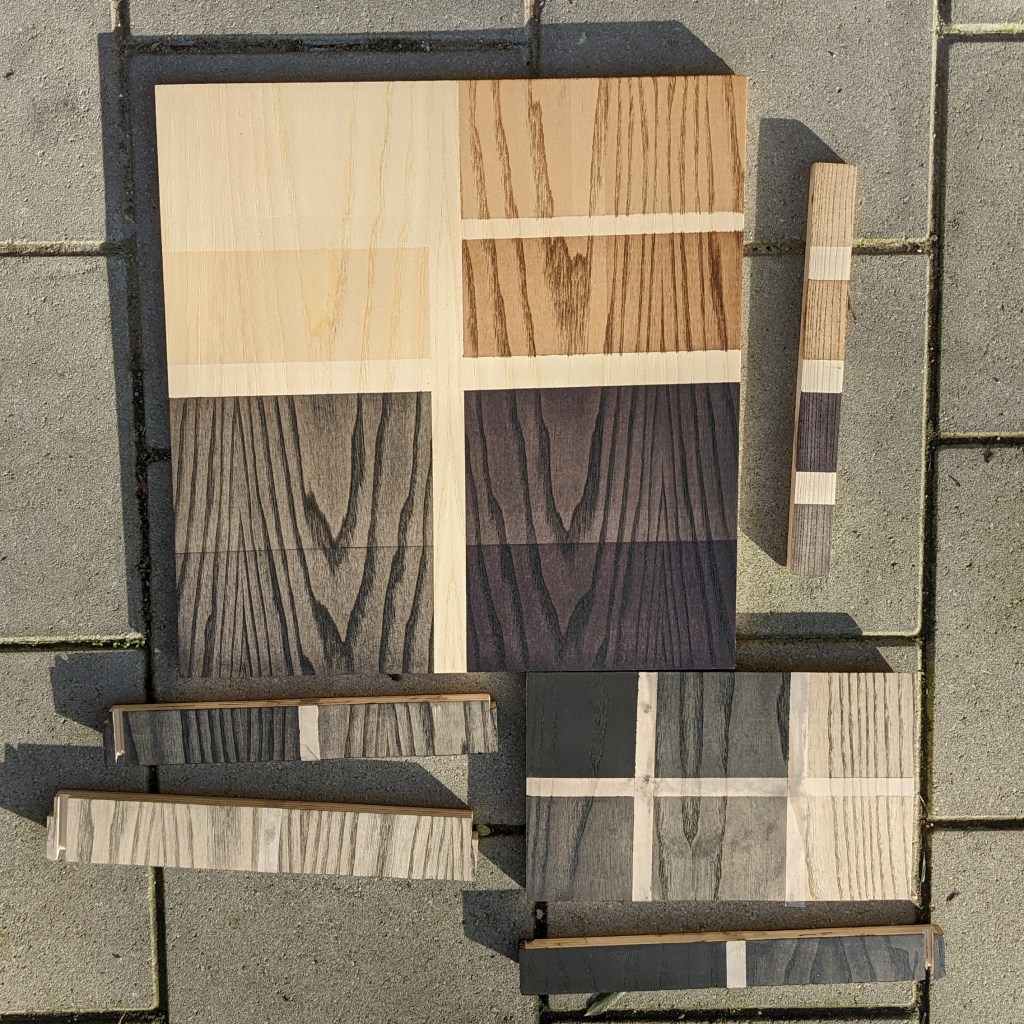
Thanks to the numerous types of wood and its variation in colour, texture and grain, contrast is a very important element for me when I design furniture. Contrast highlights these differences, however care must be taken that this contrast is used in a harmonious and pleasing way.
Very often I also use paint or stain and other materials like glass or fabric as a contrast to natural wood. This adds a contrast of warmth, softness or colour.
I also like to juxtapose hard and soft lines, curves and straight lines to emphasise contrast.
Examples of Contrast in Furniture Design

Emphasis in Furniture Design
By using emphasis in furniture design, you use a stark element to draw the viewers attention to a particular point in the furniture. Emphasis can be created by using size, colour or texture.
I find emphasis to be a great way to add a striking feature to an otherwise not so interesting piece of furniture.
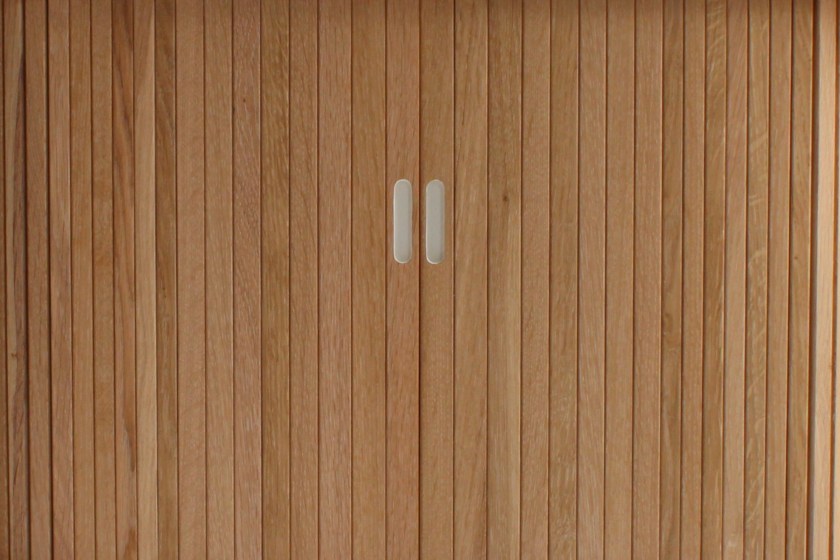
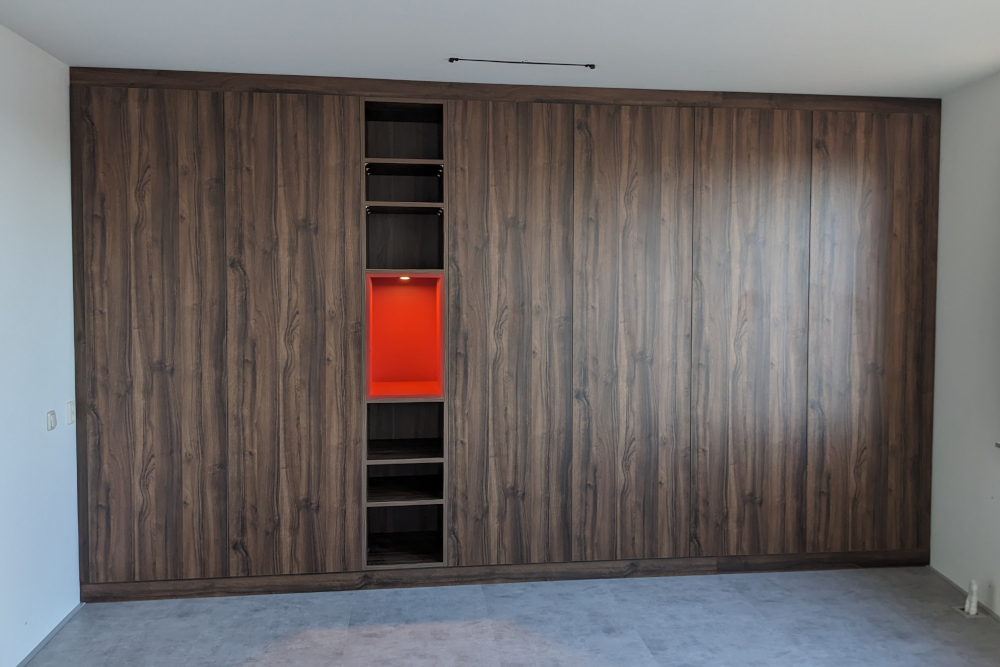
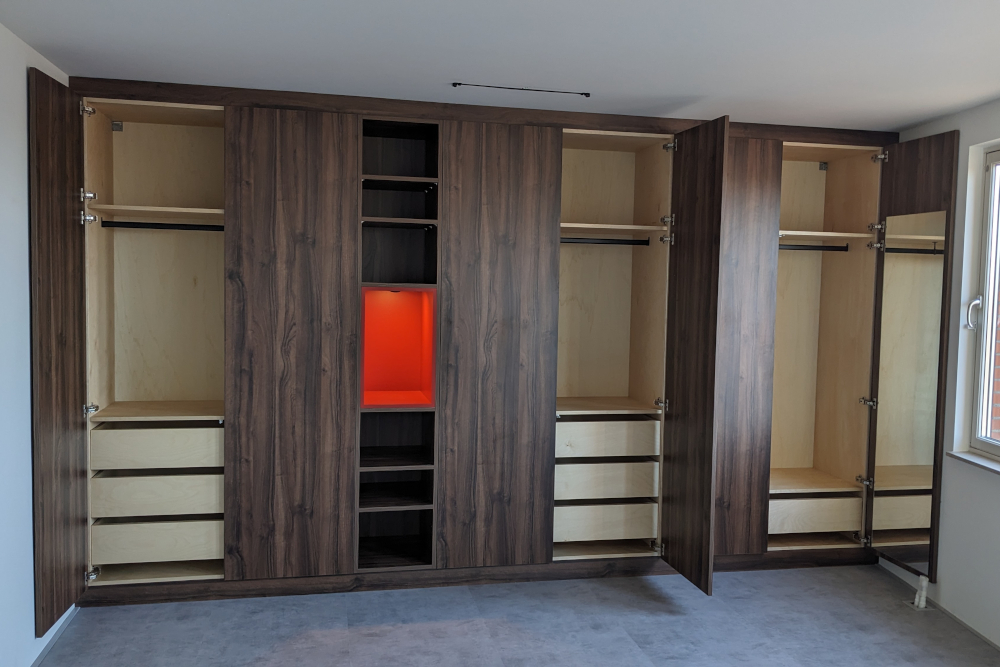
Examples of Emphasis in Furniture Design
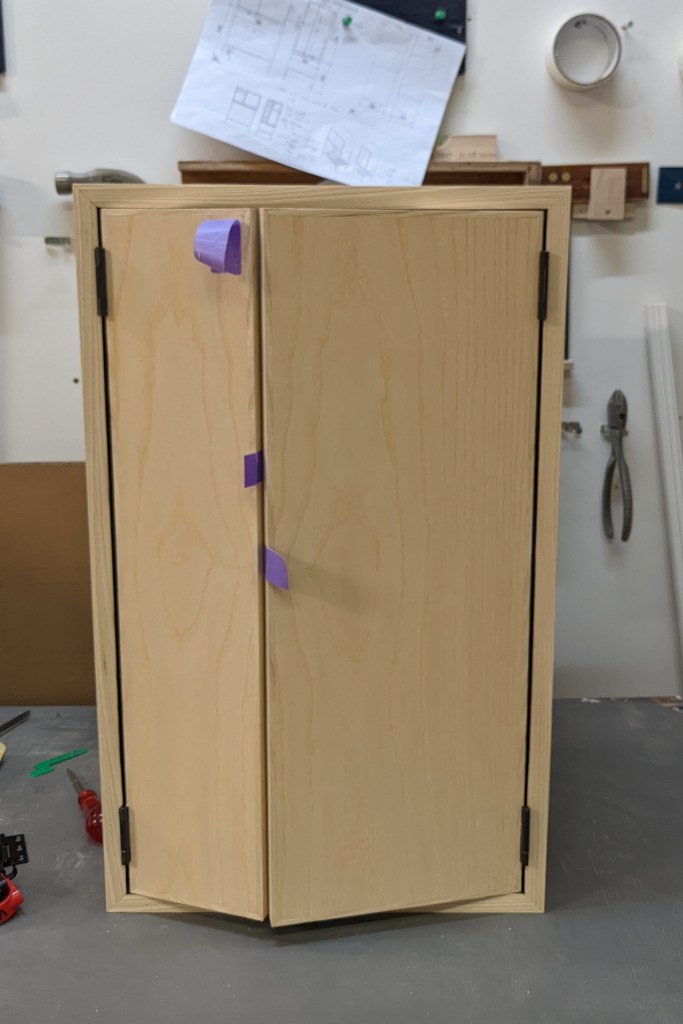
In this custom wardrobe I made for a client, I used colour, asymmetry and light to emphasise a small element that adds interest to what would otherwise just have been a wall of doors.
Movement in Furniture Design
Movement in a piece of furniture guides the viewer’s gaze across the piece, giving him lines or elements to follow while experiencing the piece.
It might also guide a user’s hands across the piece like sweeping armrests on a chair, or a beautiful handle on a cabinet.
I find curved elements achieve this the best, although I do use curves quite rarely.
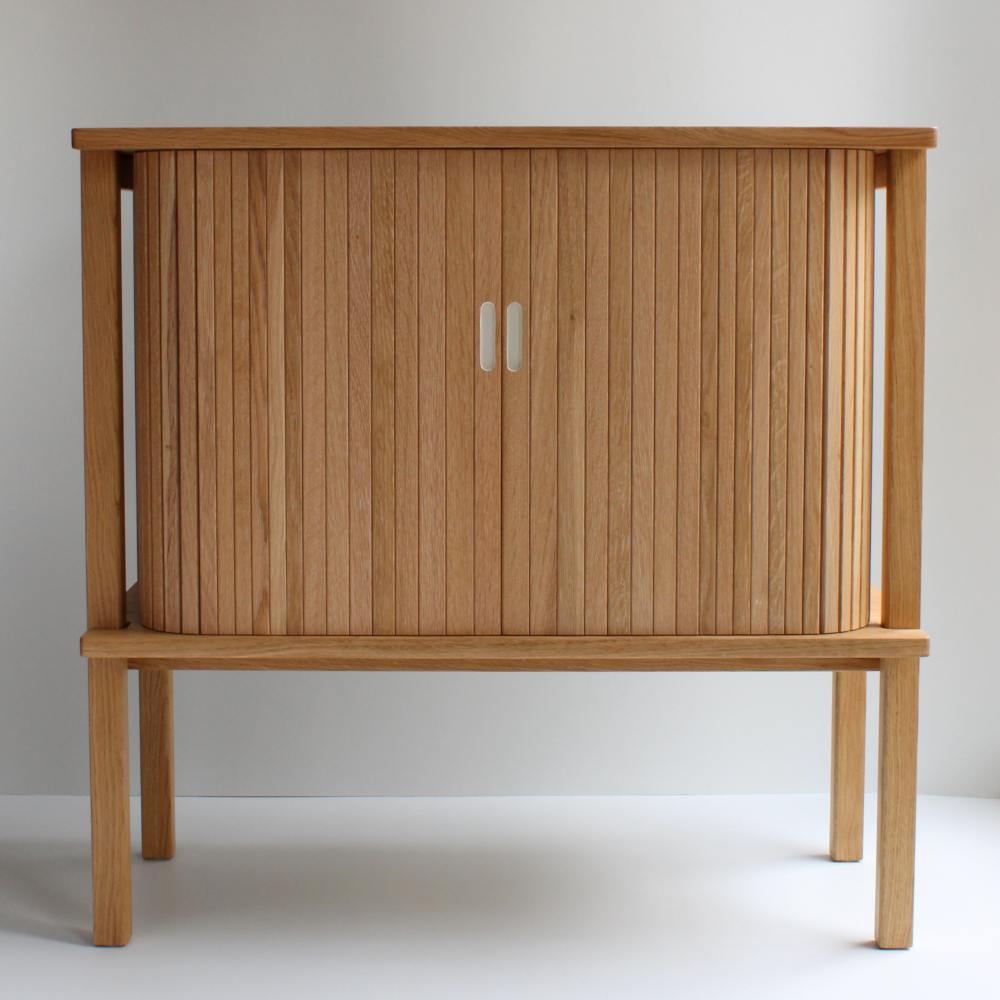
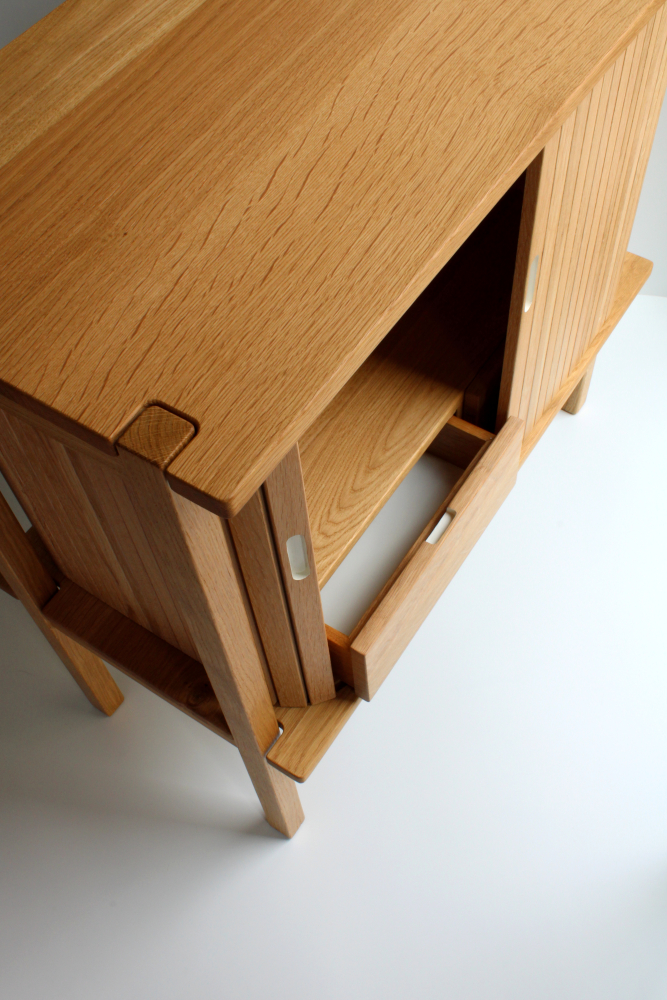
Moving elements that have grace ofcourse also are a beautiful usage of movement within a furniture piece, as illustrated by the tambour doors in my Tambour door cabinet. They guide the users eye and immediately add interest to the cabinet.
Examples of Movement in Furniture Design
Pattern in Furniture Design
Pattern creates visual consistency in a furniture piece, within a collection or an interior.
The element being repeated could be anything like a material, a motif, a constructional or ornamental element, or even simply a colour.
I often attribute this design principle to a rule I learnt during my apprenticeship – never use more than 3 different materials / features / embellishments within one piece of furniture. While I love to combine colours and woods and materials, it is important to do so with taste.
Examples of Pattern in Furniture Design

Rhythm in Furniture Design
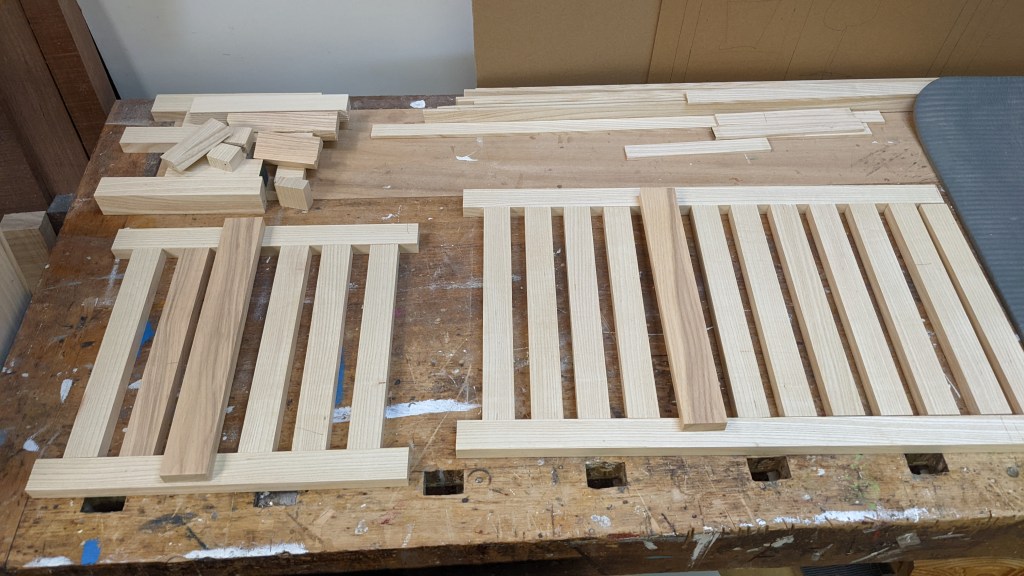
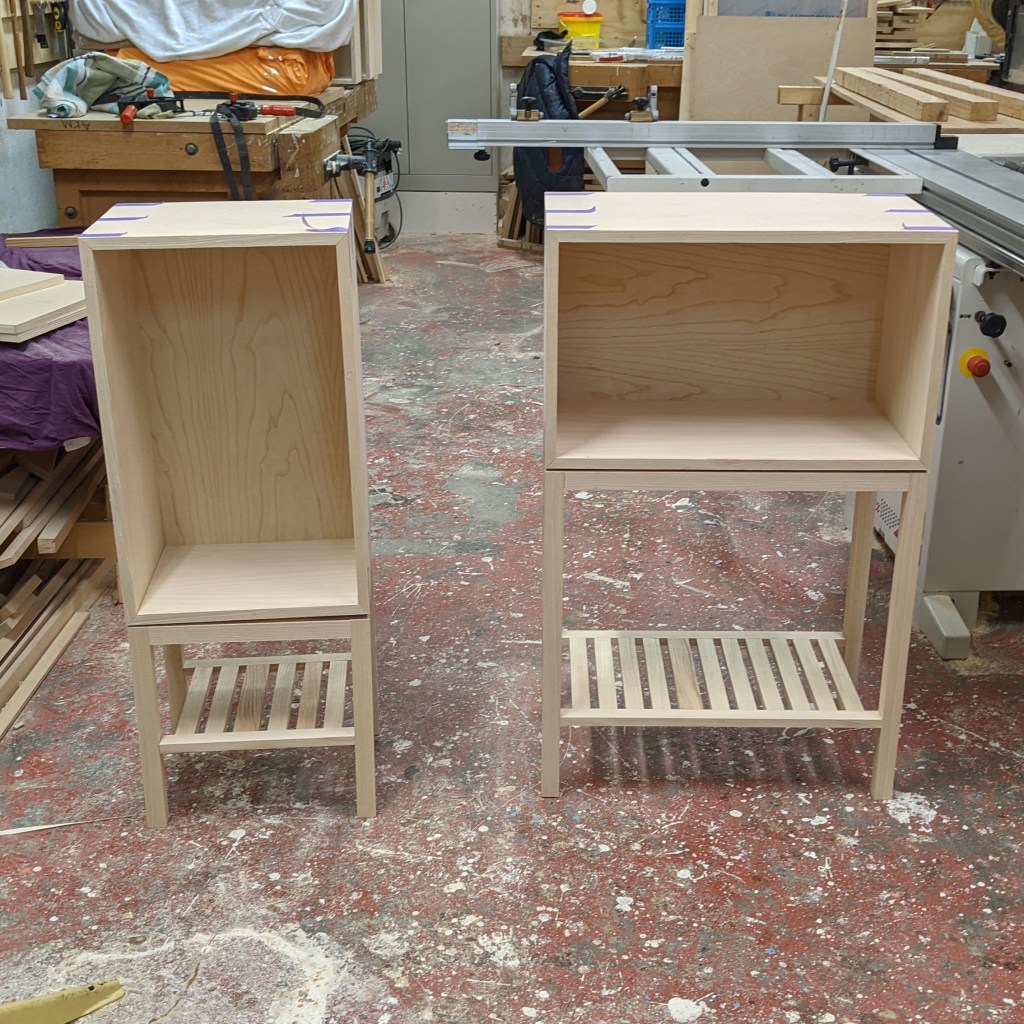
Rhythm or repetition in furniture design is achieved by carefully repeating design elements at regular or varied intervals. This creates a tempo or a beat in the piece.
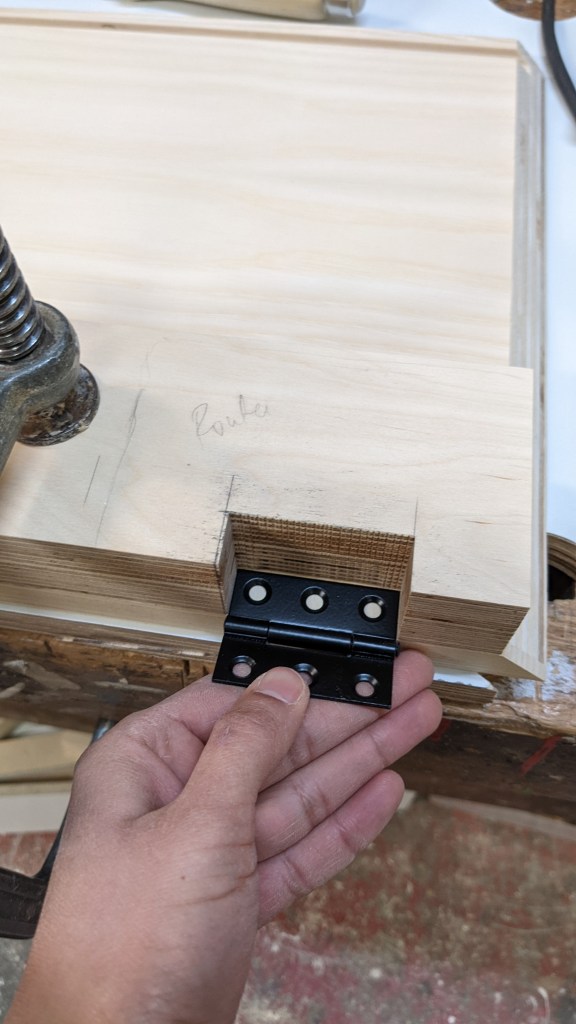
Personally I use this element very often in the form of repeating slats of wood. Slats in a backrest or headboard are elements I use often. Sometimes, to break the monotony or predictability, I add purposeful variation, something that makes the viewer take notice.
Examples of Rhythm in Furniture Design